How To Install Car Seat Covers With Hooks
Installing car seat covers might seem like a simple aesthetic upgrade, but it can drastically improve the comfort, cleanliness, and overall look of your vehicle's interior. While some seat covers simply slip on, those with hooks provide a more secure and tailored fit. This article will guide you through installing car seat covers with hooks, even if you're not a seasoned mechanic.
Understanding Car Seat Cover Types and Hook Systems
Before diving in, it's crucial to understand the different types of car seat covers and the hook systems they employ. Covers generally fall into three categories:
- Universal Fit: Designed to fit a wide range of vehicles. These are often the most affordable but may not offer the snuggest fit. Think of a basic universal seat cover you might find for a Honda Civic or Toyota Corolla.
- Semi-Custom Fit: Offer a better fit than universal covers, often accommodating features like armrests and headrests. These might be a good option for a Ford F-150 or a Chevy Silverado, where seat size varies between trims.
- Custom Fit: Made specifically for a particular make and model, ensuring the most precise and secure fit. Companies specializing in interiors for luxury cars like BMW or Mercedes-Benz often offer custom seat covers.
Hook systems also vary. The most common types include:
- S-Hooks: Simple metal hooks that attach to the underside of the seat.
- Elastic Straps with Hooks: Combine elastic straps for tension with hooks for secure attachment.
- Combined Hook and Loop (Velcro) Systems: Use hooks in conjunction with Velcro straps for a tighter and more adjustable fit.
Understanding your seat cover type and hook system is the first step toward a successful installation.
Preparation is Key: Tools and Precautions
Before you start wrestling with your seat covers, gather the necessary tools and take some precautions. This will save you time and frustration in the long run.
Tools You'll Need:
- Your Car Seat Covers with Hooks: Obviously!
- A Clean Towel or Cloth: For wiping down the seats before installation.
- Needle-Nose Pliers (Optional): To help manipulate hooks in tight spaces.
- Flashlight or Headlamp: To illuminate the underside of the seats.
- Scissors or Utility Knife: For trimming excess strap material (use with caution!).
Precautions:
- Read the Instructions: Seriously, do it. Each seat cover is different, and the manufacturer's instructions are your best guide.
- Disconnect the Negative Battery Terminal (Optional but Recommended): This prevents accidental deployment of airbags, especially if you're working near seat-mounted airbags. Locate the negative terminal on your car battery (it will have a "-" sign) and use a wrench to loosen the nut. Carefully remove the cable from the terminal and tuck it away. Remember to reconnect it after the installation.
- Protect Your Seats: Vacuum or wipe down your seats thoroughly before installing the covers. This removes dirt and debris that could get trapped underneath.
- Take Your Time: Rushing can lead to mistakes and damaged seat covers.
Step-by-Step Installation Guide
Now for the main event. This guide assumes you have seat covers with hooks that require attachment under the seat. The process is similar for most vehicles, but remember to always refer to your specific seat cover instructions.
Step 1: Removing Headrests
Most car seat covers require removing the headrests for a proper fit. Locate the release buttons (usually on the side of the headrest posts where they enter the seat). Press these buttons and pull the headrest upwards to remove it. Some vehicles, like certain older Volvos, might require a tool to depress a hidden release mechanism. Refer to your owner's manual if you're having trouble.
Step 2: Installing the Seat Cover
Carefully slide the seat cover over the seat. Align the cover so that the seams and contours match the shape of the seat. Ensure any openings for seat belts or adjustment levers are properly aligned. This initial step is crucial for a good final fit.
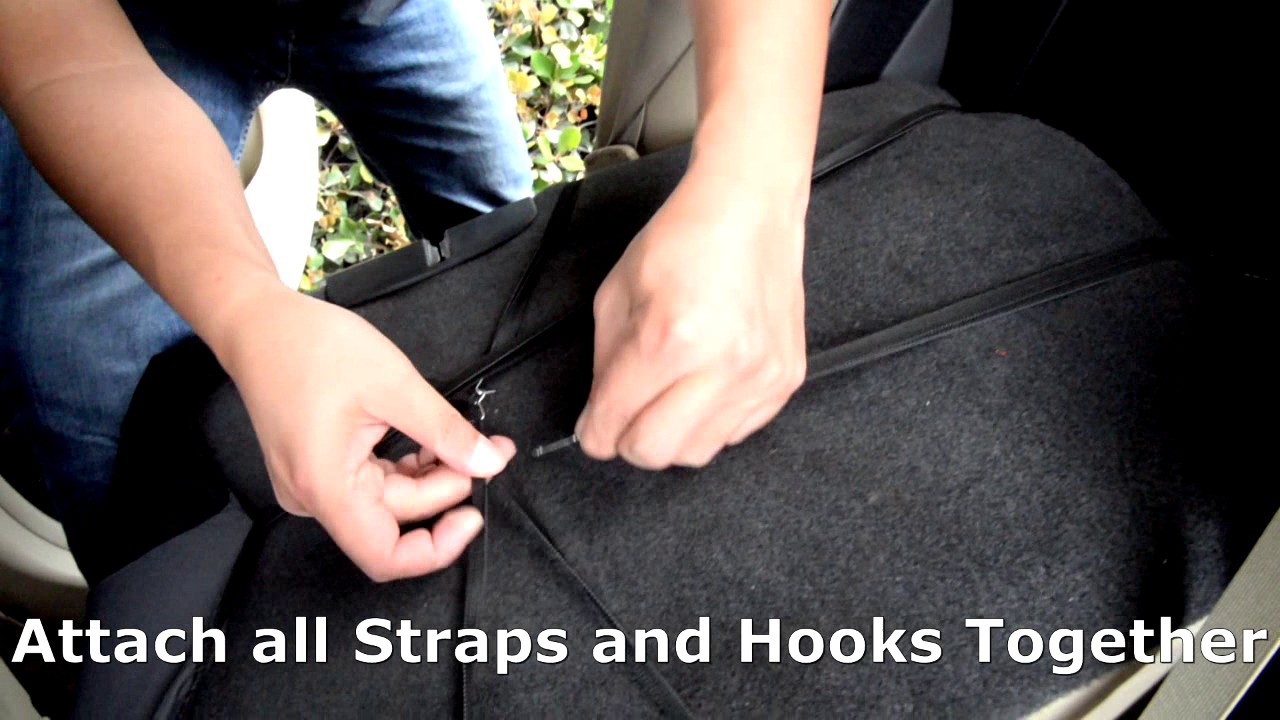
Step 3: Attaching the Hooks
This is where the hooks come into play. Reach under the seat and locate the metal frame or supporting structures. Attach the hooks from the seat cover to these points. The goal is to create tension and secure the cover tightly to the seat.
Pro Tip: For S-hooks, try slightly bending them with pliers to improve their grip. For elastic straps with hooks, stretch the strap before attaching the hook to create additional tension.
Pay close attention to the order in which you attach the hooks. Start with the hooks in the center and work your way outwards. This will help distribute the tension evenly and prevent the cover from bunching up in certain areas.
If your seat cover uses a hook and loop (Velcro) system, ensure the Velcro straps are securely fastened under the seat. These systems often provide a more adjustable fit, allowing you to fine-tune the tension.
Step 4: Installing the Backrest Cover
Repeat the process for the backrest cover. Slide the cover over the backrest, aligning the seams and openings. Attach the hooks to the frame or supporting structures at the back of the seat. Again, focus on creating even tension and a snug fit.
Step 5: Reinstalling the Headrests
Once the seat covers are securely installed, reinstall the headrests. Align the posts with the holes in the seat and press down until they click into place. Ensure the headrests are locked securely before driving.
Step 6: Final Adjustments
Take a step back and admire your work! Make any final adjustments to ensure the seat covers are properly aligned and wrinkle-free. Tug on the covers to ensure they are securely attached. If you find any loose straps, trim them carefully with scissors or a utility knife (be careful not to cut the seat cover itself!).
Troubleshooting Common Issues
Even with careful planning, you might encounter some challenges during the installation process.
- Hooks Won't Reach: Use elastic extensions or longer S-hooks to bridge the gap. You can find these at most auto parts stores.
- Cover is Too Loose: Try tightening the straps or adjusting the position of the hooks. If the cover is a universal fit, it might simply be too large for your seats.
- Cover is Too Tight: Ensure you haven't missed any seams or adjustment points. If the cover is a custom fit, double-check that you have the correct model for your vehicle.
- Difficulty Attaching Hooks: Use needle-nose pliers to help manipulate the hooks in tight spaces. A flashlight or headlamp will also make it easier to see what you're doing.
Practical Takeaways
- Choose the Right Seat Cover: A well-fitting seat cover is easier to install and provides a better overall look. Consider a semi-custom or custom fit if you want the best possible result.
- Read the Instructions: Seat cover installation is not one-size-fits-all. Always follow the manufacturer's instructions.
- Safety First: Disconnecting the negative battery terminal is a good precaution, especially if your vehicle has seat-mounted airbags.
- Take Your Time: Rushing can lead to mistakes and damage. Allocate enough time to complete the installation properly.
- Don't Be Afraid to Ask for Help: If you're struggling, don't hesitate to consult a professional or ask a friend for assistance.
By following these tips and guidelines, you can successfully install car seat covers with hooks and enjoy a more comfortable and stylish driving experience. Remember, patience and attention to detail are key!