
How To Program Garage Door Opener Clicker
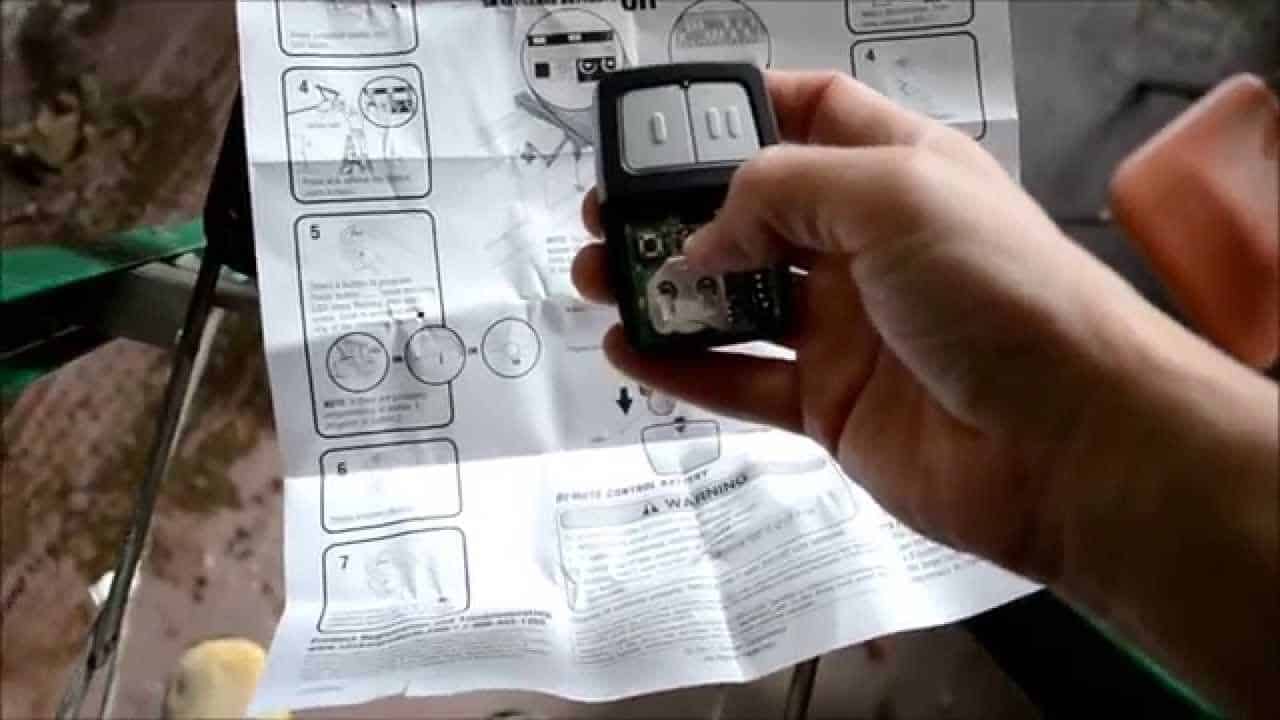
Integrating your garage door opener with your vehicle's built-in system offers unparalleled convenience. No more fumbling for a separate remote – simply press a button on your rearview mirror or visor, and you're in. This article provides a comprehensive guide on how to program your car's garage door opener, catering to both seasoned automotive enthusiasts and those new to the process.
Understanding the Technology: Homelink® and Universal Garage Door Openers
Most modern vehicles come equipped with a HomeLink® system, a widely used universal transceiver that can be programmed to operate various radio frequency (RF) devices, including garage door openers, security systems, and even lighting. The crucial point is understanding the frequency and type of signal your garage door opener transmits. Older openers often use fixed codes, while newer models employ rolling codes, also known as Security+® or similar proprietary encryption.
Rolling codes enhance security by changing the transmission code each time the opener is used, preventing unauthorized access from code interception. This difference necessitates slightly different programming procedures.
Step-by-Step Programming: Fixed Code Garage Door Openers
Programming a fixed code opener is generally straightforward:
- Clear Existing Programs: To begin, clear any existing programs from the HomeLink® system. This is typically done by pressing and holding the two outer HomeLink® buttons simultaneously for approximately 20-30 seconds. The indicator light should flash rapidly once the memory is cleared. Refer to your vehicle's owner's manual for specific instructions, as button combinations can vary.
- Synchronize the Remote: Hold your garage door opener remote about 1-3 inches away from the HomeLink® button you want to program. Simultaneously press and hold both the desired HomeLink® button and the remote's button.
- Observe the Indicator Light: Watch the HomeLink® indicator light. Initially, it will blink slowly, then change to a rapidly flashing light. This indicates that the HomeLink® system has successfully learned the frequency.
- Test the Programming: Release both buttons and press the programmed HomeLink® button. If the garage door opens, you're done! If not, proceed to the troubleshooting section below.
Step-by-Step Programming: Rolling Code Garage Door Openers
Programming rolling code openers requires an additional step, involving the "learn" or "smart" button on your garage door opener motor:
- Clear Existing Programs: As with fixed codes, begin by clearing existing programs from the HomeLink® system using the aforementioned method.
- Synchronize the Remote: Hold your garage door opener remote about 1-3 inches away from the HomeLink® button you want to program. Simultaneously press and hold both the desired HomeLink® button and the remote's button. Continue holding until the HomeLink® indicator light flashes rapidly (this may take longer than with fixed codes).
- Locate the Learn Button: Find the “learn” or “smart” button on your garage door opener motor unit. This button is usually located on the back or side of the motor housing and is often brightly colored (red, yellow, or orange).
- Press the Learn Button: Press the “learn” button once (some openers may require a double-press). You typically have a limited time (usually 30 seconds) to complete the next step.
- Activate the HomeLink® Button: Immediately return to your vehicle and press the programmed HomeLink® button. You may need to press and release the button multiple times (typically 2-3 times), waiting a few seconds between each press, until the garage door activates.
- Test the Programming: Your garage door should now open or close when you press the programmed HomeLink® button.
Troubleshooting Common Issues
If you encounter problems during programming, consider these common issues:
- Insufficient Signal Strength: Ensure fresh batteries are installed in your garage door opener remote. Also, try repositioning the remote closer to the HomeLink® system during the synchronization process.
- Incorrect Frequency: HomeLink® systems are designed to work with a specific frequency range. If your garage door opener operates outside this range, it may not be compatible. Check your garage door opener's documentation for its operating frequency.
- Interference: Electrical interference from other devices can disrupt the programming process. Try moving your vehicle to a different location away from potential sources of interference.
- Software Glitches: In rare cases, the vehicle's electronic system may experience a glitch. Disconnecting the car battery for a few minutes and then reconnecting it can sometimes resolve these issues (be aware that this may reset other vehicle settings).
- Outdated Opener: Very old garage door openers may not be compatible with HomeLink®.
Consult Your Manual
This guide provides general instructions, but the specific steps for programming your HomeLink® system may vary depending on your vehicle's make and model. Always consult your vehicle's owner's manual and the garage door opener's manual for the most accurate and up-to-date information. Many manufacturers also offer online tutorials and support resources.
By following these steps and troubleshooting tips, you can seamlessly integrate your garage door opener with your vehicle, enhancing convenience and security.