
How To Remove Air Conditioner Front Cover
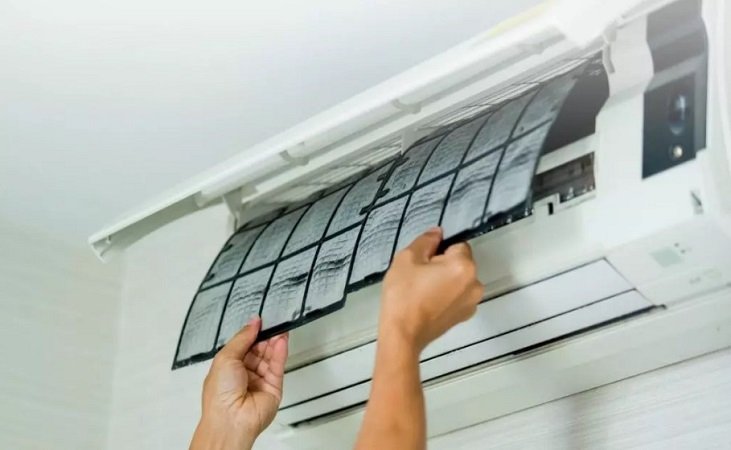
Removing the air conditioner (A/C) front cover in a vehicle might seem like a simple task, but for automotive professionals, understanding the underlying engineering, potential pitfalls, and best practices is crucial. This article delves into the process, focusing on technical aspects, alternatives, reliability, maintenance, and future trends.
Understanding the Design and Engineering Choices
The A/C front cover, often integrated into the dashboard or center console, serves several vital functions. Primarily, it provides aesthetic integration, blending the A/C controls and vents seamlessly into the vehicle's interior design. However, it also plays a critical role in airflow management. The cover is engineered to direct air effectively through the vents, optimizing cooling and heating performance. The material selection, usually ABS plastic or a similar polymer, is a compromise between durability, weight, cost, and moldability. The fastening mechanisms, typically clips, screws, or a combination of both, are designed for secure attachment while allowing for relatively easy removal for maintenance or repair.
Engineering choices vary considerably between manufacturers and even models within the same brand. Some designs prioritize ease of access for servicing, employing easily accessible screws and simple clip mechanisms. Others prioritize aesthetics, resulting in more complex designs that require specialized tools and techniques for removal to avoid damage.
Step-by-Step Removal Procedure
While the specific procedure will vary, here's a generalized approach that automotive professionals should follow:
- Preparation: Consult the vehicle's service manual for specific instructions and diagrams. Disconnect the negative terminal of the battery to prevent electrical shorts. Gather necessary tools, including plastic trim removal tools, screwdrivers (Phillips and flathead), and potentially specialized tools for removing specific types of clips.
- Locating Fasteners: Carefully inspect the A/C front cover for visible screws. These are often located in recesses or behind panels that may need to be gently pried open using trim removal tools. Hidden clips are also common, usually located along the edges of the cover.
- Removing Screws: If screws are present, use the appropriate screwdriver to remove them. Be sure to store the screws in a safe place to prevent loss.
- Releasing Clips: This is the most critical step. Use plastic trim removal tools to gently pry the cover away from the dashboard or console. Work slowly and methodically, applying even pressure to avoid breaking the clips or damaging the surrounding trim. Pay close attention to the location and orientation of the clips to understand how they are engaged.
- Disconnecting Electrical Connectors: Once the cover is partially removed, there may be electrical connectors attached to switches, lights, or sensors. Carefully disconnect these connectors, noting their location for reassembly.
- Complete Removal: With all fasteners and connectors released, carefully remove the A/C front cover.
Comparison with Alternatives and Considerations
The alternative to removing the entire front cover is often to attempt localized repairs or access through smaller access panels. However, this approach is often limited and may not provide sufficient access for comprehensive repairs or component replacement. Trying to force access can lead to more damage than the initial issue.
Pros of Removing the Front Cover:
- Provides full access to A/C components behind the cover.
- Facilitates thorough inspection and cleaning.
- Allows for easier component replacement.
Cons of Removing the Front Cover:
- Risk of damaging the cover or surrounding trim if not done carefully.
- Time-consuming, especially on complex designs.
- Potential for losing or misplacing fasteners.
Reliability and Maintenance
The reliability of the A/C front cover itself is generally high, as it's typically a non-mechanical component. However, the fastening mechanisms, especially plastic clips, can become brittle over time due to heat and UV exposure. Regular maintenance involves cleaning the cover to remove dust and debris, which can improve airflow and prevent the accumulation of allergens. When reinstalling the cover, ensure all clips are properly engaged and all screws are tightened to the correct torque specifications to prevent rattles and vibrations.
Real-World Performance and Common Issues
In real-world scenarios, improper removal or installation of the A/C front cover can lead to several issues. Broken clips are a common problem, resulting in loose-fitting covers that rattle or vibrate. Damaged trim can detract from the vehicle's appearance and reduce its resale value. Incorrectly connected electrical connectors can lead to malfunctioning A/C controls or other electrical problems. Therefore, following the proper procedure and using the correct tools are essential.
Future Trends
Future trends in A/C front cover design are likely to focus on improved aesthetics, easier accessibility, and the integration of advanced technologies. We may see more use of modular designs that allow for easier removal and replacement of individual components. The integration of touch-sensitive controls and digital displays into the front cover is also a growing trend. Moreover, the use of sustainable materials and manufacturing processes is likely to become more prevalent as the automotive industry moves towards greater environmental responsibility.
Conclusion
Removing an A/C front cover requires a combination of technical knowledge, careful execution, and an understanding of the vehicle's specific design. Automotive professionals who master this skill can provide efficient and reliable service, ensuring customer satisfaction and maintaining the integrity of the vehicle. As the automotive industry continues to evolve, staying abreast of new technologies and best practices will be crucial for success.