How To Remove Air Pocket In Cooling System Without Radiator
Air pockets in your car's cooling system can lead to serious engine overheating and damage. While radiator caps are the typical point for bleeding air, what do you do when your system doesn't have a conventional radiator cap or you need a faster solution? This article provides practical methods for removing air pockets without relying on the radiator, catering to both car owners and mechanics.
Understanding Air Pockets in Your Cooling System
The cooling system's job is to circulate coolant, maintaining optimal engine temperature. When air gets trapped, it disrupts this process, creating hot spots and reducing cooling efficiency. This is especially problematic in modern vehicles with complex cooling systems.
Common Symptoms of Air Pockets
- Overheating engine, especially when idling or driving slowly.
- Temperature gauge fluctuations: The needle might jump erratically.
- Lack of heat from the heater, or inconsistent heat output.
- Gurgling noises from behind the dashboard.
- Coolant leaks: Air pockets can create pressure surges that lead to leaks.
- High-temperature readings on the OBD-II scanner even when the engine doesn't *feel* overly hot.
Causes of Air Pockets
- Improper coolant filling after maintenance or repairs.
- Coolant leaks that allow air to enter the system.
- Head gasket leaks: Combustion gases can enter the cooling system.
- Low coolant levels.
- Faulty water pump, sometimes causing cavitation and air introduction.
Bleeding Air Without a Radiator Cap: Practical Methods
Many newer cars, like certain BMWs, Audis, and some Hondas, don't have a traditional radiator cap. Instead, they rely on an expansion tank or a specific bleed screw system. Even with a radiator cap, these methods can be quicker and more effective in certain situations.
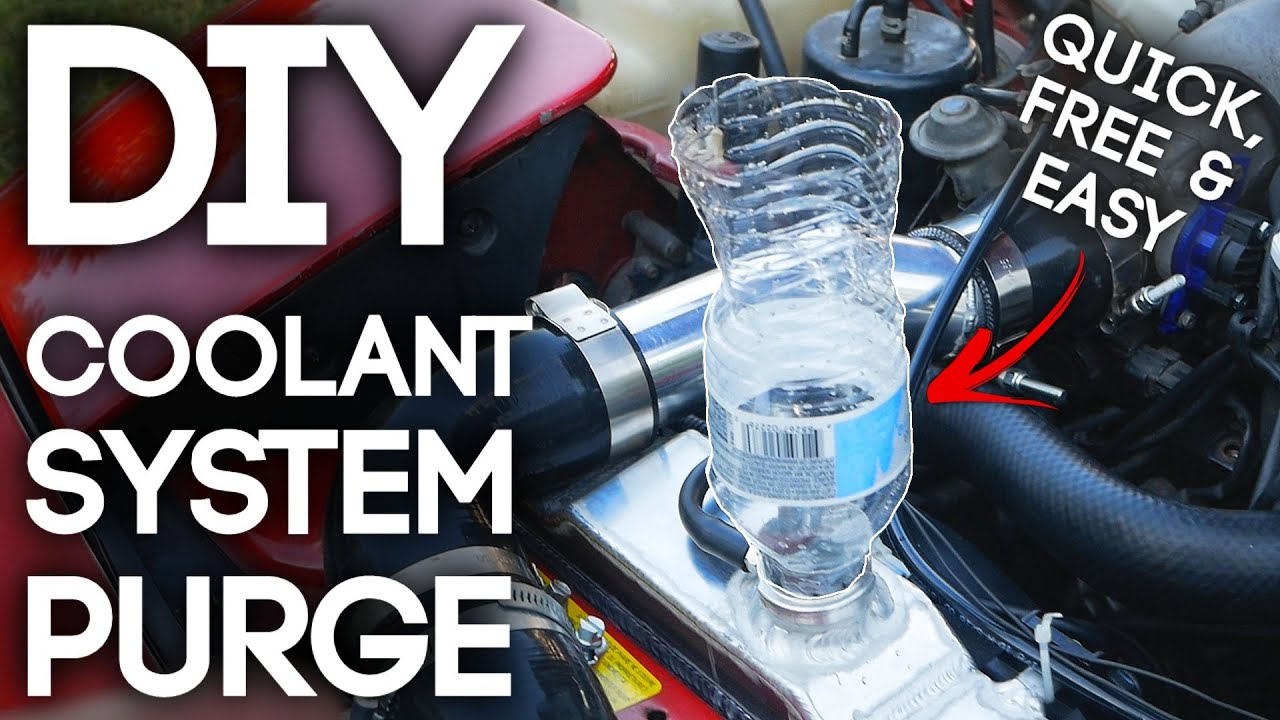
Method 1: Using the Expansion Tank
Most cars without radiator caps have an expansion tank connected to the cooling system. This tank usually has a pressure cap. This is your new bleeding point.
- Safety First! Ensure the engine is cool to the touch. Never open the cooling system when it's hot; you risk severe burns.
- Locate the Expansion Tank: It's typically a plastic reservoir with coolant level markings.
- Open the Expansion Tank Cap: Slowly release the pressure by carefully unscrewing the cap. If you hear a hissing sound, pause and allow the pressure to dissipate.
- Start the Engine: With the cap off (or slightly loose), start the engine. Let it idle.
- Monitor Coolant Level: As the engine warms up, air pockets will be released through the expansion tank. You'll see bubbles rising to the surface. Keep a close eye on the coolant level and add coolant as needed to keep it near the "full" mark. Use the correct type of coolant specified for your vehicle.
- Gently Squeeze Hoses: While the engine is idling, gently squeeze the upper and lower radiator hoses. This can help dislodge trapped air.
- Raise the Front of the Car (Optional): Parking the car on an incline, with the front end higher than the rear, can help air pockets migrate towards the expansion tank.
- Run the Heater: Turn the heater on full blast, with the temperature set to hot. This opens the heater core and helps purge air from that part of the system.
- Replace the Cap: Once the bubbles stop appearing and the coolant level stabilizes, carefully replace the expansion tank cap. Make sure it's properly seated.
- Monitor Temperature: After the procedure, monitor the engine temperature gauge during a test drive. If the temperature remains normal, you've likely removed the air pocket.
Example: On a BMW 3 Series (E90), the expansion tank is clearly visible. Following the steps above will typically resolve air pocket issues. However, be aware of potential leaks from the expansion tank itself, which is a common issue on these models.
Method 2: Using Bleed Screws
Some vehicles have specific bleed screws located at strategic points in the cooling system, such as on the thermostat housing or near the heater core hoses. These screws allow you to vent air directly from these areas.
- Identify Bleed Screws: Consult your vehicle's repair manual or online resources to locate the bleed screws.
- Prepare Tools: You'll need a wrench or screwdriver that fits the bleed screw. Also, have a rag or container ready to catch any coolant that escapes.
- Open the Expansion Tank Cap (or Radiator Cap if equipped): This allows air to escape the system.
- Loosen the Bleed Screw: Carefully loosen the bleed screw. You should hear air hissing out.
- Wait for Coolant: Once coolant starts to flow out in a steady stream without air bubbles, tighten the bleed screw.
- Repeat for Other Screws: Repeat the process for any other bleed screws in the system.
- Check Coolant Level: Top off the coolant level in the expansion tank (or radiator).
- Test Drive: Monitor the engine temperature during a test drive.
Example: Many Honda Civics and Accords have a bleed screw on the thermostat housing. Mechanics will often recommend replacing the o-ring on the bleed screw as they can become brittle with age. In these cars, air can easily get trapped near the thermostat preventing it from opening properly and leading to overheating.
Method 3: Self-Bleeding Systems
Some modern vehicles have "self-bleeding" cooling systems. These systems are designed to automatically purge air over time.
- Ensure Correct Coolant Level: The key to a self-bleeding system is maintaining the proper coolant level. Check the expansion tank regularly.
- Drive Normally: The act of driving the car will often be sufficient to work out any trapped air.
- Monitor Temperature: Keep a close eye on the engine temperature gauge.
- Burp the System (If Needed): Even with a self-bleeding system, you might need to "burp" the system by squeezing the radiator hoses after a drive.
Example: Many modern VW and Audi models utilize self-bleeding systems. While effective, these systems are still susceptible to air intrusion after major repairs or if the coolant level drops too low. The expansion tank cap is especially important on these cars and should be pressure tested to ensure it is sealing properly.
Troubleshooting Common Issues
Sometimes, air pockets are persistent and difficult to remove. Here are some troubleshooting tips:
- Check for Leaks: A cooling system pressure test can help identify leaks that are allowing air to enter.
- Inspect the Water Pump: A failing water pump can cause cavitation, which introduces air into the system. Listen for unusual noises from the water pump.
- Head Gasket Test: If you suspect a head gasket leak, perform a chemical block test to check for combustion gases in the coolant.
- Thermostat Issues: A stuck-closed thermostat can prevent proper coolant circulation and exacerbate air pocket problems. Consider replacing the thermostat.
- Heater Core Blockage: A blocked heater core can prevent proper coolant flow and trap air. Flushing the heater core can sometimes resolve this issue.
- Incorrect Coolant Mixture: Using the wrong coolant type or an improper mixture of coolant and water can lead to air pocket formation and corrosion.
Real-World Considerations
Mechanics should be aware of the specific nuances of different car models. For example:
- Japanese Vehicles (Toyota, Honda, Nissan): Often use bleed screws located in accessible areas.
- European Vehicles (BMW, Audi, Mercedes): May have more complex cooling systems with multiple bleed points and self-bleeding features.
- American Vehicles (Ford, GM, Chrysler): Typically have a combination of radiator caps and expansion tanks.
Also, remember that aftermarket parts can sometimes introduce air pocket problems. For instance, a poorly designed aftermarket radiator or water pump might not allow for proper air bleeding.
Keeping Your Car in Top Condition
Preventive maintenance is key to avoiding air pocket issues and other cooling system problems.
- Regular Coolant Flushes: Flush and replace the coolant every 2-3 years, or as recommended by the manufacturer.
- Check Coolant Level Regularly: Maintain the proper coolant level in the expansion tank (or radiator).
- Inspect Hoses and Clamps: Look for signs of leaks, cracks, or swelling. Replace worn hoses and clamps.
- Pressure Test the Cooling System: Periodically pressure test the cooling system to check for leaks.
- Use the Correct Coolant: Always use the coolant type specified for your vehicle. Mixing different coolant types can cause corrosion and other problems.
- Check the Radiator Cap (if applicable): Ensure the radiator cap is sealing properly. A faulty cap can allow air to enter the system.
- Replace Thermostat: Replace the thermostat proactively every 50,000-75,000 miles.
By understanding the causes and symptoms of air pockets, and by following these practical methods, both car owners and mechanics can effectively address cooling system issues and keep their vehicles running smoothly and reliably.