
How To Remove Dead Bugs From Front Of Car
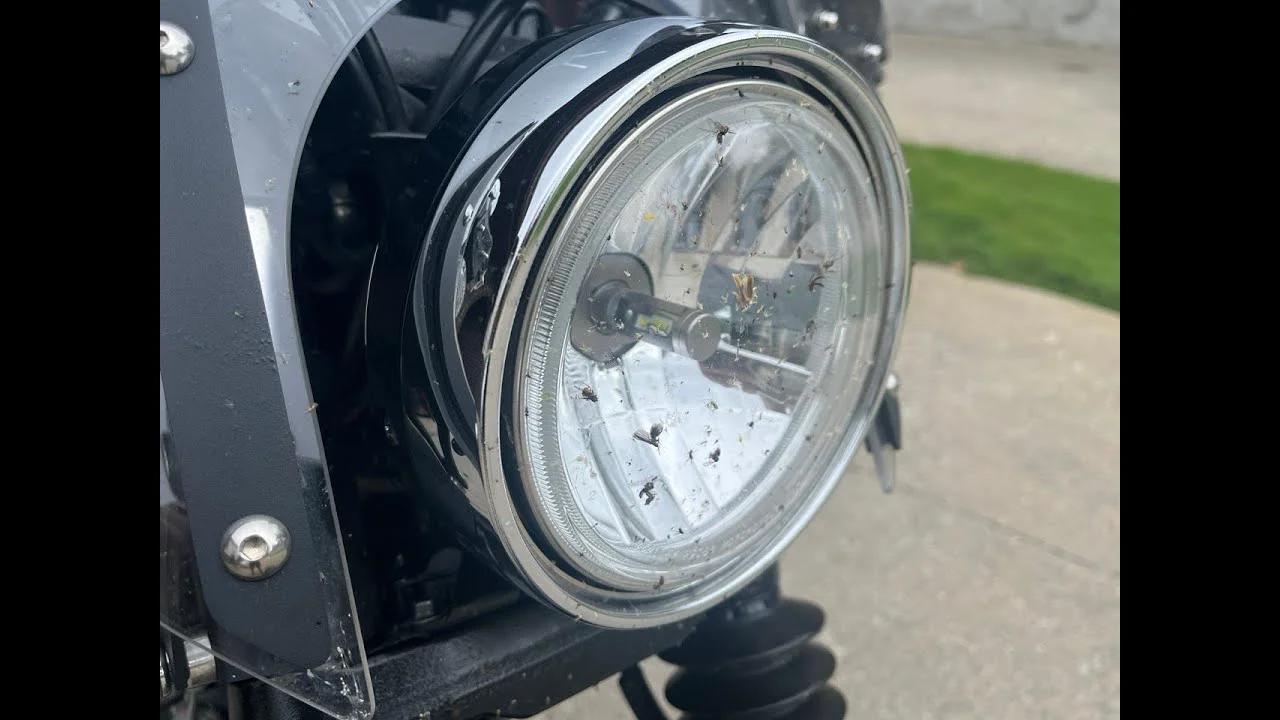
Ah, the open road! There's nothing quite like it. But after a long drive, especially during the warmer months, you're often left with an unwelcome souvenir plastered across the front of your car: a graveyard of dead bugs. Not only is it unsightly, but those little critters can actually damage your paint if left unattended for too long. Their acidic remains can etch into the clear coat, leading to permanent blemishes. Don't worry, though; you're not alone in this battle. This guide will walk you through the best methods for removing those stubborn bug carcasses and keeping your car looking its best.
Why Bug Removal Matters
Before we dive into the how-to, let's quickly recap why removing bugs is so important. Beyond the obvious aesthetic reasons, bug guts are corrosive. The fluids within these insects contain enzymes and acids that, over time, will eat away at your car's clear coat. This is especially true in hot weather when the sun bakes the bugs onto the surface. If left untreated, you could end up with faded, discolored, or even chipped paint. Think of it as a slow-motion chemical attack on your vehicle's finish.
Moreover, a clean car is a safer car. Accumulated bug splatter can obstruct your visibility, especially at night. This is particularly true for headlights and windshields. Removing the bug debris will ensure your lights shine brightly and your windshield provides a clear view of the road.
Tools and Materials You'll Need
Fortunately, removing dead bugs doesn't require a huge investment in specialized equipment. Here's a list of the essentials:
- Bug and Tar Remover: This is a specifically formulated solution designed to dissolve bug residue. Look for one that is safe for your car's paint.
- Microfiber Towels: These are essential for gentle cleaning and will prevent scratching your car's finish. Have several on hand.
- Car Wash Soap: A good quality car wash soap will help loosen the remaining debris and clean the area after using the bug remover.
- Wash Mitt: Use a dedicated wash mitt (microfiber is best) to apply the car wash soap.
- Hose with Spray Nozzle: You'll need a hose to rinse the affected areas thoroughly.
- Bucket: For mixing the car wash soap and water.
- Optional:
- Detailing Clay: For particularly stubborn bug residue. Use with caution and plenty of lubricant.
- Bug Sponge: A sponge designed with a mesh-like surface specifically for removing bugs. Use with care, as it can scratch if used improperly.
- Pressure Washer: A pressure washer can be helpful, but use it on a low setting to avoid damaging the paint.
Step-by-Step Bug Removal Guide
Now, let's get down to the nitty-gritty. Here’s a comprehensive guide to removing dead bugs effectively and safely:
Step 1: Pre-Soak the Affected Areas
This is the most crucial step. Never try to scrub dry bug remains. That's a recipe for scratches! Thoroughly wet the front of your car, especially the bumper, grill, headlights, and windshield, with water from your hose. This will begin to loosen the debris.
Step 2: Apply Bug and Tar Remover
Follow the manufacturer's instructions on your chosen bug and tar remover. Typically, you'll spray it liberally onto the areas covered in bug splatter. Allow the product to dwell for the recommended time, usually 5-10 minutes. This gives the chemicals time to break down the bug residue. Do not let the bug remover dry on the surface.
Pro-Tip: Work in the shade to prevent the product from drying too quickly.
Step 3: Gently Wipe Away the Bug Residue
Using a clean, soft microfiber towel, gently wipe the treated areas. Do not apply excessive pressure. The bug remover should have loosened the debris enough that it comes off relatively easily. If you encounter stubborn spots, reapply the bug remover and let it dwell for a bit longer.
Pro-Tip: Fold your microfiber towel into quarters to give you multiple clean surfaces to work with.
Step 4: Wash Your Car
After removing the bulk of the bug residue, it's time for a proper car wash. This will remove any remaining bug remover and any other dirt or grime that might be present. Follow these steps:
- Fill a bucket with water and add the appropriate amount of car wash soap.
- Using your wash mitt, gently wash the entire car, starting from the top and working your way down.
- Pay special attention to the areas where you removed the bug residue.
- Rinse the car thoroughly with clean water.
Step 5: Dry Your Car
Use clean, dry microfiber towels to dry your car. This will prevent water spots. You can also use a leaf blower to remove excess water from hard-to-reach areas.
Step 6: Inspect and Repeat if Necessary
Once your car is dry, inspect the areas where you removed the bugs. If you still see any residue, repeat steps 2-5. For particularly stubborn spots, you may need to use detailing clay (see below).
Dealing with Stubborn Bug Remains
Sometimes, even with bug remover, some bug residue just won't budge. Here are a few strategies for dealing with those stubborn cases:
Detailing Clay
Detailing clay is a great tool for removing embedded contaminants, including bug remains. However, it's important to use it correctly to avoid scratching your paint. Always use plenty of lubricant (detailing spray or soapy water) and gently glide the clay across the surface. Knead the clay frequently to expose a clean surface. After using detailing clay, you'll need to wash and wax the area to protect the paint.
Bug Sponges
Bug sponges are designed with a mesh-like surface that can help remove bug residue. However, they can also scratch your paint if used improperly. Always wet the area thoroughly and use plenty of lubrication. Apply very light pressure and rinse the sponge frequently.
Professional Detailing
If you're uncomfortable using detailing clay or a bug sponge, or if the bug residue is particularly severe, you may want to consider taking your car to a professional detailer. They have the tools and expertise to safely remove even the most stubborn bug remains.
Prevention is Key
The best way to deal with bug residue is to prevent it from building up in the first place. Here are a few preventative measures you can take:
- Wash Your Car Regularly: Regular washing will remove bug remains before they have a chance to damage your paint.
- Apply Wax or Sealant: A good coat of wax or sealant will provide a protective barrier between your paint and the bug residue.
- Use a Bug Deflector: A bug deflector is a plastic shield that mounts to the front of your hood and deflects bugs away from your windshield and hood.
- Consider a Ceramic Coating: A ceramic coating provides a more durable and long-lasting protective layer than wax or sealant.
Approximate Costs
Here's a rough estimate of the costs associated with bug removal:
- Bug and Tar Remover: $10 - $20
- Microfiber Towels: $10 - $30 (for a set)
- Car Wash Soap: $10 - $20
- Detailing Clay: $10 - $20
- Professional Detailing: $50 - $200 (depending on the severity of the problem and the detailer's rates)
By following these tips and techniques, you can keep your car looking its best and protect its paint from the damaging effects of bug residue. Remember, prevention is always the best medicine, so wash your car regularly and apply a protective coating to keep those pesky bugs at bay!