How To Remove Fuel Line Without Tool
So, you're elbow-deep in your project car, staring at a fuel line that stubbornly refuses to detach. You've misplaced your fuel line disconnect tool (again!), or maybe you're working on a classic where specialized tools are as rare as hen's teeth. Don't panic! While having the right tool is always the best approach, there are ways to carefully coax a fuel line apart without it. But before we dive into the MacGyver-esque solutions, let's be clear: safety first! Fuel is highly flammable. Always disconnect the battery, work in a well-ventilated area, and have a fire extinguisher handy. We're not responsible for any mishaps, so proceed with caution and common sense.
Understanding Fuel Line Connections
The method for removing a fuel line sans tool depends heavily on the type of connection you're dealing with. Let's break down the common types:
- Quick-Connect Fittings (Most Common): These are the bane of many a shade-tree mechanic. They use a retaining clip inside the fitting that locks onto the fuel line.
- Flare Fittings: Typically found in older vehicles or performance applications, these use a flared end on the fuel line that's compressed against a matching seat in the fitting.
- Spring-Lock Couplings: Similar to quick-connects, but often larger and found in fuel filter connections or fuel rails.
- Hose Clamps: The simplest type, but not always present on high-pressure fuel lines.
Quick-Connect Fittings: The Impatient Mechanic's Challenge
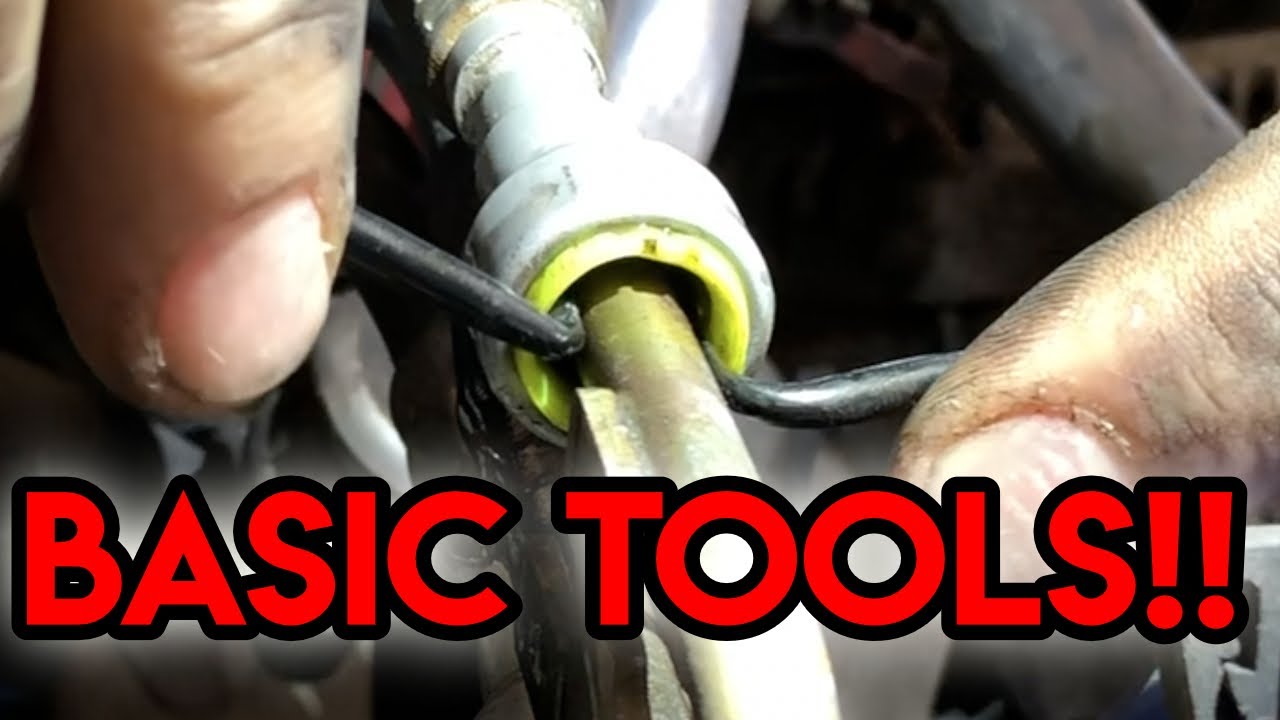
These fittings are the primary focus of our tool-less adventure. Inside, a plastic or metal retainer clip sits between the fuel line and the fitting, preventing separation. To release it, you need to push the clip inwards.
Technique 1: The "Pick and Pry" Method (Use with extreme care!)
This is a delicate operation that requires patience and a steady hand. You'll need:
- Small flat-head screwdriver (jeweler's size is ideal)
- Penetrating oil (like PB Blaster or WD-40)
- A whole lot of patience.
The Process:
- Spray: Liberally apply penetrating oil around the fitting where the fuel line enters. Let it soak for a few minutes. This is crucial, especially on older cars.
- Locate: Carefully examine the fitting. You might see small slots or openings around the circumference. These are your entry points.
- Pick: Using the small screwdriver, gently try to push the retaining clip inwards through one of the slots. You're aiming to compress the clip, allowing the fuel line to slide out. Don't force it!
- Pry (Gently!): While maintaining pressure on the clip, gently wiggle and pull the fuel line. Avoid twisting, which can damage the line or the fitting.
- Repeat: Work your way around the fitting, trying to compress the clip from different angles. Persistence is key.
Pros:
- Potentially works in a pinch.
- Requires minimal "tools".
Cons:
- High risk of damaging the retaining clip or the fitting.
- Can be extremely frustrating.
- May not work on heavily corroded fittings.
Technique 2: The "Straw" Method (A Slightly Safer Approach)
This method attempts to simulate the action of a proper fuel line disconnect tool. You'll need:
- A plastic straw or thin-walled tube of appropriate diameter (experiment with different sizes).
- Scissors or a sharp knife.
- Penetrating oil.
The Process:
- Measure: Find a straw or tube with an outer diameter slightly smaller than the inside diameter of the quick-connect fitting.
- Cut: Carefully cut the straw lengthwise, creating a C-shaped opening.
- Spray: Apply penetrating oil to the fitting.
- Insert: Slide the C-shaped straw into the fitting, attempting to push the retaining clip inwards uniformly around the circumference.
- Pull: While maintaining pressure on the straw, gently pull the fuel line.
Pros:
- Less likely to damage the clip than the "Pick and Pry" method.
- Can be surprisingly effective.
Cons:
- Finding the right size straw or tube can be challenging.
- Still requires some finesse.
- Doesn't work on all types of quick-connect fittings.
Flare Fittings: A Wrench (Almost) Always Works
Removing flare fittings without damaging them is crucial. The key is using the correct size wrench (preferably a flare nut wrench, also known as a line wrench). If you don't have the correct size, you risk rounding off the fitting, making it impossible to remove.
The Process:
- Apply Penetrating Oil: As always, start with penetrating oil.
- Use the Right Wrench: Choose a wrench that fits snugly on the flare nut. A flare nut wrench is open-ended, allowing it to slip over the fuel line while still gripping the nut on multiple sides.
- Apply Steady Pressure: Apply even pressure to the wrench. Avoid jerking or forcing it, which can damage the fitting or the fuel line.
- Counter-Hold (If Necessary): If the fitting is connected to another component, use a second wrench to hold that component in place to prevent it from twisting.
Note: While a standard open-end wrench can work, it's far more likely to round off the flare nut, especially if it's corroded. If the flare nut is stuck, consider using heat (carefully!) to loosen it, but be extremely cautious around fuel lines.
Spring-Lock Couplings: Often Require a Special Tool
These fittings are notorious for being difficult to remove without the proper tool. The tool typically consists of two halves that snap around the fuel line and then are pushed into the fitting to release the spring-loaded clip. While attempting to remove them without a tool is strongly discouraged, some people have had limited success using a combination of small screwdrivers and penetrating oil, but the risk of damage is very high.
Hose Clamps: The Easy Case
These are the easiest to deal with. Simply loosen the clamp with a screwdriver or wrench and slide the hose off the fitting. If the hose is stuck, try twisting it slightly while pulling. You can also use a heat gun (carefully!) to soften the hose.
Model and Engine Variations: Why One Size Doesn't Fit All
The type of fuel line connection and its accessibility can vary significantly depending on the vehicle model, engine type, and even the year of manufacture. For example:
- Older Cars (Pre-1990s): More likely to use flare fittings or hose clamps.
- Modern Cars (Post-2000s): Almost exclusively use quick-connect fittings.
- Fuel Filter Connections: Often use spring-lock couplings or specialized quick-connects.
- Fuel Rail Connections: Can vary widely depending on the engine and manufacturer. Some use quick-connects, while others use banjo bolts or threaded fittings.
Example Comparison:
| Feature | 1967 Ford Mustang (289 V8) | 2015 Ford Mustang (5.0 Coyote V8) |
|---|---|---|
| Fuel Line Material | Steel (mostly) with rubber sections | Nylon/Plastic |
| Fuel Line Connections | Flare Fittings, Hose Clamps | Quick-Connect Fittings |
| Typical Removal Method (Without Tool) | Flare Nut Wrench (for flare fittings), Screwdriver (for hose clamps) | "Straw" Method (with extreme caution, but ideally use the correct tool) |
Driving Impressions: While removing fuel lines has nothing directly to do with driving impressions, understanding the fuel system's design reflects the evolution of automotive technology. A 1967 Mustang's simple fuel system provided adequate fuel delivery for its time, but lacked the precision and efficiency of a modern fuel-injected system like the Coyote V8. The complex quick-connect fittings in the modern Mustang contribute to a sealed, emissions-compliant system capable of delivering precise fuel amounts under varying driving conditions. This translates to improved fuel economy, reduced emissions, and enhanced performance.
The Golden Rule: Get the Right Tool!
While these methods might get you out of a tight spot, they should be considered last resorts. Investing in a set of fuel line disconnect tools is always the best approach. They're relatively inexpensive and can save you a lot of time, frustration, and potential damage. The right tool ensures a clean, safe, and efficient removal process.
So, there you have it – a few unorthodox ways to tackle fuel line removal without the dedicated tool. Remember, safety first, and proceed with caution. But let's be honest... which one of these "shade tree" methods have you actually tried (and succeeded with!)? Let the debate begin!