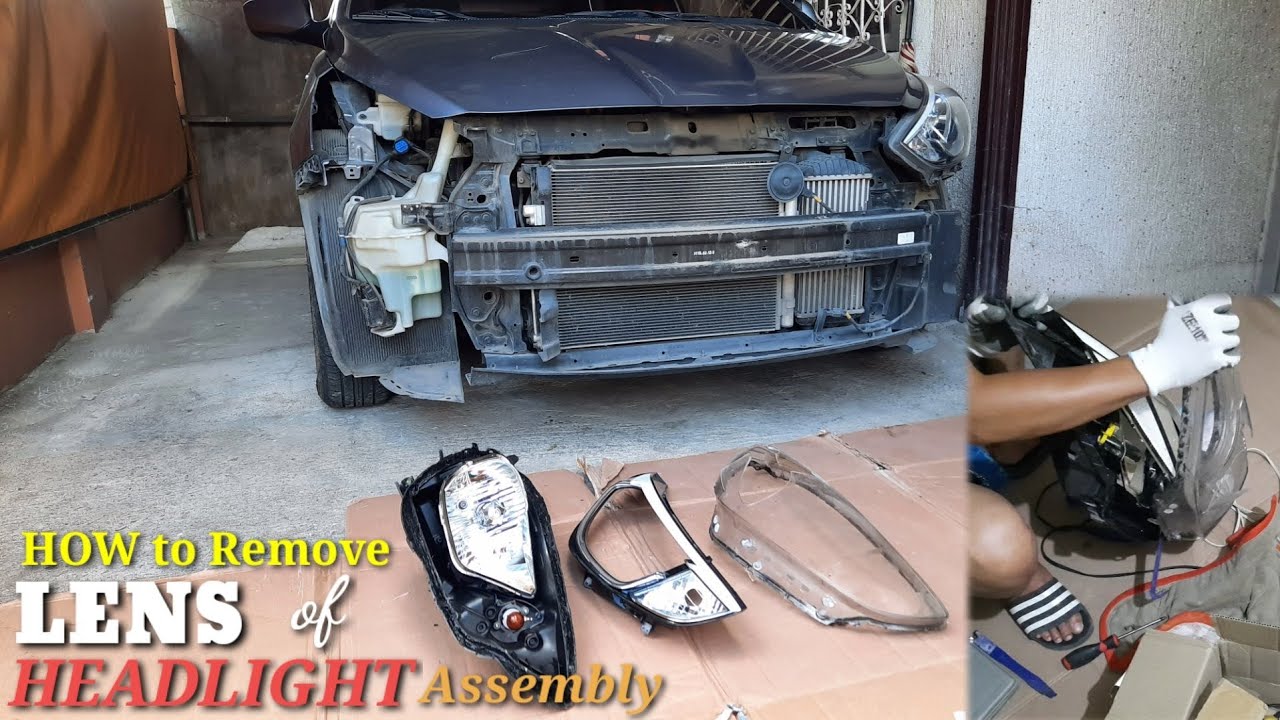
How To Remove Headlight Assembly
Removing a headlight assembly might seem daunting, but with the right tools and a methodical approach, it's a task most automotive enthusiasts can accomplish at home. This guide breaks down the process, providing detailed steps and considerations for various vehicle types. Remember, safety is paramount – disconnect the negative battery terminal before beginning any electrical work.
Preparation: Tools and Safety
Before diving in, gather the necessary tools. A basic set includes:
- Socket set with extensions
- Screwdrivers (Phillips and flathead)
- Pliers
- Plastic trim removal tools (essential for minimizing damage to delicate plastic components)
- Work light
- Gloves
- Safety glasses
- A container to hold removed fasteners (nuts, bolts, screws)
Safety is non-negotiable. Always disconnect the negative (black) battery terminal using a wrench. This prevents accidental shorts and potential damage to your vehicle's electrical system. Wear safety glasses to protect your eyes from debris. Work in a well-lit area to ensure clear visibility.
General Steps for Headlight Assembly Removal
While specific procedures vary between vehicle makes and models, the following general steps apply to most headlight assembly removals:
1. Locating Fasteners
The first step is identifying all fasteners securing the headlight assembly. These are typically bolts, screws, or clips. Look around the perimeter of the headlight assembly, both on the front and from inside the engine bay. Common locations include:
- Along the top edge of the headlight assembly, under the hood
- On the side of the headlight assembly, near the fender
- Behind the headlight assembly, accessible from the engine bay
- Sometimes, fasteners are hidden behind trim panels or covers that need to be removed first.
Consult your vehicle's service manual or online resources specific to your model for exact fastener locations. These resources often include diagrams and illustrations.
2. Removing Grille or Surrounding Trim
In many cases, you'll need to remove the front grille or surrounding trim pieces to access all the headlight assembly fasteners. These trim pieces are often held in place by clips, screws, or a combination of both. Use plastic trim removal tools to gently pry these components loose, minimizing the risk of breakage. Start at one edge and work your way around, applying even pressure.
Example: On some older models of the Honda Civic, removing the grille involves releasing several plastic clips along the top and bottom edges. On some Ford F-150 models, the grille is secured with bolts and clips. Knowing this beforehand saves time and prevents damage.
3. Detaching Electrical Connectors
Before completely removing the headlight assembly, disconnect all electrical connectors attached to it. These connectors power the various bulbs within the headlight assembly (e.g., headlight, turn signal, parking light). Each connector typically has a locking mechanism that needs to be released before it can be pulled apart. Gently press down on the release tab and pull the connector straight out. Never force a connector; if it doesn't come easily, double-check the locking mechanism.
Pro Tip: Label each connector before disconnecting it. This will make reassembly much easier and prevent you from accidentally plugging connectors into the wrong locations.
4. Removing the Headlight Assembly
With all fasteners removed and electrical connectors disconnected, the headlight assembly should now be free to be removed. Gently wiggle the assembly to dislodge it from its mounting points. Be careful not to scratch the surrounding body panels. If the assembly is still stuck, double-check that you haven't missed any hidden fasteners. Once free, carefully pull the headlight assembly forward and away from the vehicle.
5. Bulb Replacement (Optional)
While the headlight assembly is removed, this is an excellent opportunity to replace any burnt-out bulbs. Refer to your vehicle's owner's manual or online resources for the correct bulb types. Handle new bulbs with gloves to prevent oil from your skin from contaminating the bulb surface, which can shorten its lifespan.
Specific Vehicle Examples and Considerations
The specific steps for removing a headlight assembly can vary significantly depending on the vehicle make and model. Here are some examples and considerations for different types of vehicles:
Compact Cars (e.g., Honda Civic, Toyota Corolla)
On compact cars, headlight assembly removal is often relatively straightforward. The assembly is typically held in place by a few bolts and screws accessible from the engine bay or behind the grille. The grille is usually held in place with plastic clips.
Common Challenges: Accessing fasteners can be tricky due to limited space in the engine bay. Be careful not to drop fasteners into hard-to-reach areas.
Trucks and SUVs (e.g., Ford F-150, Chevrolet Silverado)
On trucks and SUVs, the headlight assembly may be larger and more complex to remove. The grille may be more substantial and require the removal of additional trim pieces. Some fasteners may be hidden behind fender liners or other components.
Common Challenges: The headlight assembly can be heavy and awkward to handle. Consider having a helper to assist with removal and installation. Accessing fasteners may require specialized tools, such as long extensions or swivel sockets.
Luxury Cars (e.g., BMW 3 Series, Mercedes-Benz C-Class)
Luxury cars often have more complex headlight assembly designs and may incorporate advanced features such as adaptive headlights or LED lighting. Removing the headlight assembly may require specialized knowledge and tools.
Common Challenges: These cars often have intricate trim pieces and hidden fasteners. It is crucial to consult the vehicle's service manual or online resources for detailed instructions. Some features, such as adaptive headlights, may require recalibration after the headlight assembly is removed and reinstalled. This typically involves using a specialized diagnostic tool.
Reassembly
Reassembly is generally the reverse of disassembly. However, here are a few important considerations:
- Proper Alignment: Ensure the headlight assembly is properly aligned before tightening all the fasteners. Misalignment can affect headlight beam pattern and visibility.
- Connector Security: Make sure all electrical connectors are securely plugged in and locked.
- Torque Specifications: Use a torque wrench to tighten fasteners to the manufacturer's specified torque values. Overtightening can damage the headlight assembly or surrounding components.
- Testing: After reassembly, test all the headlight functions (e.g., headlight, turn signal, parking light) to ensure they are working correctly.
Troubleshooting
If you encounter problems during headlight assembly removal, here are some common troubleshooting tips:
- Missing Fasteners: Double-check that you haven't missed any hidden fasteners. Consult your vehicle's service manual or online resources for exact fastener locations.
- Stuck Connectors: If an electrical connector is stuck, double-check the locking mechanism and try wiggling the connector gently. Avoid forcing the connector.
- Damaged Trim Pieces: If you accidentally damage a trim piece, consider purchasing a replacement from an auto parts store or online retailer.
Final Thoughts
Removing a headlight assembly is a manageable task for most DIYers with the right tools and information. However, if you are uncomfortable with any aspect of the process, it is always best to consult a qualified mechanic. Remember to prioritize safety and take your time to avoid damaging your vehicle.
By following these steps and tips, you can confidently remove and reinstall your headlight assembly, saving time and money on professional repairs.