How To Remove Lower Control Arm
Dropping a lower control arm (LCA) might sound like a job best left to the pros, but for the seasoned DIYer, it's a perfectly manageable task. Whether you're chasing down that persistent clunk, replacing worn bushings, or prepping for a suspension upgrade, understanding the nuances of LCA removal is key. This isn't a one-size-fits-all procedure, though. The process can vary significantly depending on your vehicle. We'll break down the process, highlight the differences between various platforms, and offer some insights gleaned from wrenching on a few of the more common offenders.
Understanding the Basics: What's a Lower Control Arm Anyway?
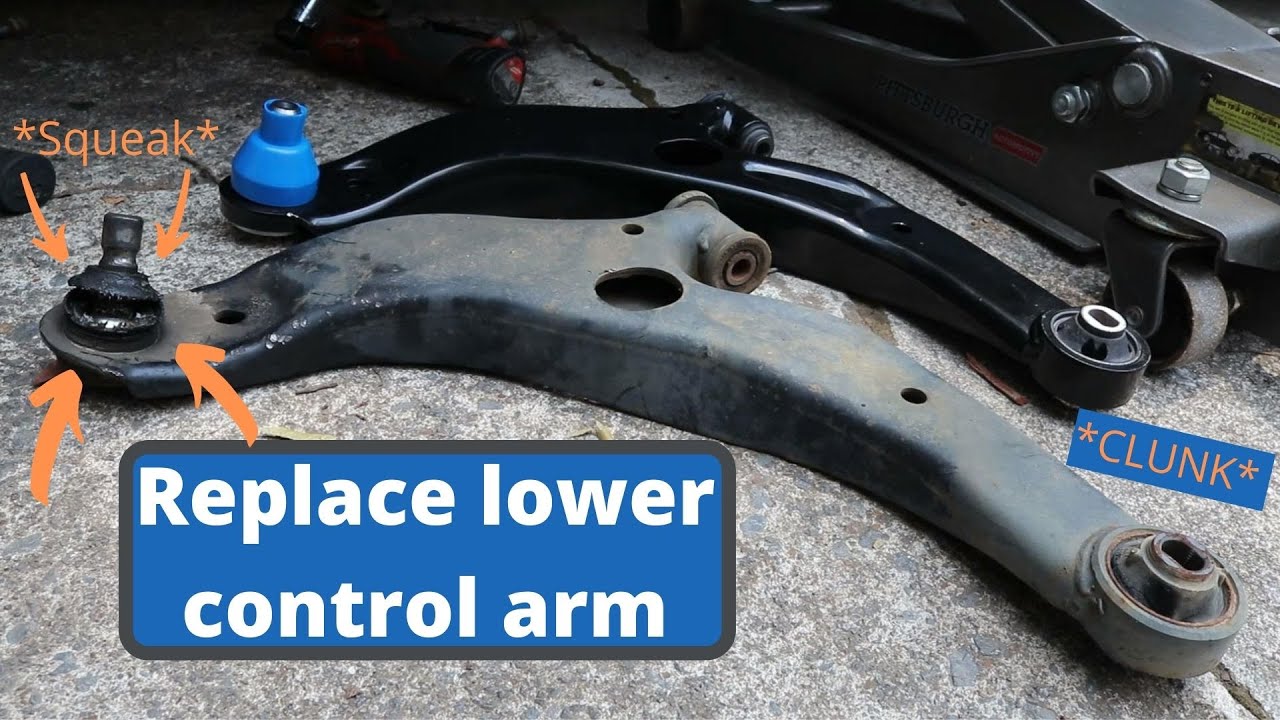
Before we dive into the nitty-gritty, let's quickly recap what the LCA does. The lower control arm is a critical suspension component connecting the wheel hub to the vehicle's chassis. It pivots, allowing the suspension to move up and down while maintaining wheel alignment. LCAs are typically equipped with bushings at their mounting points to absorb vibrations and road impacts. Over time, these bushings wear out, leading to play in the suspension, alignment issues, and those aforementioned annoying noises. Ignoring worn LCAs can lead to uneven tire wear and potentially compromise vehicle handling.
The Universal Truths (and Where They Diverge)
Regardless of make or model, the fundamental principle remains the same: disconnect the LCA from the hub and chassis. However, the execution varies wildly. Here’s a breakdown of the common steps and where you'll encounter differences:
Step-by-Step: A General Overview
- Safety First: Loosen lug nuts, lift the vehicle, securely support it with jack stands, and remove the wheel.
- Disconnect the Sway Bar: Typically, the sway bar end link connects to the LCA. Disconnect it. This might involve a simple nut and bolt, or a more involved process depending on your sway bar design.
- Disconnect the Shock Absorber: The lower shock mount usually attaches to the LCA. Unbolt it. Be prepared for the shock to extend slightly once unbolted.
- Disconnect the Ball Joint: This is where things get interesting. The ball joint connects the LCA to the steering knuckle. There are several common designs:
- Pinch Bolt: A bolt clamps the ball joint into the steering knuckle. Loosen and remove the bolt. You might need a ball joint separator tool (pickle fork or press type) to dislodge the joint.
- Stud and Nut: The ball joint has a stud that passes through the steering knuckle and is secured by a nut. Loosen the nut, but don't remove it completely. Use a hammer to tap the knuckle near the ball joint to dislodge it. Remove the nut and separate the joint.
- Direct Bolt-In (Less Common): The ball joint is bolted directly to the steering knuckle. Unbolt it.
- Remove the LCA Mounting Bolts: The LCA is attached to the chassis with bolts, often through bushings. Loosen and remove these bolts. Be prepared for the LCA to drop down once the last bolt is removed.
- Inspection and Replacement: Inspect the LCA, bushings, and ball joint for damage. Replace as needed.
Model-Specific Nuances and Gotchas
Now, let's highlight some model-specific variations that can turn a simple job into a frustrating ordeal.
Honda Civic/Integra (EG/EK/DC2): The Bushing Burnout Bonanza
These Hondas are notorious for their worn-out LCA bushings. The rear bushing in particular is prone to tearing. The challenge isn't so much the removal of the LCA itself, but the *removal of the old bushings*. Replacing these with polyurethane bushings is a common upgrade, but requires a shop press or a specialized bushing removal tool.
Ford Mustang (SN95/New Edge): The Ball Joint Battle
The SN95/New Edge Mustangs often present a challenge with the ball joint. The pinch bolt design can be incredibly stubborn. Corrosion can seize the ball joint in place. Liberal application of penetrating oil and patience are your friends. A quality ball joint separator tool is essential.
BMW E46/E90: Aluminum vs. Steel
BMW LCAs can be either steel or aluminum, depending on the model and trim. Aluminum LCAs are lighter but more susceptible to damage from impacts. Be extra careful when working with them. The ball joints are typically pressed in and can be a pain to remove without the correct tools. Furthermore, the E46 is known to have the LCA bushing pressed into the control arm bracket, bolted to the frame. When removing this setup, you may need to also unbolt the bracket from the frame and press the bushing out of the bracket on the bench.
Subaru WRX/STI: The Rear LCA Adjustment Nightmare
Subarus are known for their adjustable rear LCAs. While this is great for dialing in camber, it also means that the bolts can seize due to corrosion. Apply penetrating oil well in advance of attempting removal. Be prepared to use heat if necessary. Mark the position of the adjusters before removal to maintain your current alignment settings.
Spec Table: Key Differences Across Platforms
| Vehicle | Ball Joint Type | LCA Material | Bushing Replacement Difficulty | Common Issues |
|---|---|---|---|---|
| Honda Civic (EG/EK) | Stud and Nut | Steel | High (bushing removal) | Worn rear bushing, seized bolts |
| Ford Mustang (SN95) | Pinch Bolt | Steel | Medium | Seized ball joint in knuckle |
| BMW E46 | Pressed In (Stud and Nut) | Steel or Aluminum | High (bushing removal) | Seized bolts, difficult bushing removal, aluminum LCA damage |
| Subaru WRX/STI | Stud and Nut | Steel | Medium | Seized adjustment bolts, corrosion |
Pros and Cons of DIY LCA Replacement
- Pros:
- Significant cost savings compared to shop labor.
- Opportunity to upgrade to performance LCAs and bushings.
- Increased knowledge and understanding of your vehicle's suspension.
- Pure satisfaction of a job well done.
- Cons:
- Requires specialized tools (ball joint separator, bushing press, etc.).
- Can be time-consuming and physically demanding.
- Potential for complications (seized bolts, broken parts).
- Requires accurate alignment after replacement.
Real-World Driving Impressions After LCA Replacement
After successfully swapping out those worn-out LCAs, the transformation can be dramatic. Steering feels tighter and more responsive. Body roll is reduced, particularly during cornering. The dreaded clunking noises disappear, restoring peace and quiet to your driving experience. More importantly, you'll have peace of mind knowing your suspension is in good condition, improving safety and handling.
The Alignment Elephant in the Room
Replacing LCAs almost always requires a wheel alignment. Even if you meticulously measure and try to replicate the original position, slight variations can throw off your alignment. A proper alignment ensures optimal tire wear, handling, and fuel efficiency. Don't skip this crucial step! Find a reputable alignment shop and get it done. It is very important to loosen all suspension components, torque to spec at ride height, THEN complete the alignment to prevent premature bushing wear.
Armed with this knowledge, you're well-equipped to tackle your next LCA replacement. Remember to research your specific vehicle, gather the necessary tools, and proceed with caution. And don't be afraid to ask for help from fellow enthusiasts or experienced mechanics. Now, the fun begins!
So, let's get the debate raging: Are polyurethane bushings ALWAYS the best choice for LCA replacement, or are there situations where rubber bushings are a better option? Sound off in the comments below!