How To Remove Peeling Clear Coat From Car
How To Remove Peeling Clear Coat From Your Car: A Step-by-Step Guide
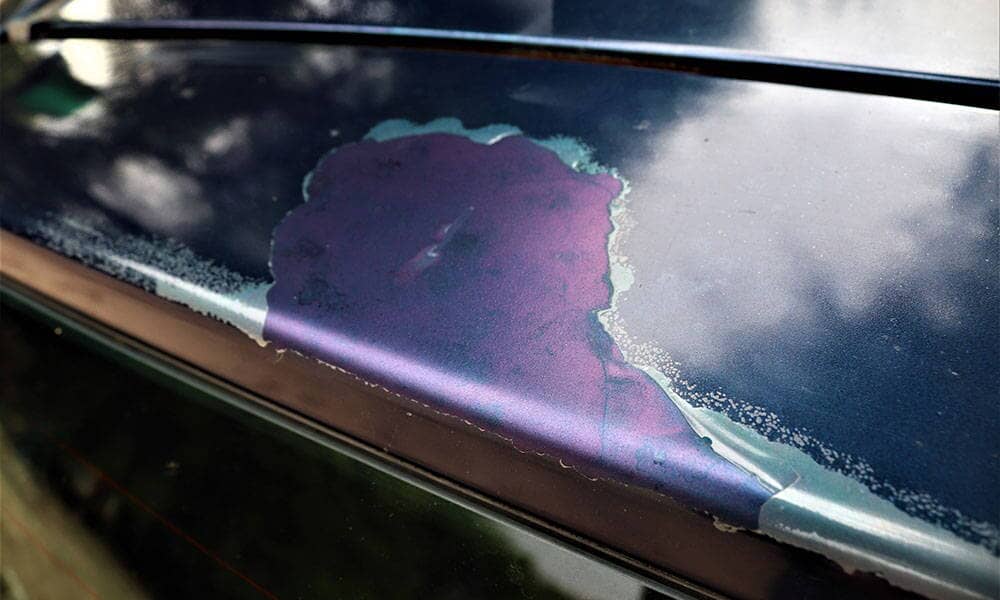
A peeling clear coat can be a real eyesore on your car. Not only does it detract from its appearance, but it also exposes the underlying paint to the elements, potentially leading to further damage like rust. While a professional repaint is the best long-term solution, there are methods you can use to remove the peeling clear coat yourself, improving your car's look and protecting the paint underneath, at least temporarily. This guide provides a comprehensive step-by-step approach to removing peeling clear coat from your car.
Understanding the Problem: Why Clear Coat Peels
Before we dive into the removal process, it's important to understand why clear coat peels in the first place. The clear coat is the outermost layer of paint on your car, designed to protect the color coat from UV rays, scratches, and other environmental factors. Over time, exposure to sunlight, extreme temperatures, and improper washing techniques can cause the clear coat to break down, leading to cracking, fading, and eventually, peeling. Neglecting regular waxing also contributes significantly to clear coat failure. Think of wax as sunscreen for your car's paint – it's essential for maintaining its health!
Tools and Materials You'll Need
Gathering your supplies beforehand will make the process smoother and more efficient. Here's a list of the essential tools and materials you'll need:
- Safety Gear: Safety glasses, dust mask, and gloves
- Cleaning Supplies: Car wash soap, microfiber towels, clay bar (optional)
- Sanding Supplies: Sandpaper (various grits: 400, 800, 1000, 1500, 2000), sanding block
- Rubbing Compound: Medium-cut rubbing compound
- Polishing Compound: Fine-cut polishing compound
- Polishing Pads: Foam polishing pads (for use with a buffer or by hand)
- Buffing Machine: (Optional, but highly recommended for faster and more even results)
- Wax or Sealant: High-quality car wax or sealant
Step-by-Step Guide to Removing Peeling Clear Coat
Follow these steps carefully to effectively remove the peeling clear coat and restore the appearance of your car's paint.
Step 1: Wash and Prepare the Area
Thoroughly wash the area with car wash soap and water to remove any dirt, grime, or debris. Rinse well and dry with a clean microfiber towel. If there's significant contamination on the paint, consider using a clay bar to remove embedded particles. This will ensure a smooth surface for sanding.
Step 2: Sanding the Peeling Clear Coat
This is the most crucial step, requiring patience and attention to detail. Start with a coarser grit sandpaper (400-grit) to remove the bulk of the peeling clear coat. Use a sanding block to ensure even pressure and prevent gouging the paint. Remember to sand in a consistent pattern, either back and forth or in circular motions. Keep the surface wet while sanding to prevent the sandpaper from clogging and to minimize scratches. After the majority of the peeling clear coat is removed, gradually increase the grit of the sandpaper (800, 1000, 1500, and finally 2000) to refine the surface and remove sanding scratches. With each grit, ensure you're removing the scratches from the previous grit. This is key to achieving a smooth, even finish.
Important Note: Be careful not to sand through the color coat. If you start to see the color of the paint changing significantly, stop sanding immediately and proceed with caution.
Step 3: Compounding
Once you've finished sanding with 2000-grit sandpaper, the surface will still look dull and hazy. This is where compounding comes in. Apply a medium-cut rubbing compound to a foam polishing pad and work it into the sanded area. If using a buffing machine, use a low speed and apply moderate pressure. If polishing by hand, use firm, even pressure and work in overlapping circles. Compounding removes the fine scratches left by the sandpaper and begins to restore the paint's gloss.
Step 4: Polishing
After compounding, switch to a fine-cut polishing compound and a clean foam polishing pad. Repeat the polishing process, using lighter pressure. Polishing further refines the surface, removing any remaining swirl marks and enhancing the paint's shine. This step is crucial for achieving a near-perfect finish.
Step 5: Waxing or Sealing
The final step is to protect your newly polished paint with a layer of wax or sealant. Apply a thin, even coat of your chosen product according to the manufacturer's instructions. Allow it to haze over, then buff it off with a clean microfiber towel. Waxing or sealing will protect the paint from the elements and help maintain its shine. This step is extremely important! You've just exposed the base coat to the elements, and it needs protection.
Important Considerations and Tips
- Test Area: Before starting on a large area, test your sanding and polishing techniques on an inconspicuous spot to ensure you're not damaging the paint.
- Wet Sanding: Always keep the surface wet while sanding to prevent the sandpaper from clogging and to minimize scratches.
- Patience is Key: This process requires patience and attention to detail. Don't rush through any of the steps.
- Professional Help: If you're uncomfortable with any of these steps, or if the damage is extensive, consider seeking professional help from an auto body shop.
- Color Matching: Keep in mind that removing clear coat might alter the appearance of the color beneath, especially if the original clear coat was tinted. A professional re-spray is the only way to guarantee a perfect color match.
- Maintenance: Regular washing and waxing are essential to prevent future clear coat damage.
Alternative Methods (Less Recommended)
While sanding is generally the most effective DIY method, some people suggest using heat guns or chemical strippers to remove peeling clear coat. However, these methods are riskier and can easily damage the underlying paint if not used correctly. We generally do not recommend these methods unless you have extensive experience.
Conclusion
Removing peeling clear coat from your car is a labor-intensive but rewarding task. By following these steps carefully, you can significantly improve the appearance of your car and protect its paint from further damage. While this is a temporary solution, it can buy you some time before a full repaint is necessary. Remember to take your time, be patient, and always prioritize safety. Good luck!