
How To Remove Rust From Car Undercarriage
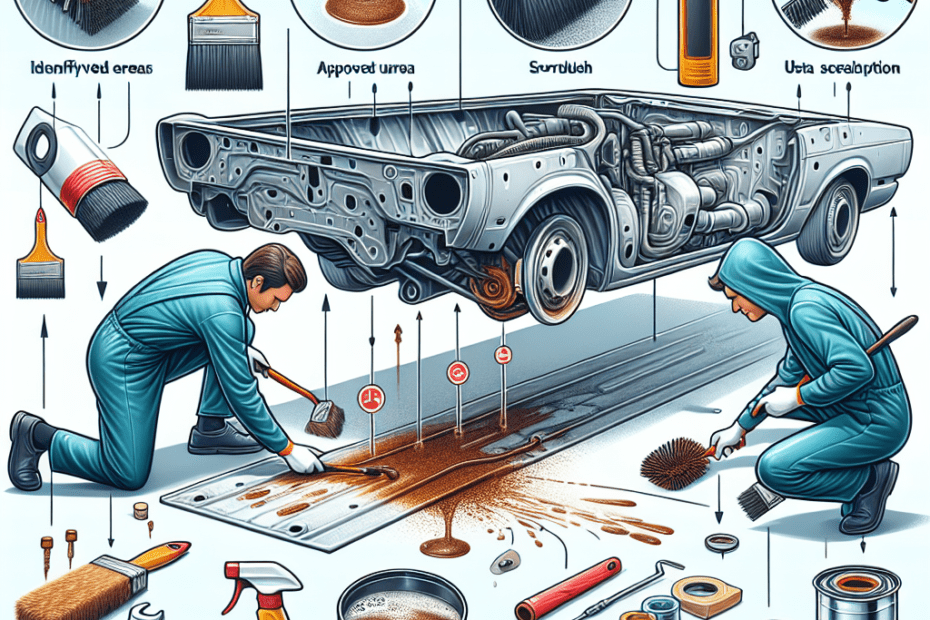
Ah, the undercarriage. The unsung hero, the silent sufferer, the often-forgotten underbelly of our beloved machines. It battles road salt, grime, and the relentless march of time, all while we're blissfully enjoying that spirited drive. Rust, the insidious foe, is its biggest enemy. But fear not, fellow gearheads! This isn't a tale of automotive doom; it's a practical guide to reclaiming your undercarriage from the clutches of oxidation. The method you choose, however, often depends on your car's age, construction, and yes, even its engine!
Identifying the Enemy: Rust Severity and Your Car
Before we dive into the nitty-gritty, let's assess the situation. Is it surface rust, a light dusting that's more cosmetic than structural? Or are we talking about deep, penetrating rust that's eating away at vital components? The level of rust dictates the tools and techniques required.
Model & Age Matter: Older cars, especially those pre-1980s, often lack the rustproofing technology of modern vehicles. A '67 Mustang, for example, might require a far more aggressive approach than a 2015 Mazda MX-5, which benefits from improved coatings and corrosion resistance.
Engine Bay Impact: While the engine itself doesn't directly cause undercarriage rust, leaks (oil, coolant, brake fluid) can accelerate the process. These fluids can trap moisture and create a corrosive environment. A leaky old Chevy small block, while charming in its own way, can contribute to more undercarriage woes than a meticulously maintained modern engine.
The Arsenal: Tools and Techniques
Several methods exist for rust removal, each with its pros and cons. Let's explore a few common approaches:
- Wire Brushing/Sanding: The old-school approach. Effective for surface rust, but labor-intensive for larger areas.
- Chemical Rust Removers: Acids and solvents that dissolve rust. Requires careful application and proper safety gear.
- Media Blasting: Using abrasive materials (sand, soda, walnut shells) to blast away rust. Highly effective but can damage surrounding paint or delicate components if not done correctly.
- Rust Converters: Chemical solutions that convert rust into a stable, paintable surface. A good option for areas that are difficult to reach or where complete rust removal isn't feasible.
Comparing Methods: Spec Table
| Method | Effectiveness | Ease of Use | Cost | Potential Risks |
|---|---|---|---|---|
| Wire Brushing/Sanding | Moderate (Surface Rust) | High | Low | Time Consuming, Inconsistent Results |
| Chemical Rust Removers | High (Surface to Moderate) | Moderate | Moderate | Chemical Burns, Damage to Paint/Rubber |
| Media Blasting | Very High | Low (Requires Equipment & Skill) | High (Equipment Rental/Professional Service) | Damage to Surrounding Areas, Dust Hazards |
| Rust Converters | Moderate (As a Primer) | High | Low | Less Effective on Heavy Rust, Requires Top Coat |
Choosing Your Weapon: Model-Specific Considerations
The best approach often depends on your car. Here's how some factors might influence your decision:
- Classic Cars (Pre-1980s): Media blasting, if done carefully, can be the most effective way to remove rust from these older vehicles. However, be extra cautious around thin sheet metal. Rust converters are a good option for hard-to-reach areas.
- Modern Cars (Post-2000s): Start with wire brushing and chemical rust removers. These methods are less aggressive and less likely to damage factory coatings. Rust converters can be used to prevent future rust formation.
- Cars with Complex Suspension Systems: Be extra careful when media blasting around sensitive suspension components. Cover any exposed rubber bushings or seals.
Driving Impressions: The Aftermath
Once you've vanquished the rust and applied a protective coating (undercoating or rust preventative), you'll likely notice a few subtle improvements in your driving experience.
- Reduced Road Noise: A clean and well-protected undercarriage can help dampen road noise, leading to a quieter and more comfortable ride.
- Improved Handling: While not dramatic, removing rust and ensuring all suspension components are in good condition can contribute to slightly sharper handling.
- Peace of Mind: Knowing that you've protected your investment from the elements is a rewarding feeling.
The Practical Steps: A Mini Guide
- Preparation is Key: Clean the undercarriage thoroughly with soap and water. Remove any loose debris or dirt.
- Safety First: Wear safety glasses, gloves, and a respirator. Work in a well-ventilated area.
- Rust Removal: Choose your preferred method and follow the manufacturer's instructions carefully.
- Surface Preparation: Ensure the surface is clean, dry, and free of any contaminants.
- Protective Coating: Apply a high-quality undercoating or rust preventative. Follow the manufacturer's instructions for application and drying time.
- Inspection: Regularly inspect your undercarriage for any signs of new rust formation.
Pros and Cons of DIY vs. Professional
DIY Rust Removal
- Pros: Cost-effective, satisfying, you learn about your car.
- Cons: Time-consuming, requires skill and equipment, potential for mistakes.
Professional Rust Removal
- Pros: High-quality results, saves time, expertise and specialized equipment.
- Cons: More expensive, requires finding a reputable shop.
Ultimately, the decision of whether to DIY or go professional depends on your skill level, budget, and the severity of the rust.
No matter which method you choose, remember that rust prevention is an ongoing battle. Regular washing, undercarriage inspections, and the application of protective coatings are essential for keeping your car's undercarriage in tip-top shape.
One last thing: Should we be using lanolin-based products for rust prevention, or are the newer polymer-based coatings superior? Let the debate begin!