How To Remove The Back Seat
How To Remove the Back Seat in Your Car: A Step-by-Step Guide
Removing the back seat in your car can be a surprisingly straightforward process, often requiring only a few basic tools and a little patience. Whether you're cleaning extensively, making repairs, or modifying your vehicle for extra cargo space, understanding how to safely and effectively remove the rear seat is a valuable skill. This guide provides a comprehensive, step-by-step approach to help you through the process.
Why Remove Your Back Seat?
There are several reasons why you might want to remove your back seat:
- Deep Cleaning: Spills, stains, and accumulated dirt can be difficult to reach and clean thoroughly with the seat in place. Removing it allows for a much more effective cleaning job.
- Repairs: If you're dealing with damaged upholstery, a malfunctioning seat mechanism, or electrical wiring issues underneath the seat, removal is often necessary for repairs.
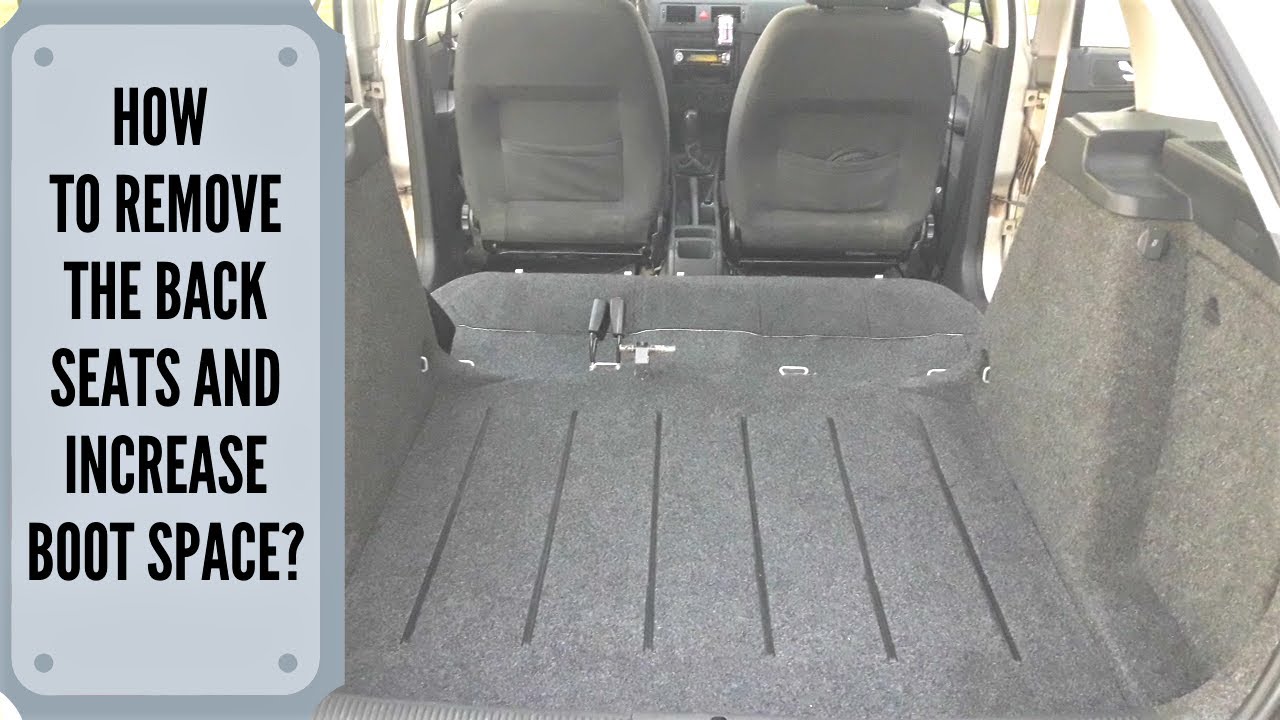
- Cargo Space: Need extra room for moving large items? Removing the back seat can provide significantly more cargo capacity, especially in smaller vehicles.
- Modifications: Custom car projects, such as installing a subwoofer or building a custom storage compartment, often require back seat removal.
Tools You'll Need
Before you begin, gather the following tools. Having everything on hand will make the job easier and more efficient:
- Socket Set and Wrench Set: Most back seats are secured with bolts or nuts of varying sizes. A socket set and wrench set will allow you to tackle different fasteners.
- Screwdrivers (Phillips and Flathead): Some seats use screws instead of bolts. Having both Phillips and flathead screwdrivers is essential.
- Pliers: Useful for gripping and manipulating clips, wires, or other small parts.
- Trim Removal Tool (Optional): These plastic tools are designed to gently pry away plastic trim pieces without causing damage. A flathead screwdriver wrapped in tape can also be used carefully as an alternative.
- Work Gloves: Protect your hands from dirt, grime, and sharp edges.
- Shop Towels or Rags: For wiping down dirty parts and cleaning up any spills.
- Pen and Paper or a Camera: To document the process. Take pictures or notes of the order in which you remove components. This will be invaluable when reinstalling the seat.
Safety First!
Before you start working, remember to prioritize safety:
- Disconnect the Battery (Optional but Recommended): If your back seat has any electrical components (heated seats, for example), disconnecting the negative terminal of your car battery is a good precaution to prevent shorts or electrical shock.
- Wear Safety Glasses: Protect your eyes from dust and debris that may fall during the removal process.
- Work in a Well-Lit Area: Good lighting will help you see what you're doing and avoid mistakes.
Step-by-Step Instructions: Removing Your Back Seat
The process for removing a back seat can vary slightly depending on the make and model of your vehicle. However, the following steps provide a general guideline:
- Prepare the Vehicle: Park your car on a level surface, engage the parking brake, and turn off the ignition. Clear the area around the back seat, removing any loose items or debris.
- Locate the Fasteners: Most back seats are held in place by a combination of bolts, clips, and/or levers. Carefully inspect the seat to identify all the fasteners. Common locations include:
- Seat Bottom: Often secured with bolts or clips located near the front edge of the seat. You might need to reach underneath the seat to find them.
- Seat Back: May be bolted to the floor of the car or attached to the rear bulkhead. Some seats fold down, and the hinges may be bolted in place.
- Side Bolsters: The side pieces (if present) might have screws or clips holding them in.
- Remove the Seat Bottom:
A. Clipping Mechanism: Many cars use a clip system for the bottom portion of the back seat. These are often located near the front of the seat, where the seat meets the floor. To release them, you'll usually need to push the seat bottom firmly towards the rear of the car, then lift up on the front edge. You may hear a 'pop' as the clips disengage.
B. Bolt-on Seat Bottom: If you find bolts, use the appropriate socket or wrench to loosen and remove them. Keep track of where each bolt came from, as they may be different sizes. Once the bolts are removed, you should be able to lift the seat bottom out of the car.
- Remove the Seat Back:
A. Folding Seat Back: If your seat back folds down, start by folding it down. Locate any bolts or screws that secure the hinges to the car's frame. Remove these fasteners. The seat back may now be removable.
B. Non-Folding Seat Back: Some seat backs are bolted directly to the rear bulkhead or the floor of the car. Look for bolts along the bottom edge of the seat back or behind access panels in the trunk. Remove these bolts.
C. Side Bolsters: Before you can remove the seat back entirely, you may need to remove side bolsters. These are typically held in place by screws or clips. Use a screwdriver or trim removal tool to carefully detach them.
- Disconnect Any Electrical Connectors (If Applicable): If your back seat has electrical features (heated seats, power outlets, etc.), carefully disconnect any wiring harnesses or connectors. Be gentle and avoid pulling on the wires. Take a picture of the connectors before disconnecting them to help you remember how to reconnect them later.
- Remove the Seat: Once all fasteners and connectors are removed, carefully lift the seat bottom and seat back out of the car. It may be helpful to have a second person assist you, especially with larger seatbacks.
- Clean Up: After removing the seat, take the opportunity to clean the area underneath the seat. Vacuum up any debris, dirt, or spills. You can also apply a protectant to the exposed metal surfaces to prevent rust.
Tips for Reinstallation
Reinstalling the back seat is essentially the reverse of the removal process. Here are some tips to ensure a smooth reinstallation:
- Refer to Your Photos/Notes: Use the photos and notes you took during removal to ensure you reconnect everything correctly.
- Tighten Bolts to the Correct Torque: Consult your vehicle's service manual for the recommended torque specifications for the seat bolts. Over-tightening can damage the bolts or the seat frame.
- Reconnect Electrical Connectors Securely: Make sure all electrical connectors are fully seated and locked into place.
- Test Functionality: After reinstallation, test all seat functions (folding mechanism, heated seats, etc.) to ensure they are working properly.
- Securely Fasten All Trim Pieces: Ensure all trim pieces are correctly aligned and securely attached.
Troubleshooting
Sometimes, removing a back seat can present challenges. Here are a few common problems and how to address them:
- Stuck Bolts: If a bolt is difficult to remove, try applying penetrating oil and letting it sit for a few minutes. You can also try using a breaker bar for extra leverage.
- Broken Clips: Plastic clips can become brittle and break during removal. Replacements are usually available at auto parts stores.
- Difficulty Identifying Fasteners: If you're unsure how a seat is fastened, consult your vehicle's service manual or search online for videos or tutorials specific to your car model.
Final Thoughts
Removing your car's back seat can seem intimidating, but by following these steps and taking your time, you can successfully complete the task. Remember to prioritize safety, use the right tools, and document the process. This guide should provide you with a solid foundation to tackle this project with confidence. If you encounter any difficulties or are unsure about any step, consult a qualified mechanic. Good luck!