
How To Repair A Crack On A Plastic Bumper
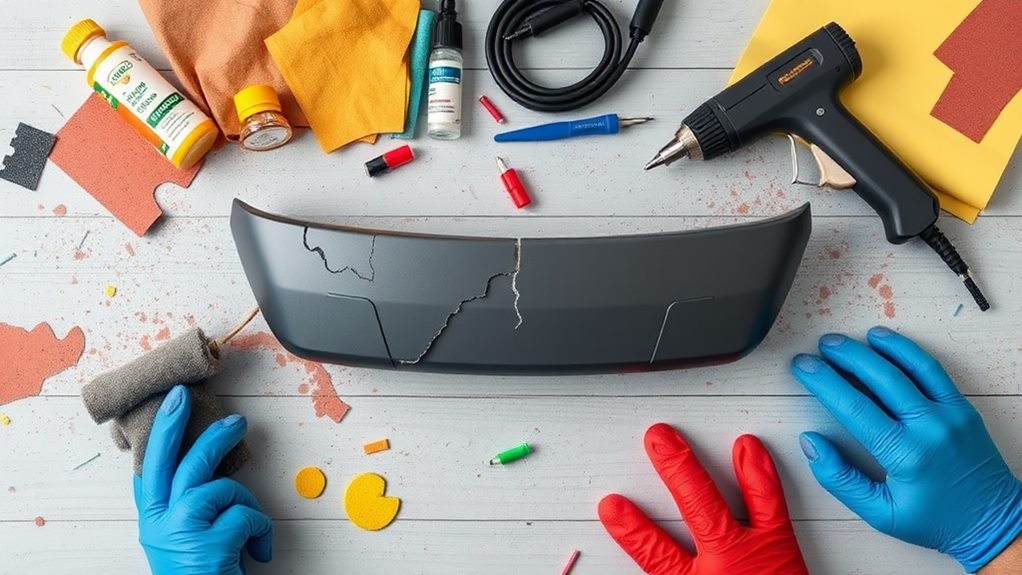
A cracked bumper. The bane of every car enthusiast's existence. Whether it's a rogue shopping cart, an ill-judged parking maneuver, or the dreaded highway debris, that unsightly scar on your beloved machine can feel like a punch to the gut. But fear not, fellow gearheads! While a professional repair is always an option, tackling a plastic bumper crack yourself is surprisingly achievable, saving you some serious coin and giving you a satisfying sense of accomplishment. However, the "how" varies drastically depending on the damage, the bumper material, and, yes, even the car itself.
Understanding Your Bumper: Not All Plastics Are Created Equal
Before you even think about reaching for the sandpaper, you need to identify the type of plastic you're dealing with. Most modern bumpers are made from either Polypropylene (PP), Thermoplastic Olefin (TPO), or Polyurethane (PUR). You can usually find this information stamped on the inside of the bumper itself, often near mounting points or around the license plate recess. This is crucial! Using the wrong repair method or materials can lead to a weak, unsightly, and ultimately failed repair.
Consider these differences, for example:
| Material | Pros | Cons | Typical Applications |
|---|---|---|---|
| Polypropylene (PP) | Highly flexible, impact resistant, easily recyclable, cost-effective | Difficult to paint, can be brittle in cold temperatures | Common on economy cars, lower bumper sections |
| Thermoplastic Olefin (TPO) | Excellent impact resistance, good paint adhesion, UV resistant | More expensive than PP, can be difficult to repair | Mid-range vehicles, upper bumper sections |
| Polyurethane (PUR) | Highest impact resistance, extremely flexible, durable | Most expensive, requires specialized repair techniques | Performance vehicles, bumpers requiring complex shapes |
Let's take two hypothetical cars to illustrate this: a 2018 Honda Civic and a 2023 BMW M3. The Civic likely has a mostly PP bumper, prioritizing cost and everyday usability. The M3, on the other hand, likely uses a combination of TPO and PUR, prioritizing impact resistance and maintaining the sleek lines demanded by its performance pedigree. Repairing a crack on the Civic's bumper might be manageable with a plastic welding kit and some patience. Trying the same technique on the M3's bumper, especially if it's PUR, could lead to disaster.
The DIY Arsenal: Tools and Techniques
Assuming you're dealing with a relatively minor crack on a PP or TPO bumper, here's a breakdown of common repair methods:
- Plastic Welding: This involves using a specialized tool (plastic welder) to melt the plastic on either side of the crack, effectively fusing them together.
- Pros: Strongest repair method, creates a seamless bond.
- Cons: Requires specialized equipment, can be tricky to master, risk of melting the surrounding plastic.
- Epoxy Repair: Using a two-part epoxy specifically designed for plastics to bond the crack together.
- Pros: Relatively easy, doesn't require specialized equipment, good for minor cracks.
- Cons: Not as strong as welding, may require reinforcement, prone to cracking with impact.
- Bumper Repair Kits: These kits often contain a combination of adhesives, fillers, and reinforcement mesh to repair cracks and restore the bumper's shape.
- Pros: Convenient, provides everything you need in one package, good for smaller repairs.
- Cons: Quality varies greatly, can be expensive, may not be suitable for larger or more complex cracks.
Step-by-Step Guide (General):
- Preparation: Clean the area around the crack thoroughly with soap and water, then degrease with a plastic cleaner. Sand the area around the crack to create a rough surface for better adhesion.
- Crack Repair: Using your chosen method (welding, epoxy, or kit), carefully repair the crack, ensuring a strong and durable bond. For welding, practice on scrap plastic first. For epoxy, apply multiple thin layers and allow sufficient drying time. For kits, follow the manufacturer's instructions precisely.
- Reinforcement: For larger cracks or areas prone to stress, consider using reinforcement mesh embedded in the epoxy or plastic weld. This will add strength and prevent future cracking.
- Filling and Sanding: Once the repair is complete, use plastic filler to smooth out any imperfections. Sand the filler smooth with progressively finer grit sandpaper (180, 320, 400).
- Priming and Painting: Apply a plastic adhesion promoter, followed by a primer specifically designed for plastics. Sand the primer lightly, then apply several thin coats of automotive paint matching your car's color code. Finish with a clear coat for protection and shine.
Real-World Considerations: Model-Specific Quirks
Beyond the material itself, certain car models present unique challenges. For example, some older Porsches have bumpers that are notoriously difficult to work with due to their complex shapes and the type of plastic used. Similarly, certain luxury vehicles might have sensors embedded in the bumper that need to be carefully removed and reinstalled. Always consult your vehicle's service manual or online forums for model-specific advice before starting any repair.
Consider a 2010 Mazda MX-5 (Miata) versus a 2020 Tesla Model 3. The Miata's bumper is relatively simple, accessible, and made of a forgiving plastic. Repairing a crack on a Miata bumper is a fairly straightforward DIY project. The Model 3, on the other hand, has a more complex bumper design, integrated sensors, and may require specialized tools to remove and reinstall. A DIY repair on a Model 3 bumper carries a higher risk of damaging the sensors or affecting the vehicle's safety systems.
The Final Touch: Paint Matching and Blending
Getting the paint to match perfectly is crucial for a seamless repair. Your car's paint code is usually located on a sticker inside the driver's side doorjamb or under the hood. Take this code to an automotive paint supplier, and they can mix a custom batch of paint that matches your car's color. Blending the paint into the surrounding area is essential to avoid a noticeable "repair spot." Feather the edges of the new paint into the existing paint, and use a polishing compound to blend the transition.
Repairing a cracked plastic bumper is a challenging but rewarding DIY project. By understanding the type of plastic you're working with, choosing the right repair method, and taking your time, you can save yourself a significant amount of money and restore your car's appearance. However, if the damage is severe, or you're not comfortable tackling the repair yourself, it's always best to consult a professional.
The Fun Debate: So, what's the *absolute worst* bumper design out there for DIY repair? Is it the overly complex multi-piece bumpers of modern SUVs, the brittle plastic used on some economy cars, or the integrated sensor nightmares of luxury EVs? Let the bumper repair wars begin!