How To Replace 2004 Honda Crv Rear Muffler
The 2004 Honda CR-V: a champion of reliability, practicality, and surprising longevity. But even the most steadfast steed eventually needs some TLC. And one of the most common maintenance items? Replacing that rear muffler. Let's dive into how to tackle this task on your second-gen CR-V, highlighting the subtle differences you might encounter.
Identifying Your CR-V: Trims and Engines
Before we even think about wrenches, let's pinpoint exactly what CR-V you're working on. While all 2004 models share the same basic architecture, a few nuances can impact the muffler replacement process.
Trim Levels
The primary trim levels for the 2004 CR-V were LX, EX, and SE. The main differences impacting the exhaust system are usually cosmetic (chrome tips, etc.) and rarely affect the core replacement procedure.
Engine
Thankfully, all 2004 CR-Vs came equipped with the same engine: the 2.4L K24A1 inline-four. This simplifies things considerably! However, knowing your specific configuration helps when ordering parts.
| Engine | Displacement | Horsepower | Torque |
|---|---|---|---|
| K24A1 | 2.4L (2354 cc) | 160 hp @ 6000 rpm | 162 lb-ft @ 3600 rpm |
Tools You'll Need
Gather your arsenal before you even crawl under your CR-V. Here's a list of essentials:
- Penetrating Oil: A must-have for loosening rusted bolts.
- 14mm Socket and Wrench: For the exhaust flange bolts.
- Rubber Mallet: To gently persuade stubborn hangers.
- WD-40 Specialist Penetrant: Even better than regular WD-40 for this task.
- Hanger Removal Tool (Optional): Makes life easier, but not essential.
- Jack and Jack Stands: Safety first! Never work under a car supported only by a jack.
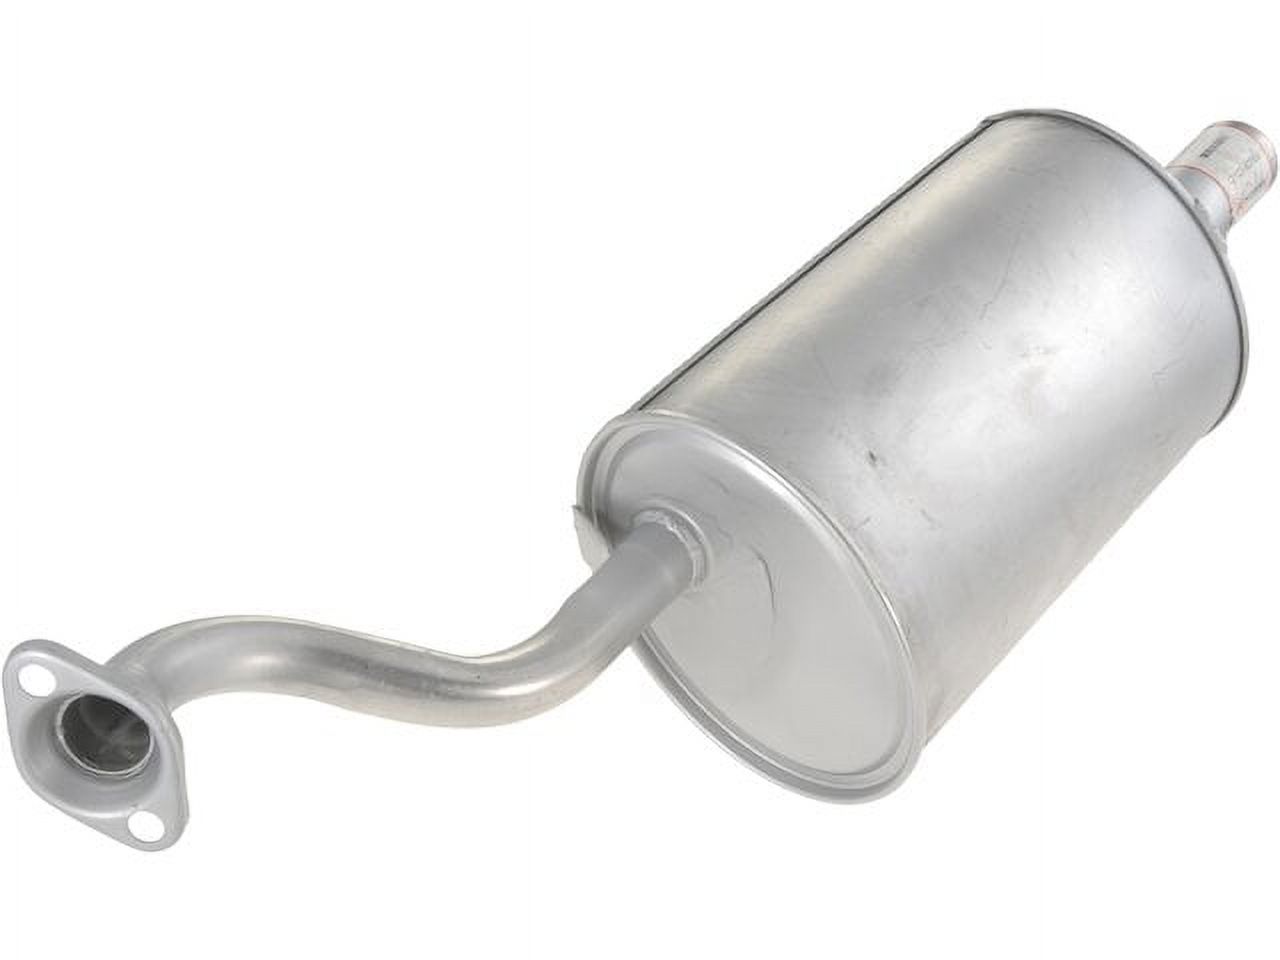
- New Muffler and Gasket: Ensure you have the correct part for your CR-V.
- Gloves and Eye Protection: Protect yourself from rust and debris.
Step-by-Step Replacement Guide
- Safety First: Engage the parking brake, chock the rear wheels, and jack up the rear of the CR-V. Secure it with jack stands.
- Penetrating Oil Application: Liberally apply penetrating oil to the exhaust flange bolts and the rubber exhaust hangers. Let it soak for at least 15-20 minutes. The longer, the better!
- Loosening the Flange Bolts: Using your 14mm socket and wrench, carefully loosen the flange bolts connecting the muffler to the mid-pipe. These can be incredibly stubborn. Work slowly and methodically. If a bolt is seized, consider using a torch (with extreme caution!) or a bolt extractor.
- Removing the Exhaust Hangers: Use a hanger removal tool (or a combination of WD-40 Specialist and a rubber mallet) to detach the muffler from the rubber hangers. There are usually three or four.
- Removing the Old Muffler: Once the flange bolts are loose and the hangers are detached, carefully remove the old muffler. It might require some wiggling.
- Installing the New Gasket: Place the new gasket between the muffler flange and the mid-pipe flange.
- Installing the New Muffler: Align the new muffler with the exhaust hangers and the flange. Attach the hangers first.
- Tightening the Flange Bolts: Reinstall and tighten the flange bolts. Don't overtighten! Use the manufacturer's recommended torque specification if available. If not, tighten snugly.
- Final Check: Ensure all hangers are secure and the flange bolts are tight.
- Lower the Vehicle: Carefully lower the CR-V back to the ground.
- Test Drive: Start the engine and listen for any exhaust leaks. Take it for a short test drive and recheck for leaks afterwards.
Pros and Cons of DIY Replacement
Pros:
- Cost Savings: Significantly cheaper than paying a mechanic.
- Personal Satisfaction: The joy of wrenching on your own car!
- Familiarity: Get to know your CR-V better.
Cons:
- Time Commitment: Can take a few hours, especially if you encounter rusted bolts.
- Potential for Complications: Rusted bolts, broken hangers, etc.
- Tool Investment: Requires some basic tools, although most are readily available.
Real-World Driving Impressions After Muffler Replacement
After replacing the muffler on my own 2004 CR-V (an EX model), the difference was immediately noticeable. The old muffler had developed a subtle but persistent drone at highway speeds. The new muffler brought back the characteristic Honda refinement – a quiet and composed ride. While a new muffler doesn't add horsepower, the absence of that annoying exhaust leak definitely makes the driving experience more enjoyable. I also noticed a slight improvement in fuel economy, though that could be attributed to psychological factors as well!
Aftermarket Options
While a stock replacement is the most common route, the aftermarket offers performance mufflers and exhaust systems for the 2004 CR-V. These can range from slightly louder and sportier options to full cat-back systems designed to improve exhaust flow. Keep in mind that modifying your exhaust system may affect emissions and could potentially violate local laws.
Important Note: When purchasing a new muffler, double-check the part number and ensure it's compatible with your specific CR-V model year and trim. Autoparts websites can sometimes be misleading!
So, there you have it – a complete guide to replacing the rear muffler on your trusty 2004 Honda CR-V. With a little patience and the right tools, you can save some serious cash and enjoy a quieter, more refined ride.
Now for the fun part: If you could swap *any* engine into your 2004 CR-V (cost and practicality be damned!), what would it be and why?