
How To Replace Lower Control Arm Bushings
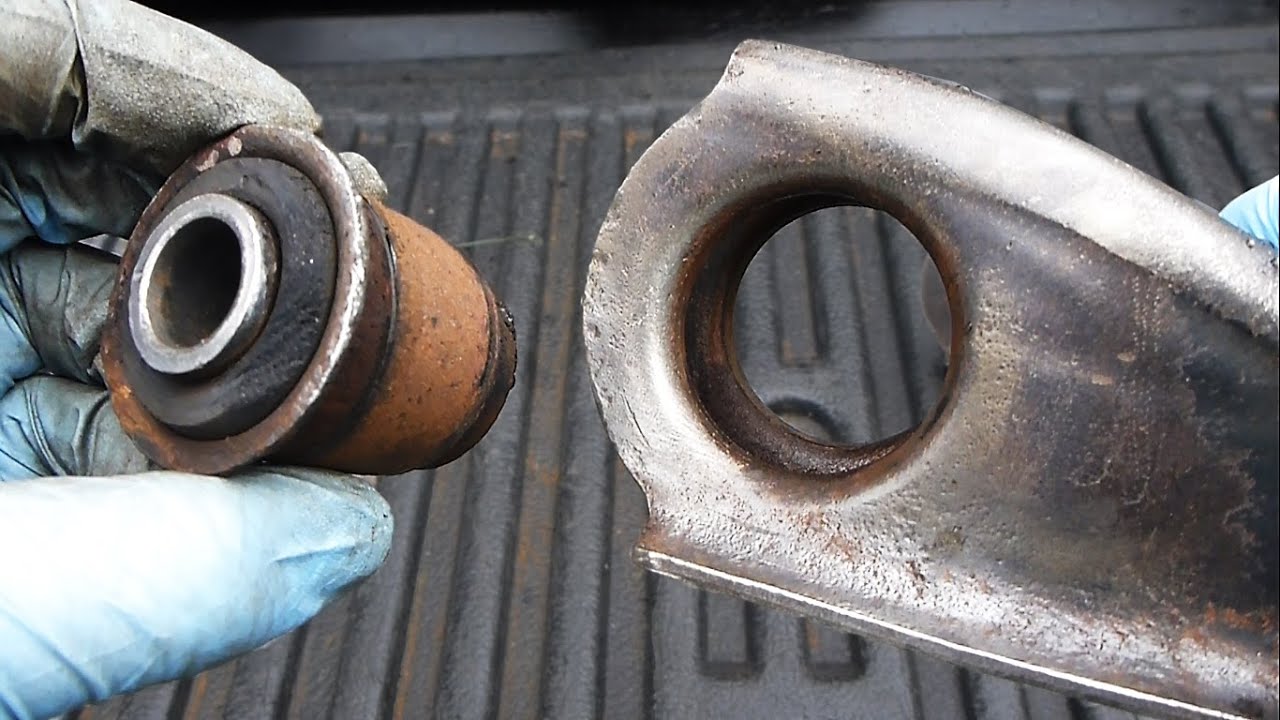
The lower control arm is a critical suspension component, responsible for connecting the vehicle's chassis to the wheel hub. It allows for controlled wheel movement, absorbing impacts and contributing significantly to ride quality and handling. Over time, the lower control arm bushings, the rubber or polyurethane interfaces that cushion the control arm's connection points, can wear out, leading to a range of drivability issues. Replacing these bushings is a common repair, and while it can be tackled by experienced DIYers, it's often best left to professionals due to the specialized tools involved and the potential for damaging other suspension components.
Why Replace Lower Control Arm Bushings?
Worn lower control arm bushings manifest in several ways. Common symptoms include:
- Clunking or rattling noises, particularly when driving over bumps. This occurs as the worn bushing allows excessive movement between the control arm and the chassis.
- Vague or loose steering. The worn bushings compromise the vehicle's ability to maintain a precise steering angle.
- Uneven tire wear. Misalignment caused by worn bushings can lead to premature and uneven wear patterns on your tires.
- Vibration, especially at higher speeds. This can be a sign that the suspension is not properly dampening road imperfections.
- Difficulty maintaining alignment. Even after a professional alignment, the vehicle may quickly drift out of spec if the bushings are worn.
Ignoring these symptoms can lead to further damage to other suspension components, such as the ball joints, tie rod ends, and even the shocks and struts. It also compromises the vehicle's handling and braking performance, increasing the risk of accidents. In some cases, severely damaged bushings can even cause the control arm to detach from the chassis, resulting in a dangerous loss of control.
Tools and Materials Required
Replacing lower control arm bushings requires a specific set of tools and equipment. Here's a general list:
- Jack and jack stands: For safely lifting and supporting the vehicle.
- Wheel chocks: To prevent the vehicle from rolling.
- Sockets and wrenches: In various sizes, including metric or SAE depending on the vehicle.
- Torque wrench: To tighten bolts to the manufacturer's specifications.
- Ball joint separator or pickle fork: To disconnect the ball joint from the control arm.
- Bushing press or C-clamp with adapters: This is the most critical tool. A bushing press allows you to safely and precisely remove and install the new bushings. Adapters are needed to match the diameter of the bushing. Some shops have specialized hydraulic presses for this task.
- Penetrating oil: To loosen rusted bolts and fasteners. PB Blaster or Liquid Wrench are popular choices.
- Hammer: For tapping on tools and components.
- Safety glasses and gloves: For personal protection.
- New lower control arm bushings: Be sure to order the correct bushings for your specific vehicle make, model, and year.
- Optional: New lower control arm: If the control arm itself is damaged or severely rusted, it may be more cost-effective to replace the entire assembly.
Step-by-Step Replacement Guide (General Overview)
Disclaimer: This is a general guide. Specific procedures may vary depending on the vehicle. Always consult the vehicle's service manual for detailed instructions and torque specifications. Working on suspension components can be dangerous if not done properly. If you are not comfortable performing this repair, it is best to take your vehicle to a qualified mechanic.
- Preparation: Loosen the lug nuts on the wheel of the side you're working on. Securely jack up the vehicle and support it with jack stands. Remove the wheel.
- Disconnecting Components: Disconnect the sway bar link (if applicable) and the ball joint from the lower control arm. This usually involves loosening bolts and using a ball joint separator. Be careful not to damage the ball joint boot.
- Removing the Control Arm: Loosen and remove the bolts securing the lower control arm to the vehicle's frame. Note the orientation of the control arm for reinstallation.
- Removing the Old Bushings: This is where the bushing press comes in. Position the control arm in the press with the appropriate adapters to push out the old bushing. Applying heat with a torch *may* make this easier, but extreme caution should be used to avoid damaging the control arm.
- Installing the New Bushings: Align the new bushing with the control arm and use the bushing press to carefully press it into place. Ensure the bushing is properly seated.
- Reinstalling the Control Arm: Reinstall the control arm, ball joint, and sway bar link (if applicable). Tighten all bolts to the manufacturer's specified torque.
- Finishing Up: Reinstall the wheel and lower the vehicle. Torque the lug nuts to the correct specification.
- Alignment: After replacing the lower control arm bushings, it is essential to get a wheel alignment. This will ensure proper handling and prevent premature tire wear.
Cost Considerations
The cost of replacing lower control arm bushings varies depending on the vehicle make and model, the cost of the bushings themselves, and the labor rate of the mechanic. A DIY repair can save on labor costs, but remember to factor in the cost of specialized tools. A complete job at a repair shop can range from $300 to $800 or more, depending on the aforementioned factors.
Preventative Maintenance
While bushings are wear items, there are steps you can take to prolong their lifespan. Avoid driving aggressively over potholes and rough roads. Regularly inspect your suspension components for signs of wear and tear. Consider upgrading to polyurethane bushings, which are more durable than rubber bushings, especially if you drive in demanding conditions. Keep in mind that polyurethane bushings can sometimes transmit more road noise and vibration than rubber bushings.