How To Replace The Brake Booster
Replacing a brake booster might seem daunting, but with the right tools, knowledge, and a bit of patience, it's a task many experienced DIYers and professional mechanics can tackle. This comprehensive guide will walk you through the process, highlighting potential pitfalls and offering practical tips along the way.
Tools and Materials You'll Need
Before diving in, ensure you have everything ready. This will minimize interruptions and prevent frustration mid-job. The essentials include:
- New brake booster (matching your vehicle's specifications)
- Sockets and wrenches (metric or SAE, depending on your vehicle)
- Ratchet and extensions
- Screwdrivers (Phillips head and flathead)
- Pliers
- Brake line wrench (flare nut wrench)
- Vacuum line pliers (optional, but recommended)
- Brake fluid (matching your vehicle's specifications)
- Brake bleeder kit (or a helper)
- Torque wrench
- Penetrating oil
- Wheel chocks
- Safety glasses
- Gloves
- Shop towels or rags
- Catch pan (for brake fluid)
- Service manual for your vehicle (highly recommended)
Step-by-Step Replacement Procedure
1. Preparation and Safety Precautions
Safety first! Park the vehicle on a level surface, engage the parking brake, and chock the rear wheels. Disconnect the negative battery cable to prevent any electrical shorts during the process. Gather your tools and materials, and consult your vehicle's service manual for any specific instructions or torque specifications.
Important: Brake fluid is corrosive and can damage painted surfaces. Protect your vehicle and wear safety glasses and gloves.
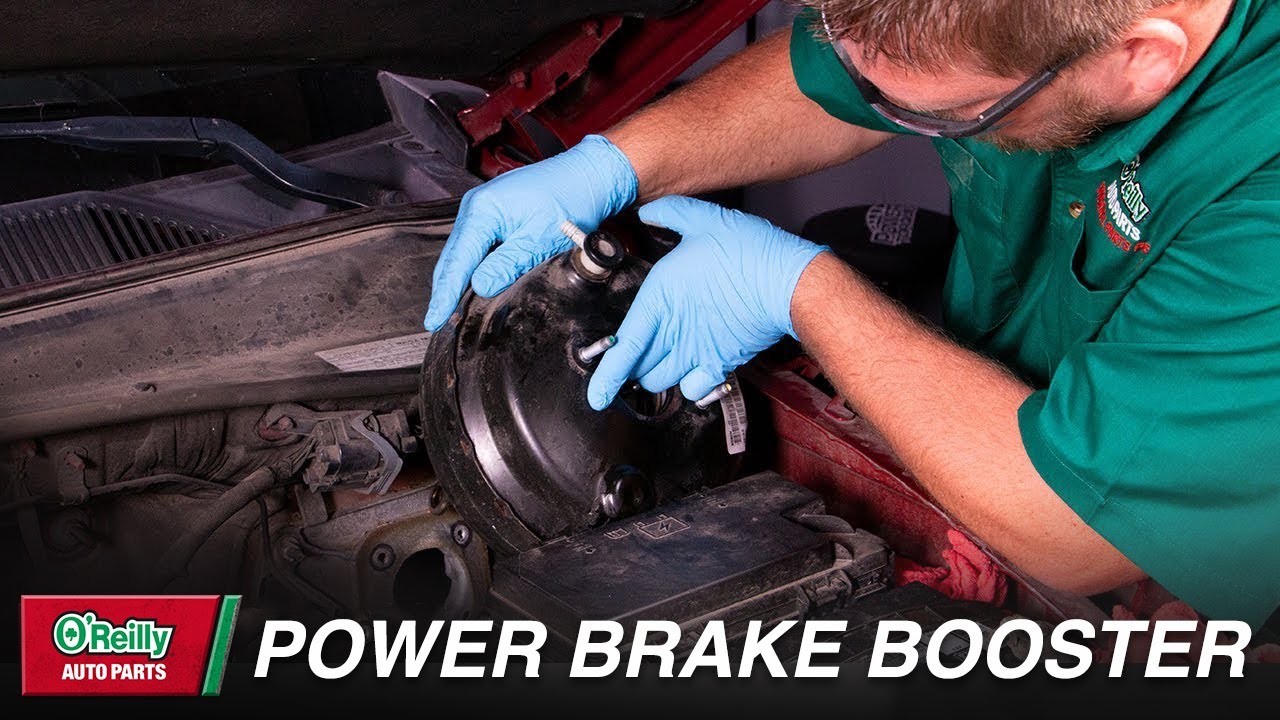
2. Accessing the Brake Booster
The brake booster is typically located on the firewall, inside the engine compartment, behind the master cylinder. Accessing it often involves removing several components. This can vary significantly depending on the vehicle model.
Typically you need to:
- Remove the air filter assembly and any associated ductwork that obstructs access.
- Disconnect any wiring harnesses or vacuum lines attached to the brake booster or master cylinder. Take pictures or label the connections to ensure proper reassembly.
3. Disconnecting the Master Cylinder
The master cylinder is bolted to the brake booster and must be carefully disconnected. This requires working with brake lines, so extra caution is needed.
Here’s how to do it:
- Using a brake line wrench (flare nut wrench) loosen the brake lines connected to the master cylinder. These wrenches are designed to grip the fittings without rounding them off. Apply penetrating oil if the fittings are corroded.
- Carefully disconnect the brake lines from the master cylinder. Plug the open ends of the brake lines with appropriate plugs or wrap them with plastic wrap secured with rubber bands to prevent brake fluid from leaking and air from entering the system.
- Unbolt the master cylinder from the brake booster. Carefully move the master cylinder away from the booster, ensuring the brake lines are not strained or kinked. Support the master cylinder to prevent it from hanging by the brake lines.
Warning: Avoid getting brake fluid on any painted surfaces. If you do, wash it off immediately with water.
4. Disconnecting the Brake Booster Linkage
Inside the vehicle, you'll need to disconnect the brake booster pushrod from the brake pedal. This is usually located under the dashboard, near the top of the brake pedal assembly.
- Locate the brake booster pushrod that connects to the brake pedal.
- Typically, there's a retaining clip or pin that secures the pushrod to the brake pedal. Remove this clip or pin using pliers or a screwdriver.
- Carefully detach the pushrod from the brake pedal. Some vehicles might have a threaded adjustment on the pushrod; take note of its position before disconnecting it.
5. Removing the Old Brake Booster
With the master cylinder and pushrod disconnected, you can now remove the brake booster from the firewall.
- Locate the bolts or nuts that secure the brake booster to the firewall. These are usually accessible from inside the engine compartment.
- Remove the bolts or nuts. You might need a socket wrench with an extension to reach them.
- Carefully pull the brake booster away from the firewall. It might be a snug fit, so gentle rocking or wiggling might be necessary.
6. Installing the New Brake Booster
Installation is essentially the reverse of removal, but with a few critical considerations.
- Before installing the new brake booster, compare it to the old one to ensure it’s the correct part. Check the dimensions, mounting points, and pushrod length.
- Carefully position the new brake booster against the firewall, aligning the mounting holes.
- Install the bolts or nuts that secure the brake booster to the firewall. Tighten them to the manufacturer's specified torque using a torque wrench.
7. Reconnecting the Brake Booster Linkage
Reattach the brake booster pushrod to the brake pedal inside the vehicle.
- Carefully align the pushrod with the brake pedal.
- Reinstall the retaining clip or pin that secures the pushrod to the brake pedal. Ensure it’s properly seated and secure.
- If the pushrod has a threaded adjustment, adjust it to the original position. This adjustment is crucial for proper brake pedal feel and function. Refer to your service manual for specific instructions.
8. Reconnecting the Master Cylinder
Reattach the master cylinder to the brake booster, being extremely careful not to cross-thread the brake line fittings.
- Carefully position the master cylinder against the brake booster, aligning the mounting studs or bolts.
- Install the nuts or bolts that secure the master cylinder to the brake booster. Tighten them to the manufacturer's specified torque.
- Reconnect the brake lines to the master cylinder. Start the fittings by hand to avoid cross-threading. Use the brake line wrench to tighten them securely, but avoid over-tightening.
9. Reconnecting Vacuum Lines and Other Components
Reattach all vacuum lines, wiring harnesses, and any other components that were removed during the process. Double-check your pictures or labels to ensure everything is connected correctly.
10. Bleeding the Brakes
After disconnecting and reconnecting the brake lines, it's essential to bleed the brakes to remove any air from the system. Air in the brake lines can cause a spongy brake pedal and reduced braking performance. There are two main methods for bleeding brakes:
- Manual Bleeding: This involves opening the bleeder screw on each brake caliper or wheel cylinder while someone pumps the brake pedal.
- Pressure Bleeding: This uses a pressure bleeder connected to the master cylinder to force brake fluid through the system.
Regardless of the method you choose, follow these general steps:
- Start with the brake caliper or wheel cylinder that is farthest from the master cylinder (usually the right rear).
- Attach a clear hose to the bleeder screw and submerge the other end of the hose in a container of brake fluid. This prevents air from being drawn back into the system.
- Open the bleeder screw slightly.
- Have someone slowly depress the brake pedal several times, holding it down on the last stroke.
- While the pedal is held down, close the bleeder screw.
- Repeat steps 3-5 until no more air bubbles come out of the hose.
- Move to the next brake caliper or wheel cylinder, working your way closer to the master cylinder.
- Continuously check the brake fluid level in the master cylinder reservoir and top it off as needed.
11. Final Checks and Testing
Before taking the vehicle for a test drive, perform the following checks:
- Check the brake fluid level in the master cylinder reservoir and top it off if necessary.
- Inspect all brake line connections for leaks.
- Start the engine and check the brake pedal feel. It should be firm and responsive.
- Perform a few low-speed brake tests in a safe area to ensure the brakes are functioning properly.
Important: If you experience any unusual noises, vibrations, or braking problems during the test drive, stop immediately and inspect the brake system. If you are unsure about anything, consult a qualified mechanic.
Troubleshooting Common Issues
Even with careful attention to detail, you might encounter some common issues during or after replacing a brake booster:
- Spongy Brake Pedal: This is usually caused by air in the brake lines. Re-bleed the brakes thoroughly.
- Hard Brake Pedal: This can be caused by a faulty brake booster, a vacuum leak, or an improperly adjusted brake booster pushrod.
- Brake Warning Light: This can indicate a problem with the brake system, such as low brake fluid level or a faulty brake booster. Check the brake fluid level and have the brake system inspected by a qualified mechanic.
- Brake Noise: This can be caused by worn brake pads, rotors, or other brake components. Inspect the brake system and replace any worn parts.
Real-World Example
A common scenario involves a 2012 Honda Civic with a failing brake booster. The owner noticed a progressively harder brake pedal and decreased braking performance. After diagnosing the issue as a faulty brake booster, they decided to replace it themselves using a guide similar to this one. The process took approximately 4 hours, and the owner successfully restored the vehicle's braking performance. They saved a significant amount of money compared to having a mechanic perform the repair.
Conclusion
Replacing a brake booster is a challenging but rewarding DIY project for experienced enthusiasts. By following these detailed steps, taking necessary safety precautions, and paying attention to detail, you can successfully replace your brake booster and restore your vehicle's braking performance. Remember, if you are uncomfortable with any aspect of the repair, it's always best to consult a qualified mechanic. Keep in mind that a properly functioning brake system is paramount for your safety and the safety of others on the road.