How To Reset Maintenance Light Toyota Rav4
The Toyota RAV4, a perennial favorite in the compact SUV segment, is known for its reliability and longevity. However, like any vehicle, regular maintenance is crucial to keep it running smoothly. One indicator of required maintenance is the dreaded maintenance required light. While often confused with the check engine light, the maintenance light is simply a reminder to perform routine servicing, such as an oil change. This article will provide a comprehensive guide on how to reset the maintenance light on your Toyota RAV4, covering various model years and offering insights into the importance of timely maintenance.
Understanding the Maintenance Light
Before diving into the reset procedure, it's essential to understand what the maintenance light signifies. It's a proactive system designed to prompt drivers to schedule routine maintenance based on mileage intervals. Typically, this light illuminates every 5,000 miles, coinciding with the recommended oil change interval for many RAV4 models. Ignoring the light won't necessarily cause immediate damage, but neglecting scheduled maintenance can lead to more significant problems down the road. Think of it as a gentle nudge, not a catastrophic warning.
Resetting the Maintenance Light: The Standard Procedure (2006-2018 Models)
For RAV4 models manufactured between 2006 and 2018, the reset procedure is relatively straightforward. This method leverages the vehicle's odometer display and ignition switch:
- Turn the ignition off. Ensure the vehicle is completely off, with the key removed from the ignition or the start/stop button in the "OFF" position.
- Press and hold the trip reset button. Locate the trip meter reset button on the instrument panel. Press and hold it down.
- Turn the ignition on (without starting the engine). While still holding the trip reset button, turn the ignition key to the "ON" position (or press the start/stop button twice without pressing the brake pedal).
- Continue holding the button until the display resets. Keep holding the trip reset button until you see the odometer display go to all zeros, and then cycle back to the odometer reading. The maintenance light should turn off.
- Release the button and start the engine. Release the trip reset button and start the engine. Verify that the maintenance light remains off.
If the light persists, repeat the process. Sometimes, a slight variation in timing can affect the reset.
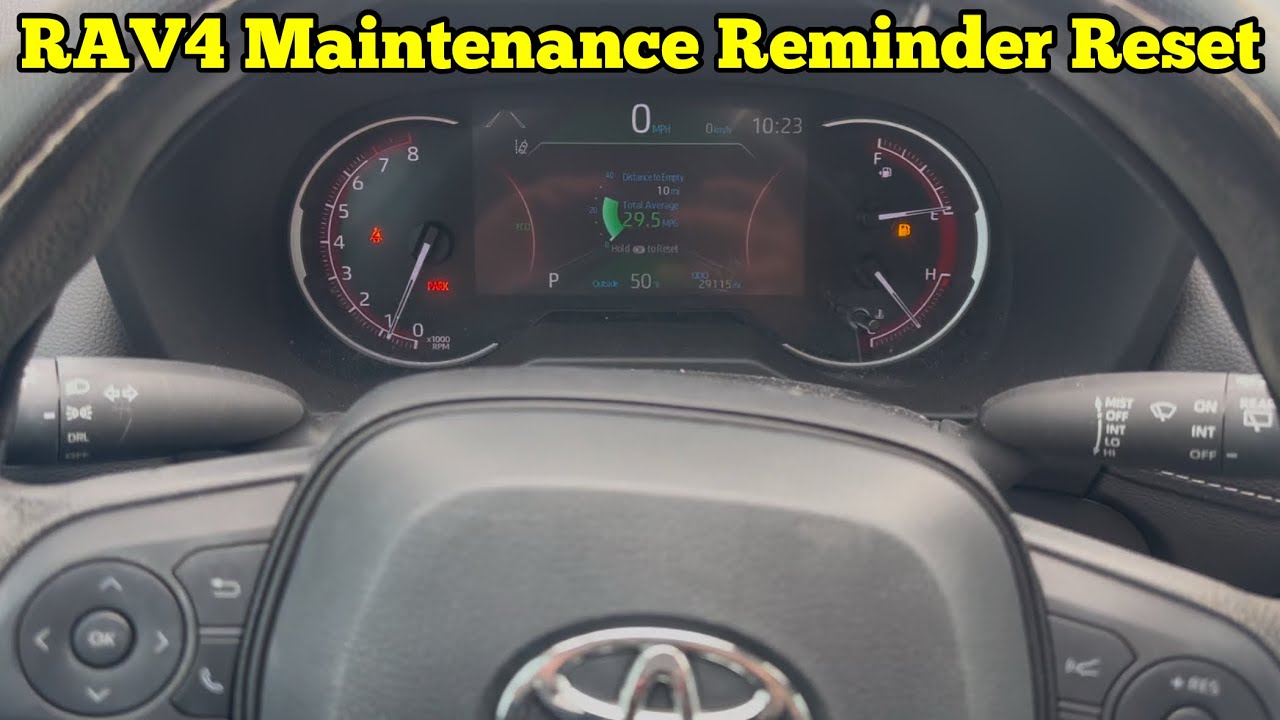
Resetting the Maintenance Light: Newer Models (2019-Present)
Newer RAV4 models (2019 and later) often feature a slightly different procedure due to the introduction of digital instrument clusters. This method relies on navigating the multi-information display using steering wheel controls:
- Turn the ignition on. Ensure the vehicle is in the "ON" position (engine off).
- Navigate to the Settings Menu. Use the steering wheel controls (usually directional arrows and an "OK" button) to navigate to the "Settings" menu on the multi-information display.
- Select Vehicle Settings. Within the Settings menu, locate and select "Vehicle Settings."
- Select Maintenance. Look for a "Maintenance" option and select it.
- Select Oil Maintenance or Reset Oil Life. Depending on the specific model year, you'll find an option like "Oil Maintenance" or "Reset Oil Life." Select this option.
- Confirm the reset. The system will likely prompt you to confirm that you want to reset the maintenance light. Select "Yes" or "Confirm."
The maintenance light should now be reset. Start the engine to verify.
Why Timely Maintenance Matters
Resetting the maintenance light is only one part of the equation; performing the actual maintenance is critical. Regular oil changes, for example, are vital for engine health. Dirty oil can lead to increased friction, overheating, and premature wear of engine components. Similarly, neglecting other scheduled services like filter replacements, fluid flushes, and brake inspections can compromise the vehicle's performance and safety. Consider the maintenance schedule in your RAV4's owner's manual as a bible for its upkeep. Following it can significantly extend the vehicle's lifespan and prevent costly repairs.
Common Problems and Solutions
Sometimes, the maintenance light may remain on even after attempting the reset procedure. This could indicate a genuine mechanical issue that needs attention. In such cases, it's advisable to consult a qualified mechanic to diagnose the problem. Additionally, ensure that you are using the correct type of oil and filters for your RAV4 model. Using aftermarket or incorrect parts can sometimes trigger false warnings.
Conclusion
Resetting the maintenance light on a Toyota RAV4 is a simple task that can be performed at home with a few basic steps. However, it's crucial to remember that the light serves as a reminder to perform essential maintenance. By following the recommended service schedule and addressing any underlying issues promptly, you can ensure that your RAV4 remains a reliable and enjoyable vehicle for years to come. Regular maintenance is an investment in your vehicle's longevity and your peace of mind.