How To Use A Spring Compressor For Struts
Alright, let's talk about struts and spring compressors. If you're thinking about tackling a strut replacement yourself, or even just swapping out springs, you're going to need to use a spring compressor. This is a crucial tool, and using it safely is paramount. We're going to walk through the process step-by-step, highlighting the dangers and best practices. Consider this your detailed guide to compressing coil springs on struts.
Understanding Struts and Spring Compression
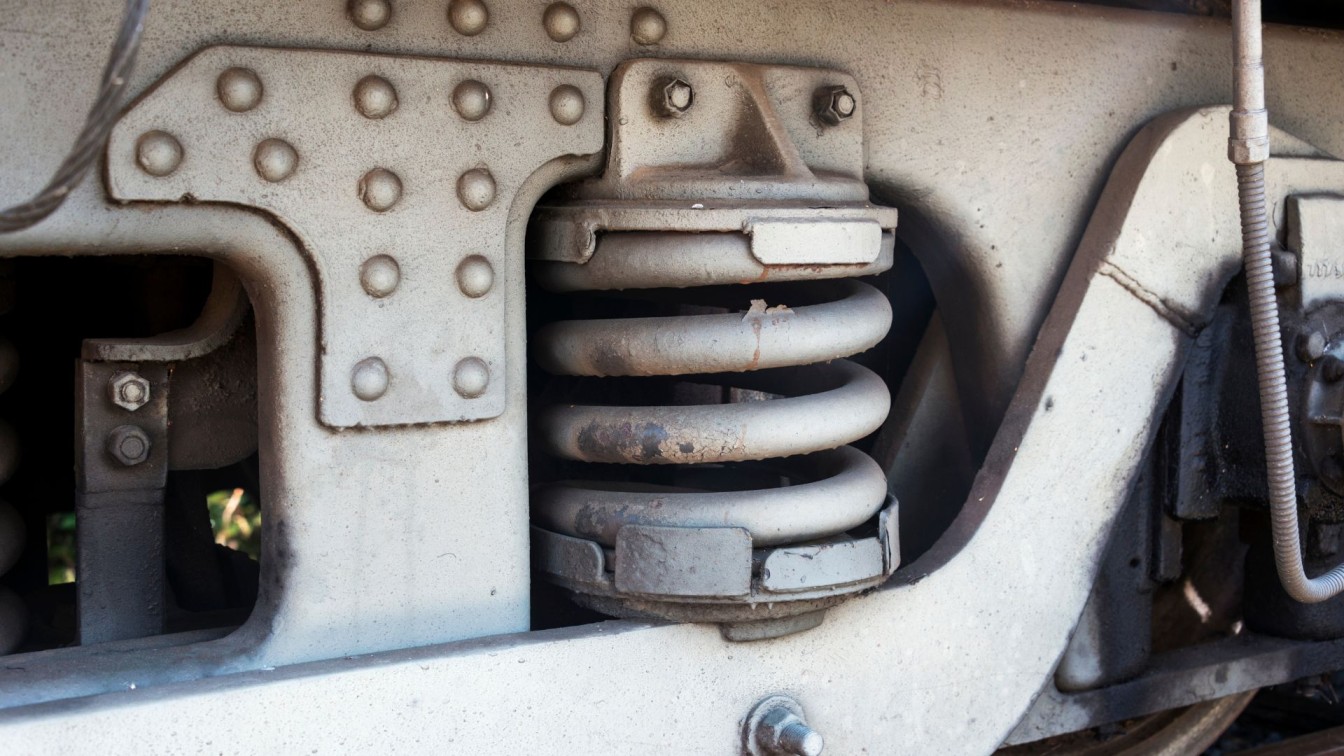
First, let's briefly cover what a strut assembly is. A strut is a crucial part of your vehicle's suspension system, combining the function of a shock absorber and a structural support. It typically consists of the strut body (containing the damping mechanism), a coil spring that absorbs bumps, a top mount (which connects the strut to the vehicle's chassis), and various other components. When the suspension compresses, the coil spring stores energy. That's where the danger lies – releasing that energy in an uncontrolled manner can be extremely hazardous.
The spring compressor is the tool designed to safely compress this coil spring, allowing you to disassemble the strut assembly. There are different types of spring compressors, each with its pros and cons. The most common types you'll encounter are:
- External Spring Compressors (MacPherson Strut Compressors): These are the most frequently used, consisting of two opposing jaws with threaded rods. The jaws clamp onto the spring coils, and tightening the rods compresses the spring.
- Internal Spring Compressors: These are less common for standard strut work and are generally used when external compressors can't be applied due to space constraints or spring design. They work by compressing the spring from the inside.
- Wall-Mounted Spring Compressors: These are typically found in professional shops and offer greater stability and safety, using hydraulic or pneumatic power for compression.
For most DIYers, the external spring compressor is the most practical and affordable option. That's what we'll focus on in this guide. Always inspect your spring compressor for any signs of wear, damage, or corrosion before use. Discard it if you find any issues.
Safety First!
Before we even touch the compressor, let's drill down on safety. Spring compressors are not to be trifled with. Mishandling them can result in serious injury or even death. Here are some non-negotiable safety rules:
- Wear Safety Glasses: This is a must. Flying debris can happen, and eye protection is critical.
- Wear Gloves: Protect your hands from cuts and scrapes.
- Choose the Right Compressor: Make sure the compressor you're using is rated for the spring you're compressing. Check the manufacturer's specifications.
- Inspect the Compressor: Before each use, meticulously inspect the compressor's jaws, threads, and safety locks. Look for cracks, wear, or damage. Replace any damaged components immediately.
- Lubricate the Threads: Use a high-quality lubricating oil or grease on the threaded rods of the compressor. This ensures smooth operation and reduces the risk of binding.
- Secure the Strut Assembly: Ideally, use a vise to hold the strut assembly securely. If that's not possible, ensure the assembly is stable and won't tip over during compression.
- Compress Gradually and Evenly: Tighten the compressor jaws in small, incremental steps, alternating between each side to maintain even compression. Avoid over-compressing the spring.
- Keep a Safe Distance: While compressing the spring, maintain a safe distance from the assembly. Stand to the side, not directly in front of it.
- Never Heat the Spring: Heating a coil spring can weaken its structure and increase the risk of failure.
- When in doubt, seek professional help: If you're uncomfortable with any part of the process, take the strut assembly to a qualified mechanic.
Step-by-Step Guide to Using a Spring Compressor
Now, let's get into the actual process. We'll assume you've already removed the strut assembly from the vehicle and have it ready to work on.
Step 1: Preparation and Inspection
Before you even touch the compressor, give the strut assembly a good visual inspection. Note the orientation of the top mount relative to the bottom of the strut. This will be important for reassembly. You can use a paint marker to mark the position of the top mount on the strut body. Also, check for any damage or corrosion on the strut, spring, or top mount. Document this for future reference.
Step 2: Positioning the Spring Compressor
This is where precision matters. Carefully position the spring compressor jaws onto the coil spring. Ensure that the jaws are fully seated on the spring coils and that the safety pins or locking mechanisms (if present) are engaged. The jaws should be positioned as far apart as possible, but within the safe operating range of the compressor. Avoid placing the jaws too close to the ends of the spring or too close to each other, as this can lead to uneven compression or slippage.
Generally, you want to position the compressor jaws roughly opposite each other. If your compressor has two sets of jaws, place them 180 degrees apart. If it has three, space them equally around the spring. The key is to distribute the compression force as evenly as possible.
Step 3: Compressing the Spring
Now, the moment of truth. Start tightening the compressor jaws, alternating between each side. Tighten each side a little bit at a time, checking frequently to ensure the spring is compressing evenly. Never tighten one side completely before tightening the other. This can cause the spring to bind or buckle, which is extremely dangerous.
As you compress the spring, keep a close eye on the top mount. You're aiming to compress the spring enough to relieve the tension on the top mount nut. The amount of compression needed will vary depending on the spring rate. Spring rate is the amount of force required to compress the spring one inch. Higher spring rates will require more compression.
Step 4: Removing the Top Mount Nut
Once the spring is compressed enough to relieve the tension on the top mount, you can safely remove the top mount nut. This nut is typically located at the top of the strut shaft. You'll need to hold the strut shaft from rotating while loosening the nut. Some struts have a hex key recess in the top of the shaft for this purpose. Others may require a special tool. Be prepared for a small amount of remaining pressure, even with the spring compressed. Remove the nut slowly and carefully.
Important Note: Some vehicles use a self-locking nut on the top mount. These nuts are designed to prevent loosening and may require more force to remove. If you encounter a self-locking nut, use a new nut during reassembly.
Step 5: Disassembling the Strut Assembly
With the top mount nut removed, you can now carefully disassemble the strut assembly. The top mount, bearing (if applicable), and bump stop should now be loose and can be removed from the strut shaft. Pay close attention to the order and orientation of these components, as they must be reassembled in the same way.
Step 6: Reassembly (and Reversing the Process)
Reassembly is essentially the reverse of disassembly. Install the new spring (if you're replacing it), bump stop, bearing (if applicable), and top mount onto the strut shaft. Make sure everything is properly aligned and seated. Install a new top mount nut (if necessary) and tighten it to the manufacturer's specified torque. Refer to your vehicle's repair manual for the correct torque specifications.
Now comes the critical part: slowly decompressing the spring. Again, alternate between each side of the compressor, loosening the jaws in small, incremental steps. Watch the spring carefully to ensure it's decompressing evenly. As the spring decompresses, it will exert increasing pressure on the compressor jaws. Be prepared for this and maintain a firm grip on the compressor.
Once the spring is fully decompressed and the tension is released from the compressor, you can remove the compressor from the spring. Your strut assembly is now reassembled and ready to be installed back into your vehicle.
Troubleshooting Tips
- Spring Slipping in the Compressor: Ensure the jaws are properly seated on the spring coils and that the safety pins (if present) are engaged. You might also need to adjust the position of the jaws to provide better grip.
- Compressor Binding: Lubricate the threaded rods of the compressor with a high-quality lubricating oil or grease. This will reduce friction and make it easier to tighten and loosen the jaws.
- Difficulty Removing the Top Mount Nut: Use a penetrating oil to loosen the nut. You may also need to use a breaker bar for added leverage.
- Spring Not Compressing Enough: Make sure you're using a compressor that is rated for the spring you're compressing. You may also need to reposition the jaws to maximize compression.
Final Thoughts
Using a spring compressor can be intimidating, but with the right tools, knowledge, and safety precautions, it's a manageable task for the experienced DIYer. Remember to always prioritize safety, inspect your equipment thoroughly, and take your time. If you're ever unsure about any part of the process, don't hesitate to seek professional help. Good luck, and happy wrenching!