Nissan Juke Alternator Replacement
So, your Nissan Juke's alternator has given up the ghost? Don't worry, it's a fairly common issue, and with some basic mechanical knowledge and the right tools, you can tackle this replacement yourself. This guide will walk you through the process step-by-step, assuming you have some experience working on cars. We'll cover everything from diagnosis to installation, with a few helpful tips along the way.
Diagnosis: Is it Really the Alternator?
Before you dive in, it's crucial to be sure the alternator is actually the culprit. Misdiagnosis can lead to unnecessary expense and frustration. Here's how to confirm your suspicions:
- Battery Light: The most obvious sign is the battery warning light illuminating on your dashboard. However, this light can also indicate other charging system problems.
- Dimming Headlights/Interior Lights: If your lights dim noticeably when you turn on accessories like the air conditioning or radio, it could signal a failing alternator struggling to keep up with the electrical load.
- Slow or No Start: A weak or dead battery, especially if it's relatively new, can be a symptom of the alternator not properly charging it. The starter motor might sound weak or sluggish.
- Electrical Issues: Strange electrical behavior, such as erratic instrument readings or malfunctioning accessories, can sometimes be traced back to a faulty alternator.
- Physical Inspection: Look for visual clues like a loose or damaged serpentine belt (more on this later), frayed wiring connected to the alternator, or signs of oil leaking onto the alternator itself.
- Voltage Test: This is the most definitive test. Using a multimeter, check the voltage at the battery terminals with the engine running. A healthy alternator should produce around 13.5-14.5 volts. Anything significantly lower indicates a problem. Also, test the voltage with the engine off. A fully charged battery should read around 12.6 volts.
- Load Test: Some auto parts stores offer free load testing of your battery and alternator. This provides a more comprehensive assessment of their performance under load.
Important Note: A bad battery can sometimes mimic alternator problems. It's always a good idea to have your battery tested as well, to rule it out as the source of the issue.
Tools and Materials Needed
Before you start, gather the necessary tools and materials:
- New Alternator: Make sure you get the correct replacement alternator for your specific Nissan Juke model and year. Check the part number carefully. Remanufactured units are often a cost-effective option.
- Socket Set: Including metric sizes common on Japanese vehicles (typically 10mm, 12mm, 14mm, and possibly 17mm).
- Wrench Set: Similar sizes to the socket set.
- Screwdrivers: Both flathead and Phillips head.
- Multimeter: For voltage testing (as mentioned earlier).
- Serpentine Belt Tool (Optional): While not strictly necessary, a serpentine belt tool can make releasing the belt tension much easier.
- Gloves: To protect your hands.
- Safety Glasses: To protect your eyes.
- Battery Terminal Cleaner: To clean the battery posts and terminals.
- Penetrating Oil: For loosening stubborn bolts.
- Shop Rags: For cleaning up spills and wiping down parts.
- Torque Wrench: For tightening bolts to the correct specifications during reassembly (very important!). Look up the torque specs for your Juke's alternator.
- Jack and Jack Stands: You may need to lift the vehicle for easier access. Never work under a vehicle supported only by a jack!
- Wheel Chocks: For safety, place these behind the wheels that are not being lifted.
Step-by-Step Alternator Replacement
1. Disconnect the Battery
Safety First! Disconnect the negative (-) battery terminal. This prevents any accidental electrical shocks or shorts during the replacement process. Use a wrench to loosen the terminal clamp and carefully remove it. Tuck it away from the battery post to prevent accidental contact.
2. Locate the Alternator
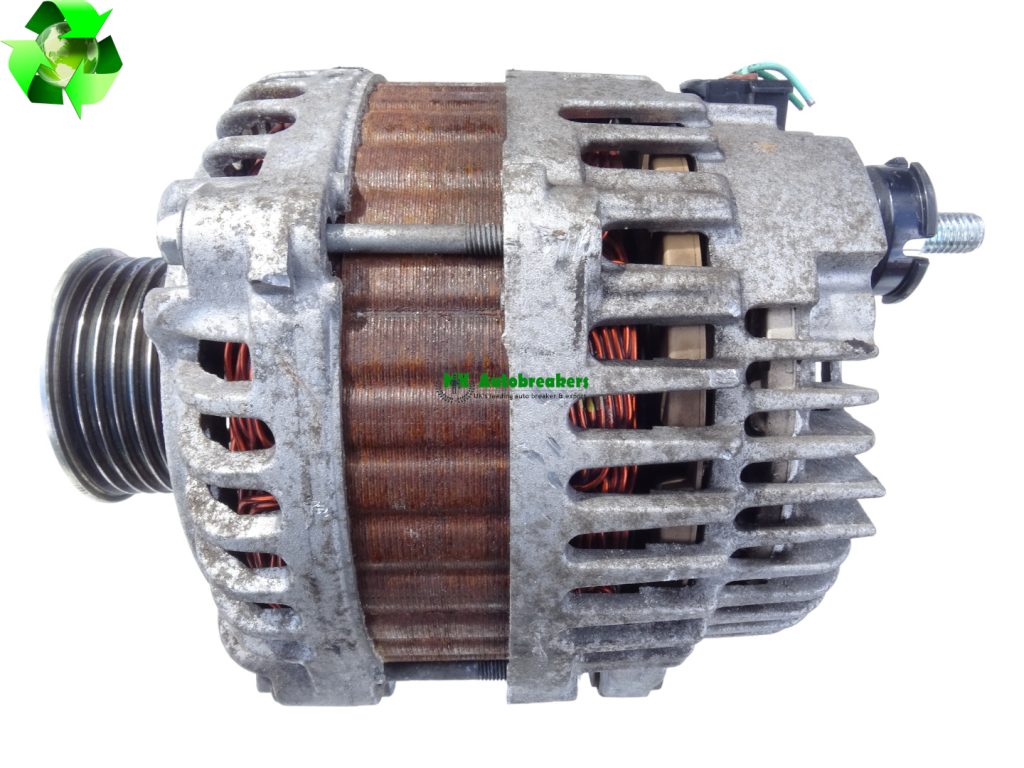
The alternator is typically located at the front of the engine, driven by the serpentine belt. Consult your Juke's service manual (or search online) if you're unsure of its exact location. It usually looks like a cylindrical metal component with a pulley on one end.
3. Remove the Serpentine Belt
The serpentine belt wraps around several pulleys, including the alternator pulley, the crankshaft pulley, the power steering pump pulley, and the air conditioning compressor pulley. To remove it, you need to release the tension on the belt tensioner. The tensioner is spring-loaded and usually has a square hole or a bolt head that you can use to rotate it. Use a socket wrench or a serpentine belt tool to rotate the tensioner, which will slacken the belt. While holding the tensioner in the released position, carefully slip the belt off the alternator pulley. Once the belt is off the alternator, you can slowly release the tensioner.
4. Disconnect the Wiring
There will be at least two wires connected to the alternator: the B+ (battery positive) wire, which is usually a thick wire with a ring terminal, and a smaller connector that carries the field current. Disconnect these wires carefully. The B+ wire is typically secured with a nut. Use a wrench to loosen and remove the nut, then disconnect the wire. Disconnect the smaller connector by pressing the release tab and pulling it straight out. Be gentle, as these connectors can become brittle with age.
5. Remove the Alternator Mounting Bolts
The alternator is typically held in place by two or three mounting bolts. These bolts usually pass through the alternator housing and thread into brackets on the engine block. Use a socket wrench to loosen and remove these bolts. You may need to use penetrating oil if they are rusted or corroded. Support the alternator with one hand as you remove the last bolt to prevent it from falling.
6. Remove the Old Alternator
Carefully maneuver the old alternator out of the engine compartment. You may need to wiggle it around and rotate it to find the best angle. Be mindful of any hoses or wires that might be in the way.
7. Install the New Alternator
Installation is the reverse of removal. Carefully position the new alternator in the engine compartment and align it with the mounting brackets. Install the mounting bolts and tighten them to the manufacturer's specified torque using a torque wrench. This is crucial for ensuring the alternator is securely mounted and won't vibrate loose.
8. Reconnect the Wiring
Reconnect the B+ wire and the smaller connector to the new alternator. Make sure the connections are clean and secure. Tighten the nut on the B+ wire to the specified torque.
9. Reinstall the Serpentine Belt
Route the serpentine belt around all the pulleys, except for the alternator pulley. Use a socket wrench or a serpentine belt tool to rotate the belt tensioner again, creating slack in the belt. Slip the belt over the alternator pulley while holding the tensioner in the released position. Once the belt is properly seated on all the pulleys, slowly release the tensioner. Double-check that the belt is properly aligned on all the pulleys and that it is not twisted or damaged.
10. Reconnect the Battery
Reconnect the negative (-) battery terminal. Tighten the terminal clamp securely. Clean the battery posts and terminals with battery terminal cleaner to ensure good electrical contact.
11. Test the New Alternator
Start the engine and check the voltage at the battery terminals with a multimeter. The voltage should be between 13.5 and 14.5 volts, indicating that the alternator is charging properly. Also, check for any warning lights on the dashboard. The battery light should be off.
Troubleshooting Tips
- Belt Slippage: If the battery light comes on after installing the new alternator, and you hear a squealing noise, the serpentine belt may be slipping. Check the belt tension and make sure the belt is properly routed.
- Wiring Issues: If the voltage is still low after installing the new alternator, double-check all the wiring connections. Make sure the connections are clean, tight, and free of corrosion.
- Grounding Problems: A bad ground connection can also cause charging problems. Check the ground wire that connects the alternator to the engine block or chassis. Make sure it is clean and securely attached.
Final Thoughts
Replacing the alternator on your Nissan Juke is a manageable DIY project if you're comfortable working on cars. Take your time, follow these steps carefully, and always prioritize safety. If you encounter any difficulties, don't hesitate to consult a qualified mechanic. By replacing the alternator yourself, you can save a significant amount of money on labor costs. Good luck!