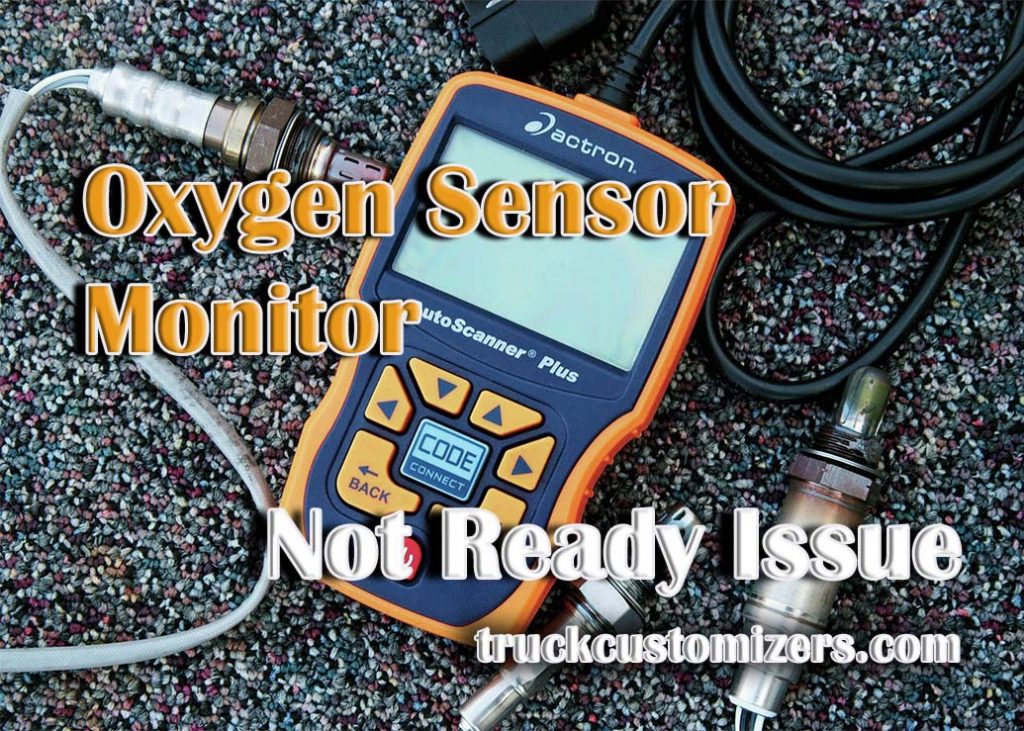
O2 Sensor Monitor Not Ready
Alright, let's dive into the frustrating world of the "O2 Sensor Monitor Not Ready" error. You've cleared a code, maybe done some repairs, and now your car won't pass emissions because the O2 sensor monitor isn't setting. This isn't uncommon, and understanding why it happens is crucial for getting your vehicle ready for inspection.
Understanding OBD II Monitors
First, a quick refresher. Modern vehicles use an On-Board Diagnostic (OBD) II system. This system constantly monitors various components and systems, running diagnostic tests called monitors. When a monitor completes its test and determines everything is functioning correctly, it sets to "Ready" or "Complete." If it finds a problem, it stores a Diagnostic Trouble Code (DTC) – that's your check engine light. The O2 sensor monitor is just one of several monitors the OBD II system uses.
These monitors are crucial for ensuring your car is running cleanly and efficiently, and emission testing stations rely on them. If too many monitors are in a "Not Ready" state, your car will fail the inspection, even if the check engine light is off.
What is the O2 Sensor Monitor?
The O2 sensor monitor specifically tests the functionality of your car's Oxygen (O2) sensors. These sensors are critical components in the engine's feedback loop, providing the Engine Control Unit (ECU, also sometimes referred to as the Powertrain Control Module, or PCM) with information about the exhaust gas composition. The ECU uses this data to adjust the air-fuel mixture, ensuring optimal combustion and minimizing emissions.
The O2 sensor monitor typically tests the following aspects of the O2 sensors:
- Sensor Response Time: How quickly the sensor reacts to changes in exhaust gas composition (switching from lean to rich and vice versa).
- Sensor Heater Function: Many O2 sensors have internal heaters to bring them up to operating temperature quickly, enabling them to provide accurate readings sooner after a cold start. The monitor verifies the heater's functionality.
- Sensor Circuit Integrity: Checks for open circuits, short circuits, and out-of-range voltage signals within the sensor's wiring and the sensor itself.
- Catalytic Converter Efficiency (downstream sensors): The O2 sensor located *after* the catalytic converter is used to assess the converter's ability to reduce emissions. The monitor compares the signal from the upstream sensor to the downstream sensor.
Why the "Not Ready" State?
So, why is the O2 sensor monitor stubbornly refusing to set? There are several common culprits:
- Recent DTC Clearing: This is the most common reason. When you clear a DTC (using a scan tool or disconnecting the battery), all OBD II monitors are reset to "Not Ready." They need to run their diagnostic routines again.
- Drive Cycle Not Completed: Each monitor has a specific set of conditions that must be met for it to run and complete its test. This is called a drive cycle. If you haven't driven the car under the required conditions, the monitor won't set. More on this later.
- Underlying Mechanical Issues: A problem with the O2 sensors themselves, the engine, or the exhaust system can prevent the monitor from setting. Think vacuum leaks, exhaust leaks, faulty O2 sensors, misfires, or problems with the fuel system.
- ECU Issues: In rare cases, the ECU itself may be faulty and unable to run the monitor correctly.
- Aftermarket Tuning or Modifications: Some aftermarket tuning solutions or engine modifications can interfere with the O2 sensor monitor's operation, especially if they alter the air-fuel ratio significantly or disable certain sensor functions.
- Faulty or Incompatible Scan Tool: Some cheaper or older scan tools may not be able to accurately display the monitor status or initiate the required drive cycle procedures.
The Dreaded Drive Cycle
The drive cycle is the key to getting the O2 sensor monitor (and other monitors) to set. It's a pre-defined sequence of driving conditions that allows the ECU to run its diagnostic tests. Unfortunately, there's no single, universal drive cycle. Each manufacturer (and sometimes even different models within the same manufacturer) has its own specific procedure.
Here's the general concept of a generic OBD II drive cycle (your specific vehicle may vary significantly):
- Cold Start: The engine must be completely cold (left overnight is best). This allows the ECU to perform initial sensor checks.
- Idle: Start the engine and let it idle for a specific period (e.g., 2-3 minutes).
- Acceleration: Accelerate smoothly to a moderate speed (e.g., 45-55 mph).
- Cruise: Maintain a steady speed for a specific duration (e.g., 5-10 minutes). Avoid sudden acceleration or deceleration.
- Deceleration: Gradually decelerate without using the brakes (coasting down).
- Stop: Come to a complete stop and idle for a brief period.
- Repeat: Repeat the acceleration, cruise, deceleration, and stop steps several times.
Important Considerations for Drive Cycles:
- Consult Your Vehicle's Service Manual: This is the most accurate source for the correct drive cycle procedure for your specific make, model, and year. Search online for "[Your Car] Drive Cycle" and you can likely find detailed instructions.
- Safety First: Perform the drive cycle in a safe location with minimal traffic. Avoid aggressive driving or maneuvers that could endanger yourself or others.
- OBD II Scan Tool Monitoring: Ideally, use an OBD II scan tool that can display live data and monitor the status of the O2 sensor monitor. This allows you to see if the monitor is progressing towards completion.
- Patience is Key: Drive cycles can be time-consuming and may require multiple attempts before the monitor sets. Don't get discouraged if it doesn't work on the first try.
Troubleshooting Tips & Tricks
If you've tried the drive cycle multiple times and the O2 sensor monitor still refuses to set, it's time to dig deeper. Here's a systematic approach:
- Check for Pending Codes: Even if the check engine light isn't on, there may be pending codes stored in the ECU. These codes indicate a potential problem that isn't severe enough to trigger the light but can still prevent the monitor from setting. Use a scan tool to check for pending codes and address them.
- Inspect O2 Sensor Wiring: Carefully inspect the wiring and connectors associated with the O2 sensors. Look for damage, corrosion, loose connections, or signs of rodent activity. Use a multimeter to check for continuity and proper voltage signals.
- Check for Vacuum Leaks: Vacuum leaks can throw off the air-fuel mixture and prevent the O2 sensor monitor from setting. Use a vacuum gauge or a smoke machine to check for leaks in the intake manifold, vacuum hoses, and other related components.
- Inspect Exhaust System: Check the exhaust system for leaks, especially near the O2 sensors. Even small leaks can affect sensor readings.
- Test O2 Sensors: Use a multimeter or oscilloscope to test the O2 sensors themselves. Check their resistance, voltage output, and response time. Compare your readings to the manufacturer's specifications.
- Fuel Trim Analysis: Use a scan tool to monitor the short-term and long-term fuel trim values. Excessive fuel trim values can indicate a problem with the air-fuel mixture or a faulty O2 sensor.
- Consider Professional Help: If you've exhausted all other options, it's time to consult a qualified mechanic. They have access to more advanced diagnostic tools and expertise to pinpoint the problem.
Specific Scenarios and Considerations
- Vehicles with Multiple O2 Sensors: Some vehicles have multiple O2 sensors (e.g., pre-cat and post-cat sensors). Make sure you're addressing the correct sensor if a code is present.
- Heated vs. Unheated O2 Sensors: Older vehicles may use unheated O2 sensors, which take longer to warm up. The monitor for these sensors may have different criteria.
- Wideband O2 Sensors: Some modern vehicles use wideband O2 sensors, which provide more precise air-fuel ratio measurements. These sensors require specialized testing procedures.
- Ethanol Content: High ethanol content can affect O2 sensor readings on some vehicles. Make sure you're using the correct fuel type for your car.
Final Thoughts: Getting the O2 sensor monitor to set can be a test of patience and troubleshooting skills. By understanding the underlying principles, following a systematic approach, and consulting the resources available to you, you can increase your chances of success. Don't be afraid to seek professional help if you get stuck. Good luck!