O2 Sensor Socket Advance Auto
Oxygen sensors, often called O2 sensors, are crucial components in your vehicle's emission control system. They monitor the amount of oxygen in the exhaust gases and relay this information to the engine control unit (ECU). The ECU then uses this data to adjust the air-fuel mixture, ensuring optimal engine performance and minimizing harmful emissions. Replacing these sensors can be a fairly straightforward DIY task, but often requires specialized tools, including an O2 sensor socket.
Understanding O2 Sensors and Their Role
Before diving into the specifics of O2 sensor sockets, let's solidify our understanding of what these sensors do. Think of them as the engine's environmental watchdogs. Modern vehicles typically have two types: upstream and downstream sensors.
- Upstream sensors are located before the catalytic converter. They provide the ECU with real-time information about the engine's combustion efficiency.
- Downstream sensors are located after the catalytic converter. They primarily monitor the converter's performance, ensuring it's effectively reducing pollutants.
A faulty O2 sensor can lead to a range of problems, including poor fuel economy, a decrease in engine performance, increased emissions, and a dreaded check engine light. Diagnostic trouble codes (DTCs) such as P0131 (O2 Sensor Circuit Low Voltage Bank 1 Sensor 1) or P0171 (System Too Lean Bank 1) often point to O2 sensor issues.
For example, a 2010 Honda Civic with a failing upstream O2 sensor might experience rough idling and a noticeable drop in gas mileage. Similarly, a 2015 Ford F-150 with a malfunctioning downstream sensor could trigger a check engine light even if the catalytic converter is functioning correctly.
The Challenge of O2 Sensor Removal
Removing and replacing O2 sensors can be tricky for a few reasons. First, they're often located in tight, difficult-to-reach areas of the exhaust system. Second, they're subjected to extreme temperatures and harsh conditions, which can cause them to seize or corrode in place. Trying to use a standard wrench can damage the sensor, round off the edges, or even break it off entirely, making the problem even worse.
This is where an O2 sensor socket comes into play.
What is an O2 Sensor Socket?
An O2 sensor socket is a specialized tool designed specifically for removing and installing oxygen sensors. Unlike standard sockets, O2 sensor sockets have a slot or cutout that allows them to fit around the sensor's wiring harness. This feature is crucial because it prevents damage to the wires during removal or installation. Without this slot, you'd likely have to cut the wires (which is generally not recommended) or risk damaging them while trying to maneuver a standard socket.
There are generally two main types of O2 sensor sockets:
- Slotted Sockets: These sockets have a slot cut out along the side, allowing the socket to slide over the sensor and its wiring. These are very common and generally suitable for most applications.
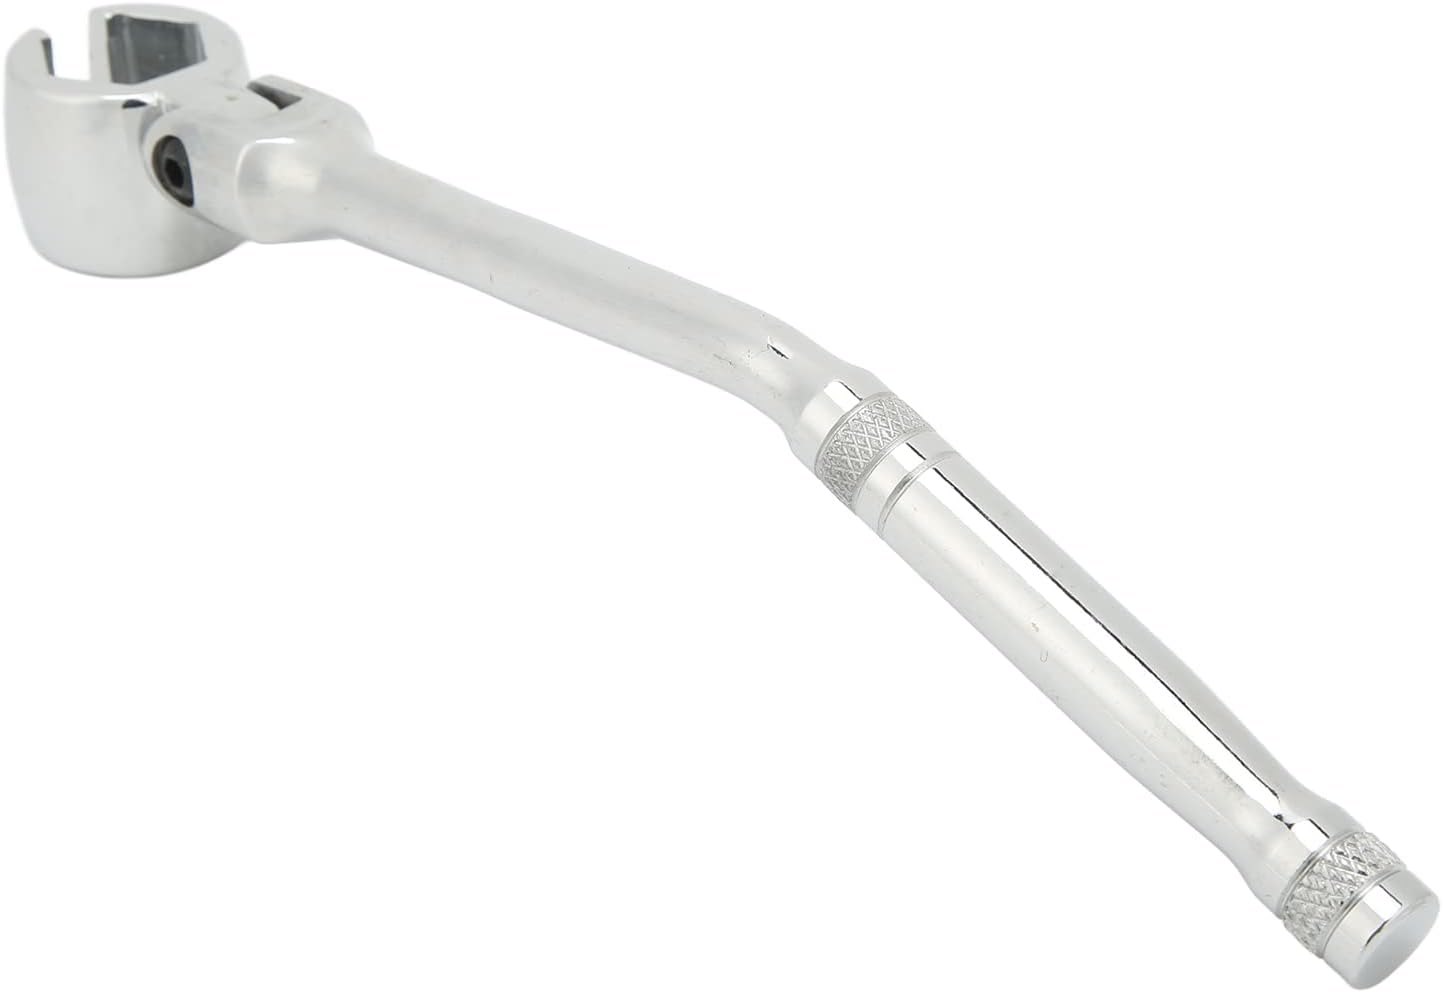
- Crowsfoot Wrenches: These are open-ended wrenches with a socket-like head. They are especially useful in very tight spaces where a full socket and ratchet might not fit. They are typically used with an extension bar to provide additional leverage.
Key Features to Look for in an O2 Sensor Socket
When choosing an O2 sensor socket, consider the following features:
- Size: Most O2 sensors require a 7/8 inch (22mm) socket. However, it's always a good idea to verify the size needed for your specific vehicle.
- Drive Size: O2 sensor sockets typically come with a 3/8 inch drive, which is compatible with most standard ratchets and extensions.
- Material: Look for sockets made from high-quality, heat-treated steel for durability and strength.
- Construction: A forged construction ensures that the socket can withstand the torque needed to loosen stubborn sensors.
Advance Auto Parts and O2 Sensor Sockets
Advance Auto Parts is a well-known retailer of automotive parts and tools, and they offer a variety of O2 sensor sockets to suit different needs and budgets. You can find both slotted sockets and crowsfoot wrenches from various brands. Their website and in-store staff can help you determine the correct size and type of socket for your vehicle. They often carry brands like OEMTOOLS, Lisle, and their own house brand, offering a range of quality and price points.
Using an O2 Sensor Socket: A Step-by-Step Guide
Here's a general guide on how to use an O2 sensor socket to remove and install an oxygen sensor:
- Safety First: Disconnect the negative battery cable to prevent electrical shorts. Allow the engine and exhaust system to cool completely before starting.
- Locate the Sensor: Identify the O2 sensor you need to replace. Refer to your vehicle's repair manual or online resources for its exact location.
- Disconnect the Electrical Connector: Carefully disconnect the electrical connector from the sensor. Some connectors have a locking mechanism that needs to be released.
- Apply Penetrating Oil: Spray penetrating oil (like PB Blaster) around the base of the sensor where it threads into the exhaust system. Let it soak for at least 15-20 minutes to help loosen the sensor.
- Position the Socket: Place the O2 sensor socket over the sensor, ensuring the wiring harness fits through the slot.
- Attach the Ratchet: Connect a ratchet to the socket. If needed, use an extension bar to gain more leverage or reach a sensor in a tight spot.
- Loosen the Sensor: Apply steady, even pressure to loosen the sensor. If it's extremely stubborn, try tapping the socket with a hammer to help break the corrosion. Remember to turn the socket counter-clockwise to loosen the sensor.
- Remove the Sensor: Once the sensor is loosened, unscrew it completely by hand.
- Install the New Sensor: Apply a small amount of anti-seize compound to the threads of the new sensor (if not already pre-applied). Be careful not to get any anti-seize on the sensor element itself.
- Tighten the Sensor: Screw the new sensor in by hand until it's snug. Then, use the O2 sensor socket and ratchet to tighten it to the manufacturer's specified torque (typically around 30-35 ft-lbs). Over-tightening can damage the sensor or the exhaust threads.
- Reconnect the Electrical Connector: Reconnect the electrical connector to the sensor.
- Reconnect the Battery: Reconnect the negative battery cable.
- Clear the DTCs: Use an OBD-II scanner to clear any DTCs related to the O2 sensor.
- Test Drive: Take your vehicle for a test drive to ensure the new sensor is functioning correctly and that the check engine light doesn't reappear.
Example: Replacing an O2 Sensor on a Toyota Camry
Let's say you're replacing the upstream O2 sensor on a 2012 Toyota Camry. You'd start by locating the sensor near the exhaust manifold. After disconnecting the electrical connector and applying penetrating oil, you'd use a 7/8 inch (22mm) slotted O2 sensor socket to loosen and remove the old sensor. You'd then install the new sensor, tighten it to the specified torque, and reconnect the electrical connector. Finally, you'd clear any DTCs and take the Camry for a test drive.
Troubleshooting Common Issues
Here are some common issues you might encounter and how to address them:
- Sensor is Stuck: If the sensor is extremely difficult to remove, try applying more penetrating oil and letting it soak for a longer period. You can also use a heat gun to gently heat the area around the sensor (be careful not to overheat the exhaust components).
- Socket Slipping: If the socket keeps slipping, ensure it's properly seated on the sensor. A worn or damaged socket might need to be replaced.
- Damaged Threads: If the threads in the exhaust system are damaged, you might need to use a thread chaser or tap to repair them. In severe cases, you might need to replace the entire exhaust component.
- Incorrect Sensor Size: Double-check the size of the O2 sensor before purchasing a replacement. Using the wrong size sensor can damage the exhaust system.
Practical Takeaways
- Invest in a quality O2 sensor socket. A durable socket will make the job easier and prevent damage to the sensor or your vehicle.
- Always use penetrating oil. This is essential for loosening stubborn sensors and preventing damage to the threads.
- Apply anti-seize compound to the new sensor's threads. This will make it easier to remove the sensor in the future.
- Torque the new sensor to the manufacturer's specifications. Over-tightening can damage the sensor or the exhaust threads.
- Use an OBD-II scanner to clear DTCs after replacing the sensor. This will ensure that the check engine light is off and that the ECU is properly monitoring the new sensor.
By understanding the role of O2 sensors, choosing the right tools, and following these steps, you can confidently tackle O2 sensor replacement as a DIY project and save money on costly mechanic fees. Always remember to prioritize safety and consult your vehicle's repair manual for specific instructions.