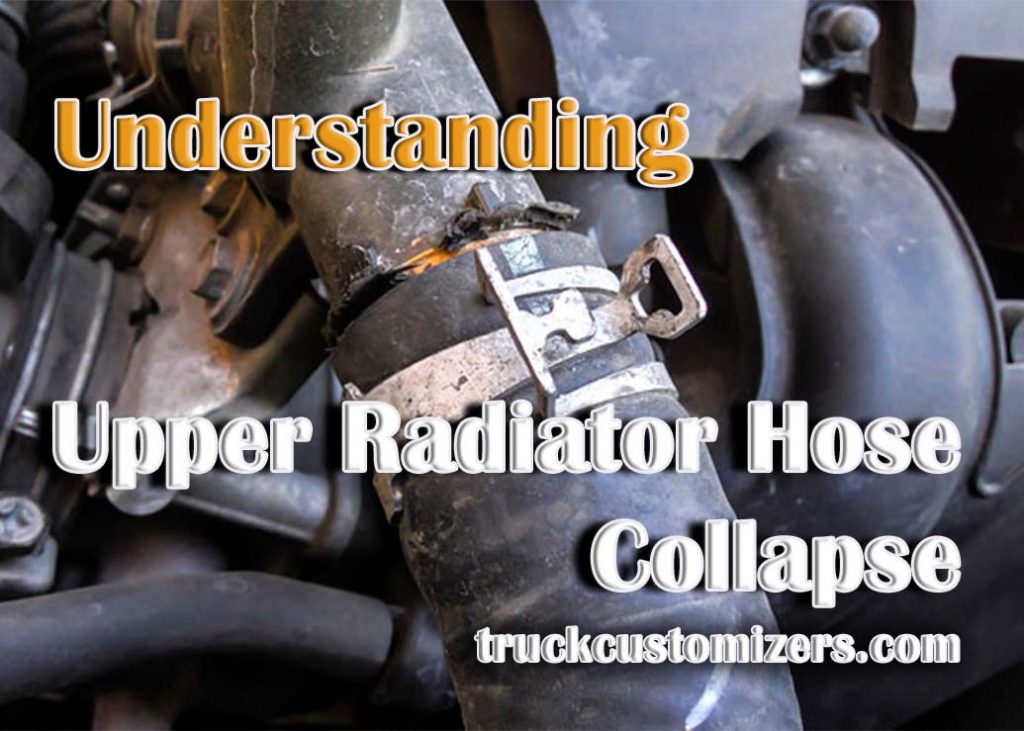
Radiator Hose Collapse When Engine Is Off

The scene is familiar to many: you pop the hood, expecting a routine check, and are greeted by a disconcerting sight – a collapsed radiator hose. While a collapsed hose *while the engine is running* is often attributed to a faulty cooling system component, a collapsed hose when the engine is off presents a slightly different diagnostic puzzle. It doesn't necessarily indicate immediate catastrophic failure, but it absolutely warrants investigation.
Understanding the Cooling System's Vacuum
The core of the issue lies in the pressure dynamics of a sealed cooling system. When the engine is running, coolant heats up, expands, and increases the pressure within the system. The radiator cap, a crucial component, is designed to maintain a specific pressure threshold. When that threshold is exceeded, the cap vents excess pressure, preventing component damage.
Crucially, the radiator cap also features a vacuum relief valve. As the engine cools down, the coolant contracts, potentially creating a vacuum within the system. Without a vacuum relief, atmospheric pressure would crush the relatively pliable radiator hoses. The vacuum relief valve allows air to enter the system, equalizing the pressure and preventing hose collapse.
Common Causes of Post-Shutdown Hose Collapse
So, if the vacuum relief valve is supposed to prevent this, why do hoses still collapse sometimes after shutdown? Here are the most probable causes:
- Faulty Radiator Cap: This is the prime suspect. A malfunctioning vacuum relief valve within the radiator cap is the most common reason for a collapsed hose after the engine is turned off. The valve might be stuck closed due to corrosion, debris, or internal damage, preventing air from entering the system as the coolant cools and contracts. Always start your diagnosis here. Replacing the radiator cap is a relatively inexpensive and easy fix.
- Clogged or Blocked Overflow Hose: The overflow hose connects the radiator filler neck to the coolant overflow reservoir (also known as the expansion tank). This hose allows coolant to flow to and from the reservoir, compensating for volume changes due to temperature fluctuations. If this hose is kinked, clogged with debris, or internally collapsed, it can prevent the vacuum relief valve from functioning correctly. The reservoir needs to equalize to atmospheric pressure. Check the reservoir and hose for blockages.
- Internal Hose Degradation: Over time, radiator hoses can deteriorate internally. The inner lining can delaminate and partially collapse, creating a restriction. While this might not manifest as a full collapse when the engine is running (due to the positive pressure), the weakened hose can easily succumb to vacuum forces during cooldown. Examine the hose internally for signs of degradation. Squeeze the hose – does it feel excessively soft or spongy?
- System Leaks (Less Common): While counterintuitive, a small coolant leak can, in rare cases, contribute to hose collapse. If the leak is significant enough to lower the overall coolant level, it can exacerbate the vacuum effect as the system cools. However, in most leak scenarios, the system won't create enough vacuum to cause a hose collapse. Look for coolant stains or puddles near connections.
Diagnosis and Repair
Diagnosing a collapsed radiator hose typically involves a process of elimination:
- Inspect the Radiator Cap: Remove the cap and visually inspect it. Look for signs of corrosion, damage, or debris. A simple test is to try blowing through the vacuum relief valve port (the smaller opening, typically on the side). It should allow air to flow in one direction. If it's completely blocked, the cap needs replacement. Consider a pressure test of the cap with specialized equipment.
- Check the Overflow Hose: Disconnect the overflow hose from both the radiator filler neck and the overflow reservoir. Visually inspect the hose for kinks or blockages. Blow through the hose to ensure it's clear. Clean or replace as needed. Check if the reservoir cap has a breather hole, if so is the breather hole clear.
- Examine the Radiator Hoses: Carefully inspect the radiator hoses, particularly the lower hose (as it's often more susceptible to collapse). Squeeze the hoses along their entire length, feeling for soft spots or internal restrictions. If in doubt, replace the hoses.
- Pressure Test the Cooling System: After addressing the above potential issues, pressure test the cooling system to rule out any leaks that might be contributing to the problem. Follow manufacturer's instructions for pressure testing.
Important Note: Always exercise caution when working with a cooling system. Allow the engine to cool completely before removing the radiator cap to avoid scalding from hot coolant. Properly dispose of used coolant.
Prevention
Preventative maintenance is key to avoiding cooling system issues. Regularly inspect your radiator hoses for signs of wear and tear. Replace hoses proactively, typically every five years or 100,000 miles, whichever comes first. Ensure the correct coolant mixture is used and that the system is properly flushed and filled according to the manufacturer's recommendations. Finally, replace the radiator cap at recommended service intervals; it's a cheap insurance policy against more serious cooling system problems.
