Socket To Remove O2 Sensor
Oxygen sensors (O2 sensors) are vital components of your vehicle's emission control system. They monitor the amount of oxygen in the exhaust gas, sending this information to the engine control unit (ECU), which then adjusts the air-fuel mixture for optimal efficiency and reduced emissions. When an O2 sensor fails, it can lead to a range of problems, including decreased fuel economy, a failed emissions test, a check engine light, and even poor engine performance. Replacing a faulty O2 sensor is often a straightforward repair, but removing the old sensor can sometimes be a real challenge, primarily due to corrosion and heat seizing the sensor in place.
The Problem: A Stuck Oxygen Sensor
The biggest hurdle in O2 sensor replacement is often the sensor itself being stuck. This happens for a few key reasons:
- Corrosion: The exhaust system is a harsh environment, exposed to extreme temperatures and moisture. Over time, corrosion can build up between the O2 sensor threads and the exhaust manifold or pipe.
- Heat Seizing: The intense heat of the exhaust can cause the sensor and the surrounding metal to fuse together, making it incredibly difficult to unscrew.
- Physical Damage: Sometimes, the sensor's hex head can become rounded off due to previous attempts at removal with improper tools, further complicating the process.
Trying to force a stuck O2 sensor can lead to several undesirable outcomes, including:
- Stripping the threads on the exhaust manifold or pipe, potentially requiring more extensive and costly repairs.
- Breaking the sensor, leaving pieces stuck in the threads.
- Damaging the sensor's electrical connector or wiring.
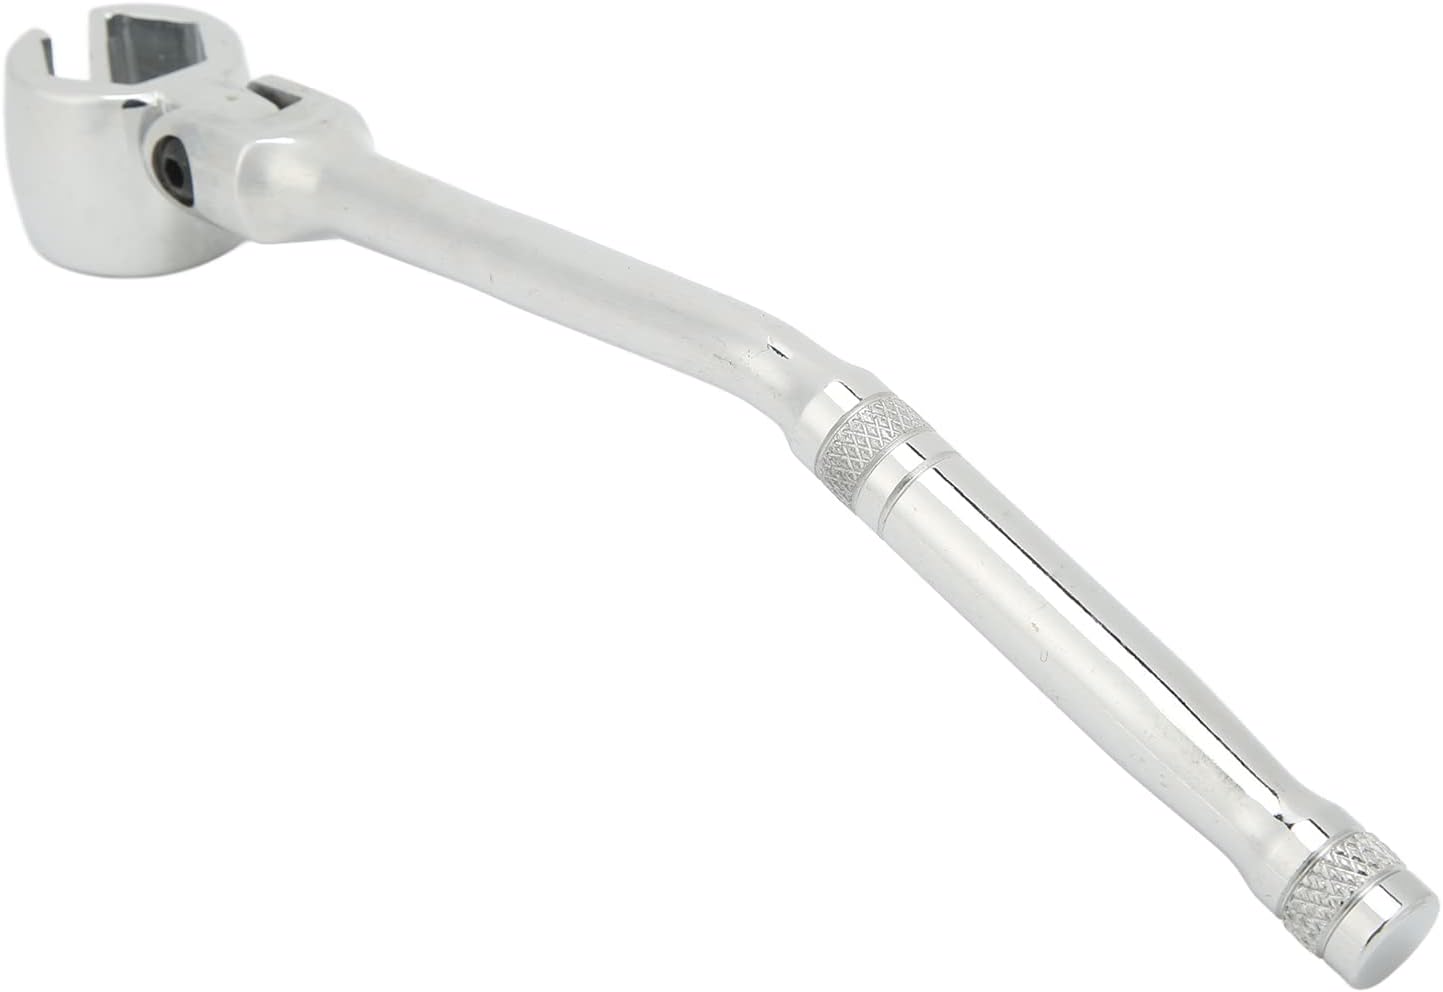
The Solution: Using an O2 Sensor Socket and Proper Techniques
The key to successfully removing a stuck O2 sensor lies in using the right tools and techniques. A specialized O2 sensor socket is essential for this task. Here's why:
- Proper Fit: Standard sockets often won't fit properly around the O2 sensor due to the wiring harness. O2 sensor sockets have a cut-out or slot to accommodate the wires, allowing you to get a secure grip on the sensor's hex head.
- Increased Leverage: These sockets are typically designed to work with a ratchet and extension, providing the leverage needed to break the sensor free.
- Reduced Risk of Damage: Using the correct socket minimizes the risk of rounding off the sensor's hex head, which is crucial for a successful removal.
Tools You'll Need:
- O2 Sensor Socket: These are available in various sizes (typically 7/8" or 22mm). Make sure you get the correct size for your vehicle's O2 sensors. Both standard and offset (crow's foot) versions exist; the offset can be helpful for tight spaces.
- Ratchet and Extension: A sturdy ratchet and extension are needed to apply torque to the socket. A breaker bar can be beneficial for particularly stubborn sensors.
- Penetrating Oil: A good quality penetrating oil, such as PB Blaster or Liquid Wrench, is vital for loosening corroded threads.
- Heat Source (Optional): A propane torch can be used to apply heat to the area surrounding the sensor, helping to break down corrosion. Use extreme caution when working with a torch near fuel lines or other flammable components.
- Gloves and Safety Glasses: Protect your hands and eyes from potential debris and chemicals.
- Wire Brush: A wire brush can be used to clean the threads on the new sensor before installation.
- Anti-Seize Compound: A small amount of anti-seize compound specifically designed for O2 sensors should be applied to the threads of the new sensor to prevent future seizing.
- Torque Wrench: Using a torque wrench ensures that the new sensor is tightened to the manufacturer's specifications.
Step-by-Step Removal Process:
- Safety First: Disconnect the negative terminal of your car battery before starting any work on the electrical system. Let the exhaust system cool down completely. Working on a hot exhaust can cause severe burns.
- Apply Penetrating Oil: Generously apply penetrating oil to the threads of the O2 sensor where it meets the exhaust manifold or pipe. Allow the oil to soak for at least 15-30 minutes, or even longer for severely corroded sensors. Reapply the oil periodically during the soaking process.
- Locate and Disconnect the Sensor: Find the electrical connector for the O2 sensor and disconnect it. This might involve removing clips or fasteners. Be careful not to damage the connector or wiring.
- Position the Socket: Slide the O2 sensor socket over the sensor, ensuring a secure fit. If using an offset socket, position it so the ratchet and extension can be easily connected.
- Apply Leverage: Attach the ratchet and extension to the socket. Apply steady, even pressure to the ratchet. Avoid jerking or using excessive force, as this can round off the sensor's hex head. If the sensor doesn't budge, try applying more penetrating oil and let it soak longer.
- Heat Application (Optional): If the sensor remains stuck, carefully use a propane torch to heat the area around the sensor for a short period (30-60 seconds). This can help to expand the metal and break down corrosion. Again, use extreme caution and avoid overheating the area. After heating, try applying leverage again.
- Persistence is Key: Continue applying penetrating oil, heat (if using), and leverage until the sensor starts to loosen. Work the sensor back and forth slightly as it loosens to help break free any remaining corrosion.
- Remove the Sensor: Once the sensor is loose enough, carefully unscrew it completely from the exhaust manifold or pipe.
- Clean the Threads: Use a wire brush to clean the threads in the exhaust manifold or pipe to remove any remaining corrosion or debris. This will ensure a proper seal with the new sensor.
Installing the New O2 Sensor:
- Apply Anti-Seize: Apply a small amount of O2 sensor-safe anti-seize compound to the threads of the new sensor. Do not get anti-seize on the sensor tip, as this can damage it.
- Hand-Tighten: Carefully thread the new sensor into the exhaust manifold or pipe by hand. Avoid cross-threading.
- Torque to Specification: Use a torque wrench to tighten the sensor to the manufacturer's specified torque value. This is crucial for ensuring a proper seal and preventing future leaks. Refer to your vehicle's repair manual or a reliable online resource for the correct torque specification.
- Reconnect the Electrical Connector: Reconnect the electrical connector for the O2 sensor, making sure it is securely fastened.
- Reconnect the Battery: Reconnect the negative terminal of your car battery.
- Clear the Check Engine Light: If the check engine light was illuminated due to the faulty O2 sensor, you may need to clear the code using a code reader. In some cases, the light will automatically turn off after a few driving cycles.
Troubleshooting:
- Rounded Hex Head: If you've rounded off the sensor's hex head, you may need to use a bolt extractor socket. These sockets are designed to grip rounded bolts and nuts, providing a more secure grip.
- Sensor Broken Off: If the sensor breaks off, leaving the threads stuck in the exhaust manifold or pipe, you may need to use a thread chaser or tap to remove the remaining threads. In some cases, you may need to have a professional remove the broken sensor.
- Cross-Threaded Sensor: If you accidentally cross-thread the new sensor, remove it immediately and inspect the threads for damage. Use a thread chaser to repair the threads if necessary.
Estimated Repair Costs:
The cost of replacing an O2 sensor can vary depending on several factors, including:
- Vehicle Make and Model: Some vehicles have more expensive O2 sensors than others.
- Sensor Location: O2 sensors located in difficult-to-reach areas may require more labor time to replace.
- Shop Labor Rates: Labor rates vary from shop to shop.
- Parts Costs: The cost of the O2 sensor itself can range from $50 to $200 or more, depending on the brand and type.
DIY Replacement: If you're comfortable tackling this repair yourself, you can save a significant amount on labor costs. The cost will primarily be the price of the new O2 sensor and the necessary tools (if you don't already have them). Expect to spend roughly $75 to $250 if doing it yourself, including the cost of the sensor and potentially the O2 sensor socket.
Professional Replacement: If you prefer to have a professional replace the O2 sensor, expect to pay between $150 and $500 or more, including parts and labor. Get quotes from several shops to ensure you're getting a fair price. Some shops might quote a lower price initially, but it's always a good idea to clarify if that price includes the sensor itself, especially if you are providing your own part.
Conclusion:
Removing a stuck O2 sensor can be a frustrating experience, but with the right tools and techniques, it's a manageable task for many DIYers. Using an O2 sensor socket, applying penetrating oil, and being patient are crucial for a successful removal. If you're not comfortable tackling this repair yourself, don't hesitate to seek the help of a qualified mechanic. Replacing a faulty O2 sensor will improve your vehicle's fuel economy, reduce emissions, and ensure optimal engine performance. Always remember to consult your vehicle's repair manual or a reliable online resource for specific instructions and torque specifications.