
Testing 12 Volt Battery With A Multimeter
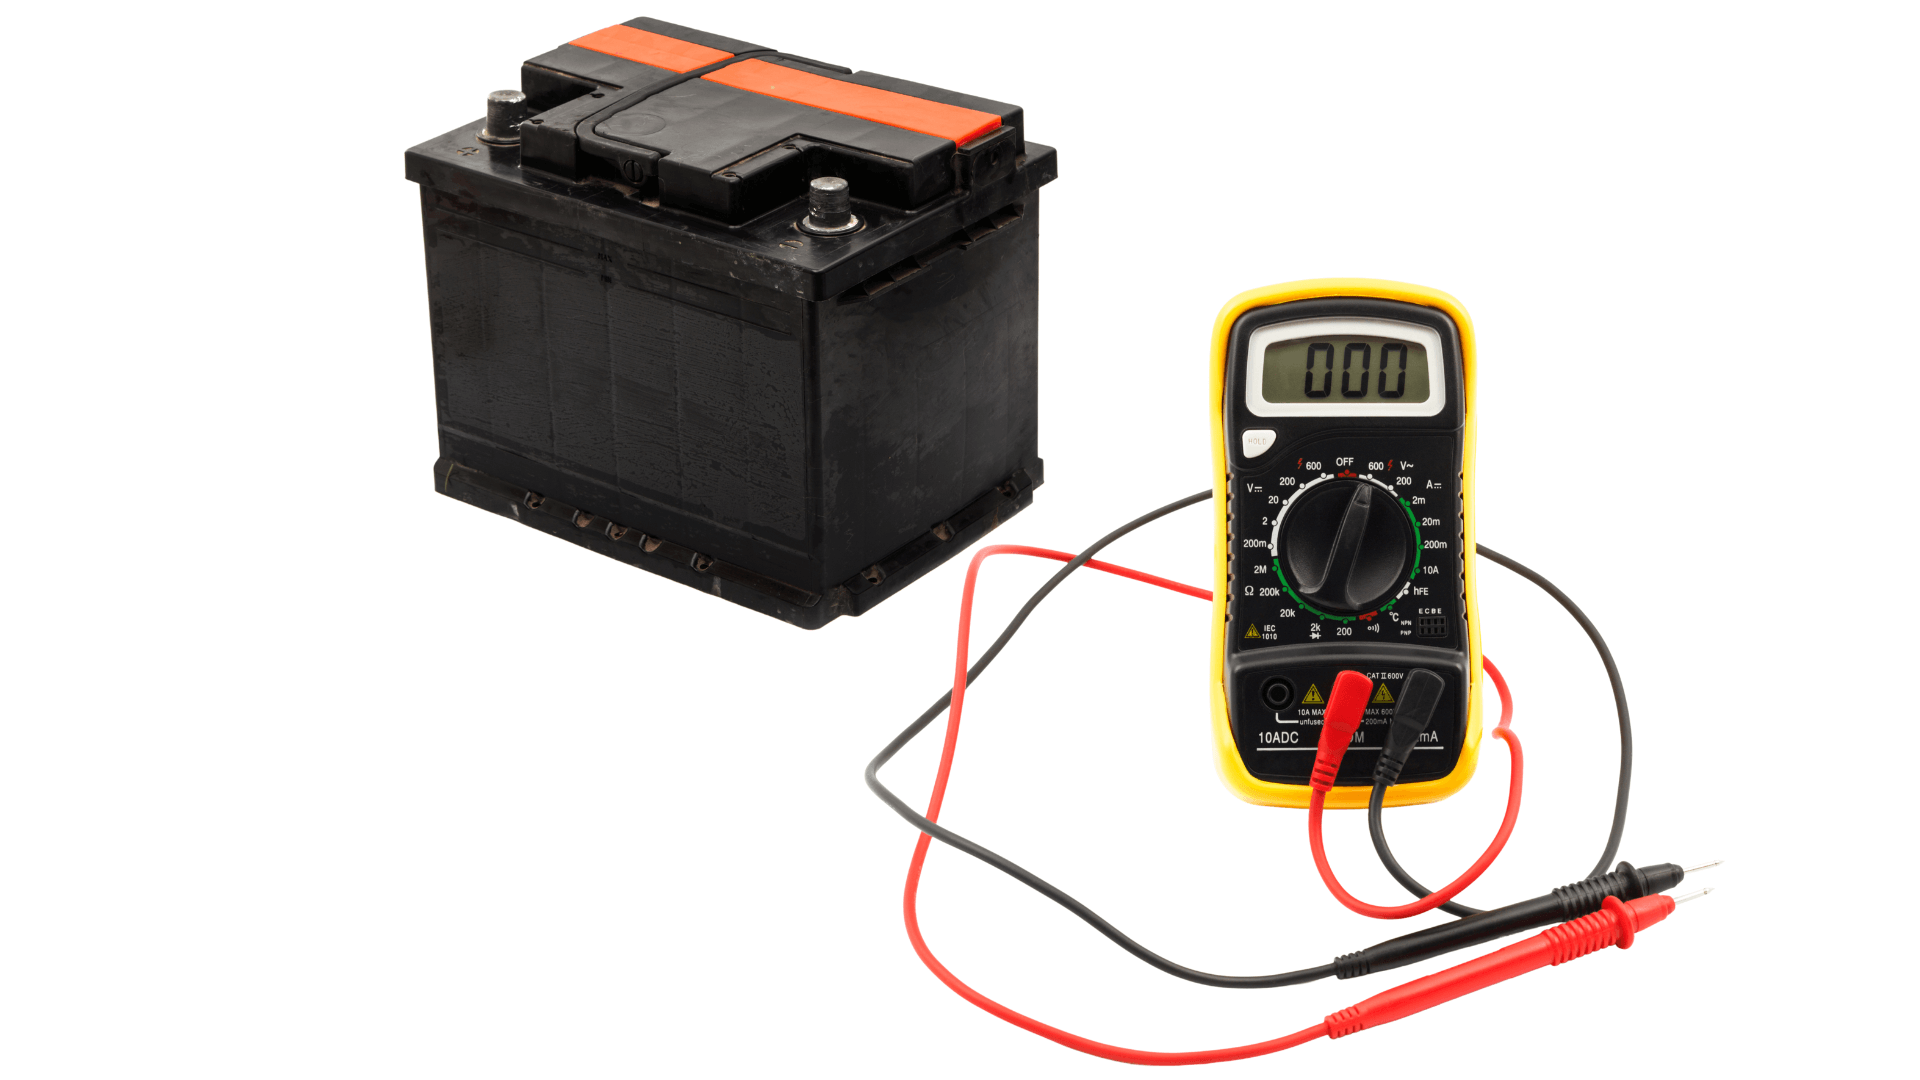
The humble 12-volt automotive battery. It's the unsung hero that brings your engine to life, powers your electronics, and keeps you connected on the road. But like any component, it's susceptible to wear and tear and eventual failure. Regular testing is crucial for preventing unexpected breakdowns and ensuring your vehicle remains reliable. A multimeter, also known as a Volt-Ohm Meter (VOM), is an indispensable tool for assessing battery health. This guide will provide a comprehensive walkthrough on how to test a 12-volt battery using a multimeter, empowering you to diagnose potential problems before they leave you stranded.
Understanding the 12-Volt Battery and Its Role
Before diving into the testing procedure, let's briefly touch on the battery's function. Modern vehicles rely heavily on electrical systems. The battery's primary job is to provide the initial surge of power needed to start the engine. Once the engine is running, the alternator takes over, generating electricity to power the vehicle's systems and recharge the battery. However, the battery still plays a vital role in stabilizing voltage fluctuations and supplying power when demand exceeds the alternator's output, such as when running multiple accessories simultaneously at idle.
Safety First: Preparation and Precautions
Working with automotive batteries involves handling electricity and potentially corrosive substances. Always prioritize safety. Before proceeding, gather the following: a digital multimeter, safety glasses, and gloves. Ensure the vehicle is parked on a level surface with the parking brake engaged. Turn off the ignition and all accessories. Visually inspect the battery for any signs of damage, such as cracks, bulges, or corrosion around the terminals. If you notice any of these issues, exercise extreme caution and consider having the battery professionally inspected or replaced.
Step-by-Step Guide to Testing with a Multimeter
Follow these steps to accurately assess your battery's condition:
- Setting Up the Multimeter: Set your multimeter to the DC voltage (DCV) setting within the 20-volt range. This range is appropriate for testing 12-volt batteries.
- Locating the Battery Terminals: Identify the positive (+) and negative (-) terminals on the battery. They are typically marked accordingly.
- Connecting the Multimeter Leads: Connect the red (positive) lead of the multimeter to the positive terminal of the battery. Connect the black (negative) lead of the multimeter to the negative terminal of the battery. Ensure a firm and secure connection to avoid inaccurate readings.
- Reading the Voltage: Once the leads are connected, the multimeter will display the battery's voltage. Note the reading.
- Interpreting the Results: This is where the information becomes valuable. Here's a general guide:
- 12.6 Volts or Higher: A fully charged battery in good condition.
- 12.4 Volts: Approximately 75% charged.
- 12.2 Volts: Approximately 50% charged.
- 12.0 Volts: Approximately 25% charged. You might notice slow engine cranking.
- Below 12.0 Volts: Significantly discharged. The battery may be unable to start the engine.
Beyond a Simple Voltage Test: Load Testing
While the voltage test provides a snapshot of the battery's charge level, it doesn't reveal its ability to deliver power under load. A load test simulates starting the engine and measures the battery's voltage drop. Specialized load testers are available for this purpose, but some multimeters have load testing capabilities. Consult your multimeter's manual for instructions. A significant voltage drop during a load test indicates a weak battery, even if the resting voltage appears normal.
Common Battery Problems and Troubleshooting
Several factors can contribute to battery problems. Sulfation, the buildup of lead sulfate crystals on the battery plates, reduces its capacity. Corrosion on the terminals hinders electrical conductivity. Parasitic draw, caused by electrical devices draining power when the engine is off, can deplete the battery. Addressing these issues promptly can extend battery life. For example, cleaning corroded terminals with a wire brush and a solution of baking soda and water can significantly improve performance. If you suspect a parasitic draw, consult a qualified mechanic to identify and resolve the source of the problem. Ignoring this could require frequent jump starts or even replacing your battery sooner than needed.
Conclusion: Proactive Maintenance for a Reliable Ride
Testing your 12-volt battery with a multimeter is a straightforward yet crucial maintenance task. Regular testing allows you to identify potential problems early, preventing breakdowns and ensuring your vehicle remains dependable. Combined with proper maintenance practices and a keen eye for warning signs, you can keep your battery in optimal condition and enjoy a smoother, more reliable driving experience. Remember, a healthy battery is vital to the health and performance of your vehicle's entire electrical system. Ignoring preventative maintenance could lead to costly repairs to the alternator or starter motor.