
What Does Auto Mean On An Air Conditioner
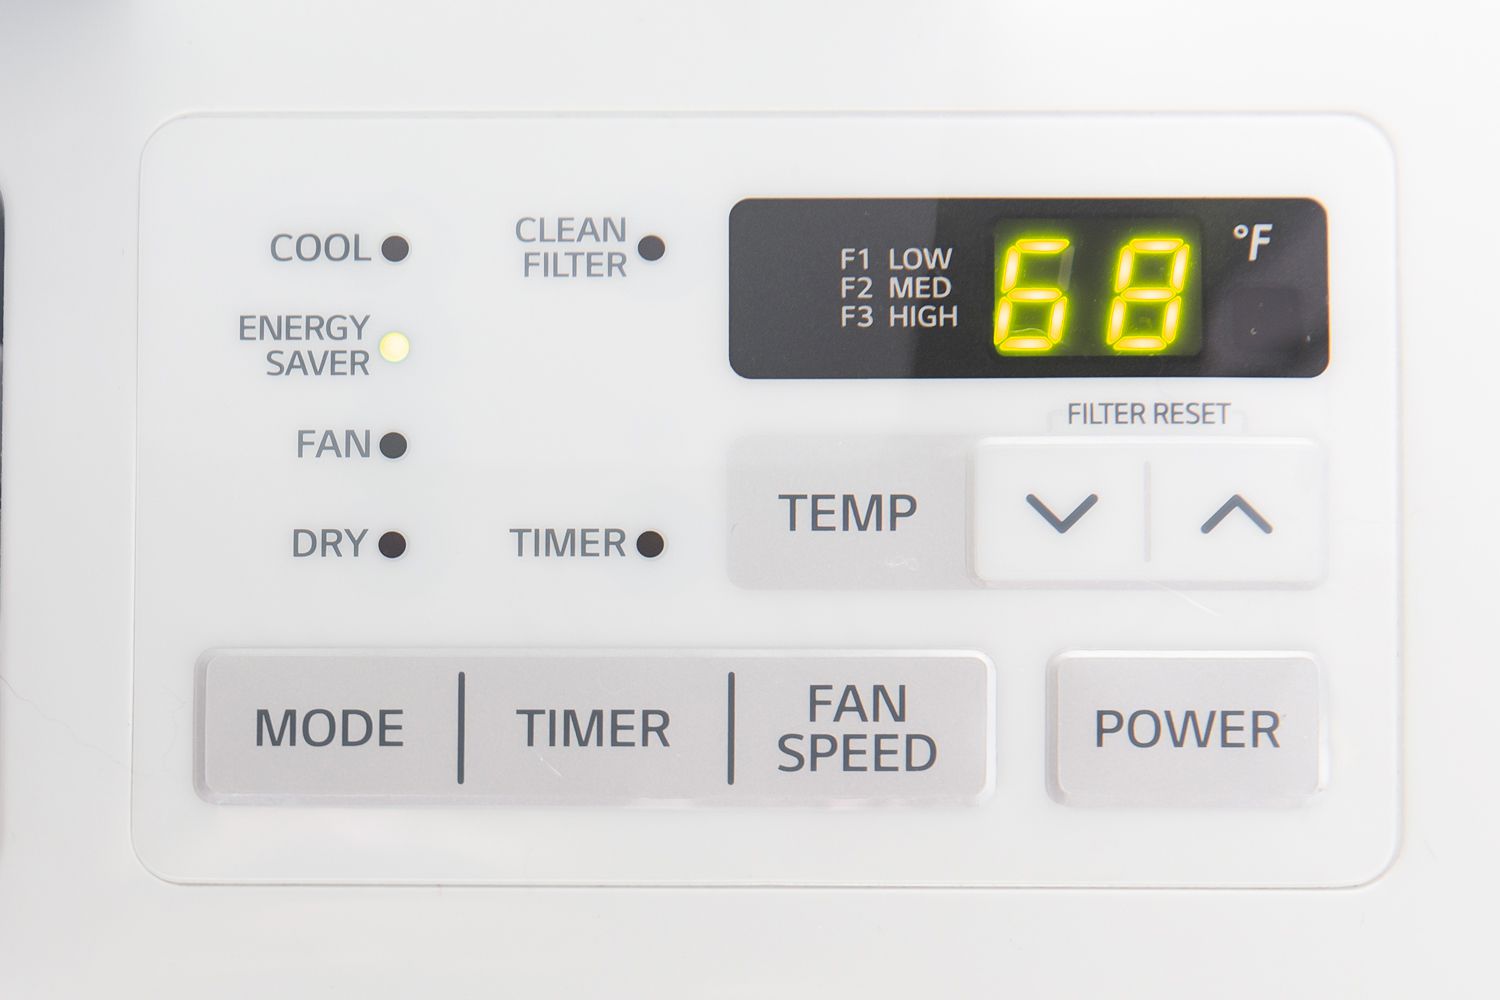
Ever looked at your air conditioner's control panel and seen the "Auto" mode, perhaps feeling a bit unsure about what it actually *does*? You're not alone! Many homeowners find themselves scratching their heads over this seemingly simple setting. Think of me as your friendly neighborhood HVAC guide, here to demystify the "Auto" function and help you understand how it can benefit you (or when it might be causing you trouble).
Understanding "Auto" Mode: The Basics
In essence, "Auto" mode on your air conditioner is designed for convenience and efficiency. It's a smart setting that allows the unit to automatically adjust both the temperature and fan speed based on the current room temperature. Think of it as your AC's way of saying, "I'll handle this for you!"
Here's a breakdown of what typically happens in "Auto" mode:
- Temperature Sensing: The AC unit constantly monitors the ambient temperature in the room using a built-in sensor.
- Target Temperature Comparison: You still set a desired temperature (e.g., 72°F). The AC compares the room temperature with this target.
- Mode Selection (Cooling or Heating): Depending on whether the room temperature is above or below your target, the AC will automatically switch to cooling or heating mode (if your unit supports both). This is particularly useful in climates with significant temperature swings throughout the day.
- Fan Speed Adjustment: The fan speed is also automatically regulated. If the room is far from the target temperature, the fan will likely run at a higher speed to cool or heat the room quickly. As the room temperature gets closer to the target, the fan speed will typically decrease to maintain a comfortable and energy-efficient level.
When "Auto" Mode Works Best (and When It Doesn't)
"Auto" mode is fantastic in situations where you want a consistently comfortable temperature without constantly fiddling with the settings. For example:
- During Shoulder Seasons: Spring and fall often have days with warm afternoons and cool evenings. "Auto" mode can seamlessly switch between cooling and heating as needed.
- Maintaining a Consistent Temperature: If you simply want to keep your home at a specific temperature range, "Auto" mode can handle the adjustments automatically.
- Forgetting to Adjust Settings: If you tend to forget to change the AC settings based on the weather, "Auto" mode ensures your home stays comfortable without you having to remember.
However, "Auto" mode might not be the best choice in every situation. Here are some scenarios where you might want to consider using other settings:
- High Humidity: In very humid environments, "Auto" mode might not prioritize dehumidification as effectively as a dedicated "Dry" mode (if your unit has one). You might find the room temperature comfortable, but still feel sticky.
- Saving Energy: While "Auto" mode aims for efficiency, you might be able to save more energy by manually adjusting the fan speed and temperature based on your specific needs and the outside weather. For example, you could raise the temperature a few degrees when you're not home.
- Drafts or Uneven Cooling: If some rooms in your house cool more quickly than others, "Auto" mode might not be able to compensate effectively. You might need to manually adjust the settings to address these specific issues.
- If It's Not Working Correctly: If your AC is constantly switching between heating and cooling, or the fan is always running at high speed, even when the room is at the target temperature, there might be a problem.
Troubleshooting Common "Auto" Mode Problems
So, what happens when "Auto" mode isn't behaving as expected? Here are some common problems and potential solutions:
Problem: AC Constantly Switching Between Heating and Cooling
This is often referred to as "short cycling." It can be caused by several factors:
- Incorrect Temperature Setting: Double-check that your target temperature is reasonable and not right on the cusp between heating and cooling. For example, if you set it to 70°F and the room temperature fluctuates slightly above and below that, the AC will constantly switch.
- Faulty Thermostat: The thermostat might be misreading the room temperature. Try resetting the thermostat or replacing it if necessary. A basic thermostat replacement can cost between $50 and $200, depending on the model.
- Refrigerant Leak: A low refrigerant level can cause the AC to struggle to reach the target temperature, leading to short cycling. This requires professional attention from an HVAC technician. Expect to pay between $200 and $800 for refrigerant recharge and leak repair, depending on the severity of the leak.
- Dirty Air Filter: A clogged air filter restricts airflow, making it harder for the AC to cool or heat effectively. Always start by checking and replacing your air filter! This is the easiest and cheapest fix, costing only a few dollars.
Problem: Fan Always Running at High Speed
If the fan never slows down, even when the room is at the target temperature, consider these possibilities:
- Incorrect Fan Setting: Some AC units have a separate fan setting that overrides "Auto" mode. Make sure the fan is set to "Auto" or "On," not just "On."
- Dirty Air Filter: Again, a clogged air filter can force the fan to work harder.
- Faulty Fan Motor: The fan motor might be failing and unable to regulate its speed. This requires professional diagnosis and repair or replacement, potentially costing between $150 and $500.
- Sensor Malfunction: The temperature sensor might be sending incorrect readings to the control board, causing the fan to run constantly. A technician can diagnose and replace the sensor, typically for around $100 to $300.
Problem: AC Not Cooling or Heating Effectively in "Auto" Mode
- Dirty Coils: Dirty evaporator or condenser coils can significantly reduce the AC's ability to transfer heat. Clean the coils using a fin comb and coil cleaner (available at most hardware stores). Be sure to turn off the power to the unit before cleaning.
- Blocked Vents: Ensure that all vents are open and unobstructed to allow for proper airflow.
- Leaky Ductwork: Leaks in your ductwork can cause significant energy loss and uneven cooling or heating. Seal any visible leaks with duct tape or mastic sealant. For more extensive ductwork issues, consider hiring a professional. Duct sealing can range from $300 to $1000 or more, depending on the size and complexity of the system.
- Refrigerant Issues: As mentioned earlier, low refrigerant can impact cooling and heating performance.
Tools You Might Need
For some basic troubleshooting, you might need the following tools:
- Screwdrivers (Phillips and Flathead): For removing access panels and thermostat covers.
- Wrench Set: For tightening connections.
- Air Filter: To replace the old one. Always have a spare on hand!
- Fin Comb and Coil Cleaner: For cleaning the AC coils.
- Duct Tape or Mastic Sealant: For sealing leaky ductwork.
- Multimeter: For testing electrical components (requires some electrical knowledge).
When to Call a Professional
While some problems can be resolved with simple DIY fixes, it's crucial to know when to call a qualified HVAC technician. If you're uncomfortable working with electrical components, suspect a refrigerant leak, or are unsure about the cause of the problem, it's always best to err on the side of caution and seek professional help. Attempting to fix complex issues yourself could damage your AC unit or even pose a safety risk.
By understanding how "Auto" mode works and being aware of potential problems, you can ensure that your air conditioner operates efficiently and keeps your home comfortable year-round. And remember, regular maintenance, like changing the air filter and cleaning the coils, can go a long way in preventing problems and extending the life of your AC unit!