When Replacing A Cartridge Type Oil Filter
The seemingly simple task of replacing a cartridge-type oil filter is, in reality, a microcosm of automotive engineering principles. Understanding the *why* behind each step not only makes you a more confident DIY mechanic but also deepens your appreciation for the intricate systems working together to keep your engine running smoothly. This guide delves into the critical considerations and technical nuances surrounding oil filter cartridge replacement, moving beyond the "remove and replace" mentality.
Understanding the Cartridge Filter System
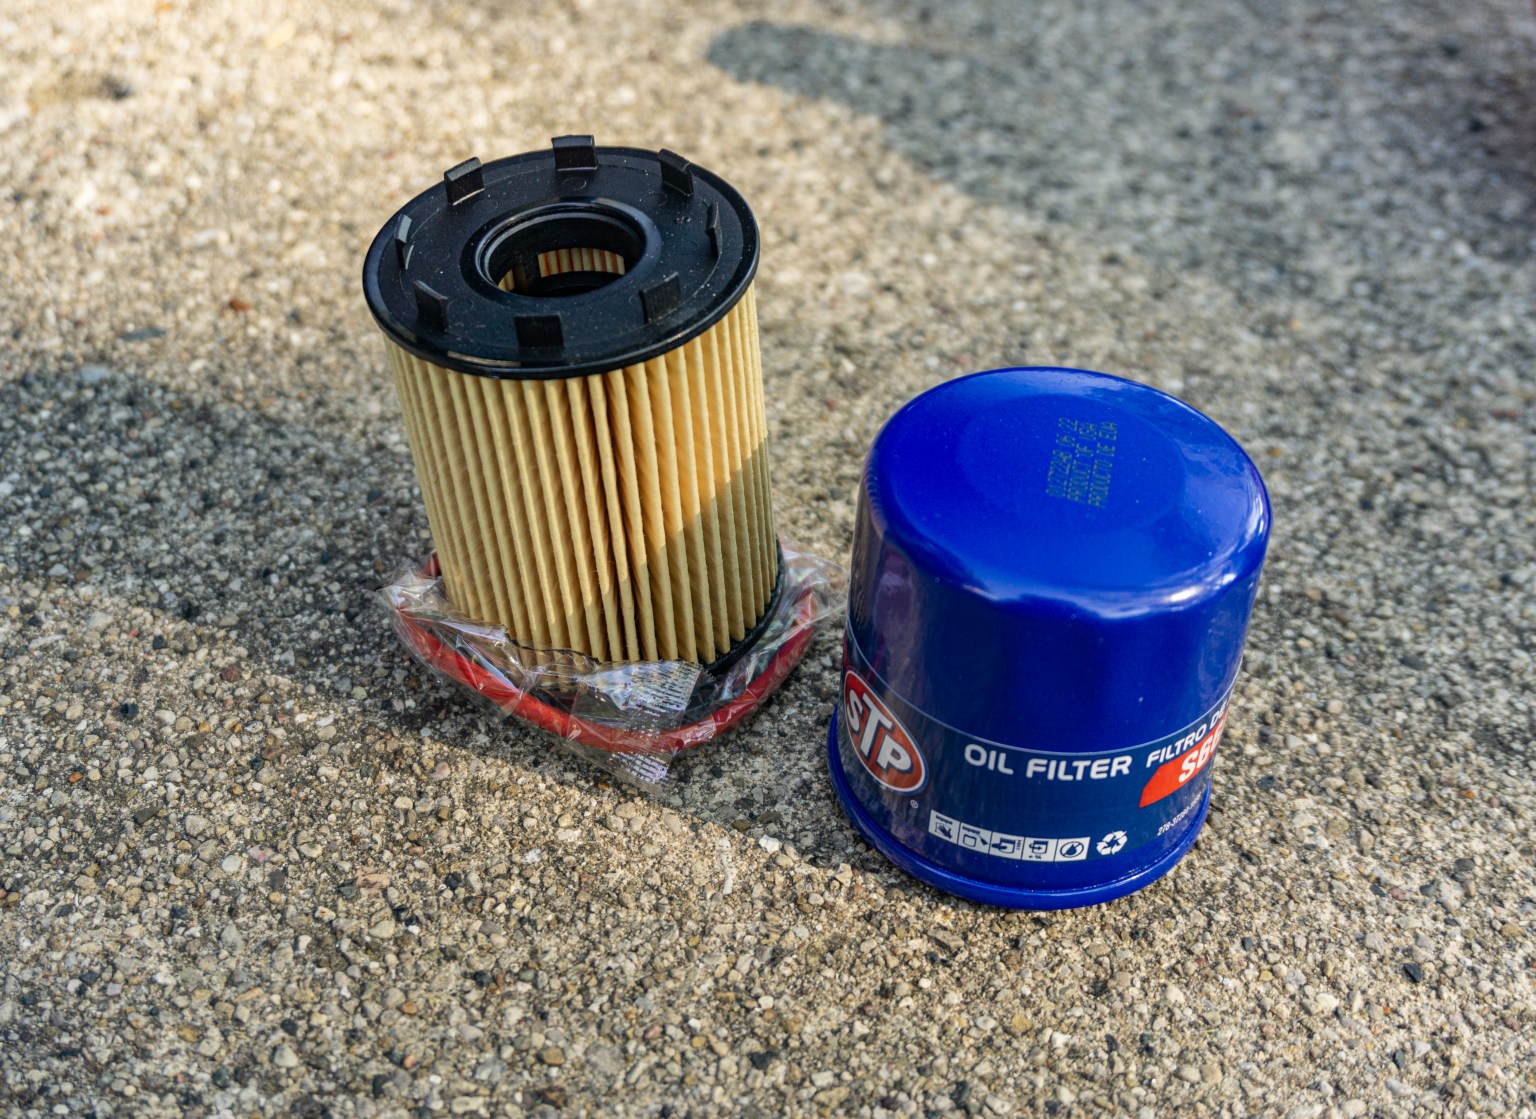
Unlike spin-on filters, cartridge filters consist of a replaceable filter element housed within a permanent container attached to the engine. The oil filter housing typically integrates with the engine block, often incorporating oil passages and potentially even oil cooler connections. This design offers several advantages, including reduced waste (only the filter element is discarded), precise filter media specification, and the potential for larger filtration area within a compact space. However, it also introduces complexities in terms of sealing, orientation, and proper element installation.
When is Replacement Necessary?
While adhering to your vehicle manufacturer's recommended oil change interval is paramount, several factors can necessitate more frequent filter replacement. Consider these scenarios:
- Severe Driving Conditions: Frequent short trips, stop-and-go traffic, towing, and dusty environments place greater strain on the oil and, consequently, the filter. Increased contaminant load demands more frequent changes.
- Oil Contamination: If you suspect coolant or fuel has entered the oil system (indicated by unusual oil color, odor, or level changes), immediately change the oil and filter. Subsequent oil analysis might be required to determine the root cause.
- Incorrect Oil Type: Using an oil with inadequate detergent or dispersant properties can lead to premature filter clogging. Always adhere to the manufacturer's specified oil viscosity and API rating.
- Engine Overhaul or Repair: After any major engine work (e.g., head gasket replacement, bearing replacement), a fresh oil and filter change are essential to remove any debris introduced during the repair process.
It's important to note that the oil change interval stipulated by the manufacturer assumes "normal" driving conditions. Adjust your maintenance schedule accordingly.
The Replacement Procedure: A Step-by-Step Analysis
While the specific steps may vary slightly depending on the vehicle make and model, the underlying principles remain consistent.
1. Preparation and Safety
Before commencing any work, ensure the engine is cool to prevent burns. Gather the necessary tools, including:
- The correct replacement oil filter cartridge (verify part number).
- A suitable wrench or socket for the oil filter housing cap.
- A drain pan to catch spilled oil.
- Rags or shop towels.
- New O-rings or gaskets (usually included with the filter).
- Torque wrench.
- Oil filter wrench (if the housing cap is unusually tight).
Safety glasses are crucial to protect your eyes from splashes. Wear gloves to protect your skin from oil contamination.
2. Accessing the Oil Filter Housing
The location of the oil filter housing varies. Consult your vehicle's service manual for its exact location. Common locations include the top, bottom, or side of the engine. Remove any necessary covers or components to gain clear access to the housing.
3. Opening the Oil Filter Housing
This is where precision matters. Use the correct size wrench or socket to loosen the oil filter housing cap. Do not use excessive force, as the cap is often made of plastic and can be easily damaged. In some cases, there's a drain plug on the bottom of the housing. If so, loosen this plug before removing the cap to drain the majority of the oil. This minimizes spillage when the cap is fully removed.
4. Removing the Old Filter Element
Once the cap is removed, carefully extract the old filter element. Note its orientation within the housing. Some filters have a specific up/down direction. Often, the filter element will be attached to the housing cap. Some designs will have a cage or frame in which the element sits. Be prepared for some residual oil to drip out.
5. Inspecting and Cleaning the Housing
Thoroughly inspect the inside of the oil filter housing for any debris or sludge buildup. Clean the housing with a lint-free cloth. Pay particular attention to the sealing surfaces, ensuring they are free of any imperfections. Replace any O-rings or gaskets that came with the new filter. Lubricate the new O-rings with fresh engine oil to ensure a proper seal.
6. Installing the New Filter Element
Install the new filter element, ensuring it is properly seated and oriented correctly. Double-check that it's fully engaged within its supports. If there is a specific direction of fitment, ensure you follow that direction.
7. Reinstalling the Housing Cap
Carefully reinstall the oil filter housing cap. Tighten it to the manufacturer's specified torque using a torque wrench. Over-tightening can damage the cap and compromise the seal; under-tightening can lead to leaks. The correct torque specification is crucial.
8. Final Checks
After completing the filter replacement, start the engine and let it run for a few minutes. Check for any oil leaks around the filter housing. If leaks are detected, immediately shut off the engine and investigate the cause. It is best to start with a visual inspection: ensure that the O-rings are seated properly and that the cap is tightened to the correct torque. Periodically re-check for leaks over the next few days.
9. Oil Level and Disposal
Check the engine oil level and top it off as needed. Properly dispose of the used oil and filter element according to local regulations. Many auto parts stores offer oil recycling programs.
The Devil is in the Details: Common Mistakes and Troubleshooting
Even with meticulous attention to detail, issues can arise during oil filter cartridge replacement. Here are some common pitfalls to avoid:
- Using the Wrong Filter: Always verify the correct part number for your vehicle. Using the wrong filter can lead to poor filtration, reduced oil pressure, and engine damage.
- Damaging the Housing Cap: Overtightening the housing cap is a common mistake. Use a torque wrench and adhere to the specified torque.
- Forgetting to Replace O-Rings: New O-rings are crucial for a proper seal. Always replace them and lubricate them with fresh oil.
- Cross-Threading the Cap: Ensure the cap threads engage smoothly before tightening. Forcing the cap can damage the threads and lead to leaks.
- Incorrect Filter Orientation: Some filters have a specific up/down orientation. Installing the filter backwards can restrict oil flow.
If you encounter resistance while tightening the housing cap, stop immediately and inspect the threads for damage. Do not force it.
Beyond the Basics: Advanced Considerations
For those seeking a deeper understanding, consider these advanced topics:
- Oil Analysis: Regular oil analysis can provide valuable insights into engine health and oil filter performance. It can detect abnormal wear, contamination, and oil degradation.
- Filter Media Types: Different filter media (e.g., cellulose, synthetic) offer varying levels of filtration efficiency and dirt-holding capacity. Research the best option for your driving conditions.
- Oil Pressure Monitoring: Installing an oil pressure gauge can provide real-time feedback on oil system performance. A sudden drop in oil pressure could indicate a clogged filter or other issues.
By understanding the principles behind oil filter cartridge replacement, you can ensure your engine receives the proper protection and enjoy years of reliable service. Remember, preventative maintenance is always more cost-effective than repairing engine damage.