Where Is The Ac Evaporator Located
Okay, so your car's AC isn't blowing cold, and you're suspecting the evaporator might be the culprit. That's a reasonable suspicion, especially if you're also noticing a musty smell or condensation inside the cabin. But before you start tearing things apart, let's talk about where the evaporator is actually located and what you might be getting into.
Understanding the AC Evaporator's Role
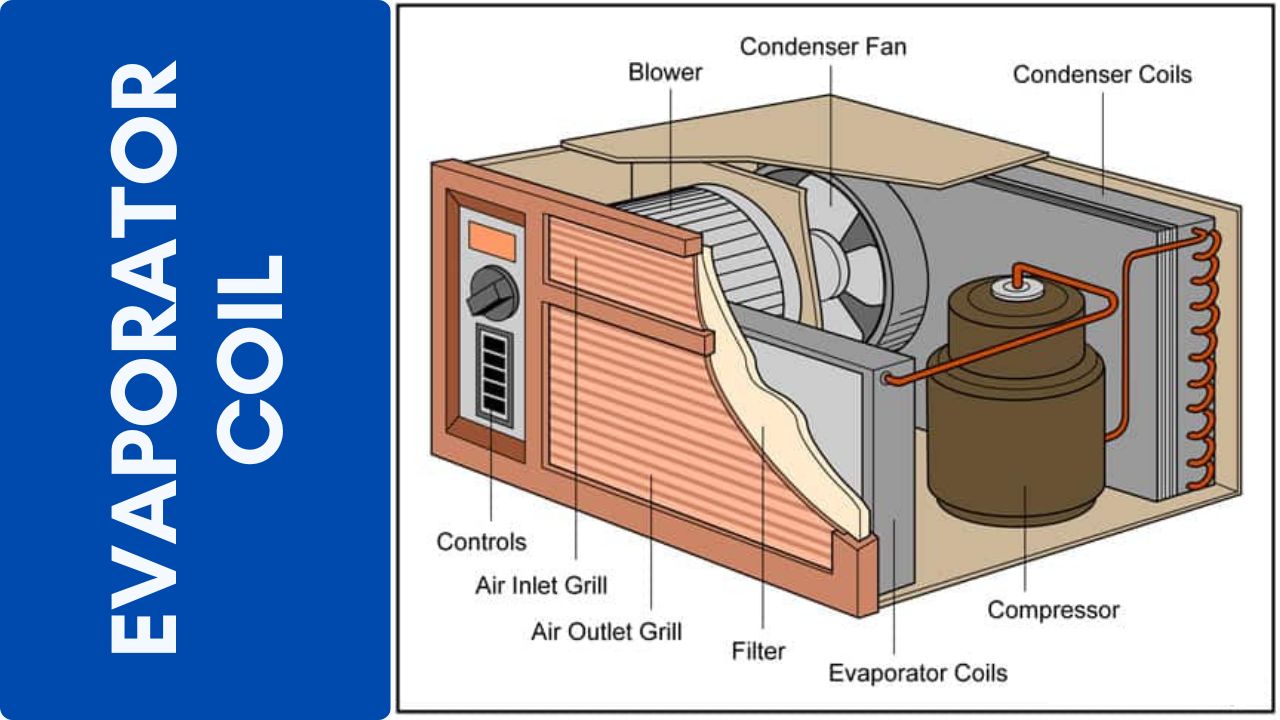
First, a quick refresher. The AC evaporator is a critical component in your car's air conditioning system. Its job is to absorb heat from the air blowing through your vents, cooling it down before it reaches you. Refrigerant flows through the evaporator core, a series of fins and tubes, undergoing a phase change from liquid to gas as it absorbs heat. This is why a faulty evaporator leads to warm air, reduced airflow, and sometimes, those unpleasant smells.
The Not-So-Simple Question: Where IS It Located?
Now, to the million-dollar question: where exactly is this evaporator hiding? Unfortunately, there's no universal answer. The location varies considerably depending on the make, model, and year of your vehicle. However, there's a common theme: it's almost always inside the passenger compartment, hidden behind the dashboard.
Think of it this way: the evaporator needs to be close to the vents to efficiently cool the air flowing into the cabin. That's why it's tucked away behind the dashboard, usually integrated into the HVAC (Heating, Ventilation, and Air Conditioning) unit. The HVAC unit is essentially a big plastic box that houses the heater core, the evaporator core, and the blower motor, along with various ducts and flaps that control airflow and temperature.
Common Locations & How to Access Them
Here are some of the most common evaporator locations and a general idea of how to access them. Always consult your vehicle's repair manual for specific instructions before attempting any repairs. Safety first! Disconnect the negative terminal of your battery before working on any electrical components.
- Behind the Glove Box: This is a relatively common location, especially in older vehicles. To access it, you'll usually need to remove the glove box assembly. This typically involves unscrewing a few fasteners and disconnecting any electrical connectors attached to the glove box. Once the glove box is out of the way, you should be able to see a portion of the HVAC unit and potentially access the evaporator core.
- Under the Dashboard (Center Console Area): In many newer vehicles, the evaporator is located deeper within the HVAC unit, often accessible from the center console area. This often requires removing parts of the center console trim, potentially including the radio and climate control panel. This can be a more involved process, requiring careful attention to detail and labeling of connectors.
- Firewall Access (Engine Compartment): In some rare cases, there might be access panels on the firewall in the engine compartment that allow limited access to the evaporator. However, this is less common, and these panels usually provide access to the AC lines and expansion valve rather than the evaporator core itself.
Important Considerations Before You Start
Before you start dismantling your dashboard, consider these points:
- Refrigerant Evacuation: The AC system contains pressurized refrigerant. You CANNOT simply disconnect the AC lines without properly evacuating the system first. Refrigerant is harmful to the environment and can cause frostbite. This task requires specialized equipment and should be performed by a qualified technician. Releasing refrigerant into the atmosphere is illegal and harmful.
- Complexity: Accessing the evaporator often requires removing numerous dashboard components, including the steering wheel, airbags (extremely dangerous if not handled properly!), radio, and various trim pieces. It's a time-consuming and potentially frustrating process, even for experienced DIYers.
- Airbag Safety: Airbags are explosive devices. Incorrect handling can result in serious injury. If your work involves disconnecting or working near airbags, consult a professional mechanic. Improperly installed airbags can be fatal in an accident.
- Repair Manual: A vehicle-specific repair manual (like Haynes or Chilton) is your best friend. It will provide detailed instructions, diagrams, and torque specifications for your specific vehicle. Don't attempt this job without one!
Symptoms That Point to Evaporator Problems
Knowing where the evaporator is located is only half the battle. You also need to be sure that the evaporator is actually the problem. Here are some common symptoms of a failing evaporator:
- Weak or Warm Air Conditioning: This is the most obvious symptom. If your AC isn't blowing as cold as it used to, or if it's blowing warm air altogether, the evaporator could be the culprit.
- Musty or Moldy Odor: A clogged or leaking evaporator core can create a breeding ground for mold and mildew, resulting in a musty or moldy odor coming from your vents.
- Condensation Inside the Cabin: Excessive condensation on the inside of your windshield or damp carpets can indicate a leaking evaporator. The leaking refrigerant and moisture can seep into the cabin.
- Refrigerant Leaks: While difficult to detect without specialized equipment, you might notice oily residue near the evaporator drain tube or a gradual decline in AC performance over time.
- Compressor Issues: A severely clogged evaporator can put a strain on the AC compressor, potentially leading to compressor failure.
Tools You'll Need (If You Decide to DIY)
If you're determined to tackle this project yourself, here's a list of tools you'll likely need:
- Socket Set and Wrenches: A comprehensive set of metric sockets and wrenches is essential for removing various fasteners.
- Screwdrivers: Both Phillips head and flathead screwdrivers in various sizes.
- Trim Removal Tools: Plastic trim removal tools are crucial for removing interior trim pieces without damaging them.
- Pliers: Needle-nose pliers and regular pliers for disconnecting hoses and connectors.
- Torque Wrench: For tightening fasteners to the correct specifications.
- Multimeter: For testing electrical components.
- Repair Manual: Absolutely essential!
- Safety Glasses and Gloves: For protecting your eyes and hands.
- Refrigerant Evacuation Machine (and License): If you plan to discharge and recharge the system yourself (legally questionable without proper certification). Alternatively, have a professional evacuate the system for you.
Repair Costs: DIY vs. Professional
The cost of repairing or replacing an AC evaporator varies greatly depending on the vehicle, the complexity of the job, and whether you choose to DIY or hire a professional.
- DIY: If you're comfortable tackling this job yourself, you'll save on labor costs. The cost of the evaporator core itself can range from $100 to $500 or more, depending on the vehicle. However, you'll also need to factor in the cost of refrigerant (after proper evacuation and repair) and any other parts you might need, like O-rings or seals. Don't forget the cost (or rental) of the evacuation machine. Ignoring the legal implications, attempting to recharge a system without proper equipment and knowledge can damage the system and potentially cause injury.
- Professional: A professional repair will typically cost between $600 and $1500 or more, including labor. This includes the cost of the evaporator core, refrigerant, and labor charges. Labor costs can be significant due to the complexity of the job and the time required to access the evaporator.
Before making a decision, get quotes from several reputable mechanics and compare their prices and warranties. Ask them to explain the entire repair process and what parts they will be using. A good mechanic will be happy to answer your questions and provide you with a detailed estimate.
When to Call a Professional
While some mechanically inclined individuals might be comfortable tackling an evaporator replacement, there are several situations where it's best to call a professional:
- You're not comfortable working on your car's AC system.
- You don't have the necessary tools or equipment.
- You're unsure about the repair process.
- Your car has a complex dashboard design.
- You suspect there may be other problems with your AC system.
- You value the peace of mind that comes with a professional repair.
Ultimately, the decision of whether to DIY or hire a professional is a personal one. Weigh the costs, benefits, and risks carefully before making a decision. A properly functioning AC system is essential for comfort and safety, so it's worth investing in a quality repair, whether you do it yourself or leave it to the experts. Good luck!