
Where To Install Remote Starters For Cars
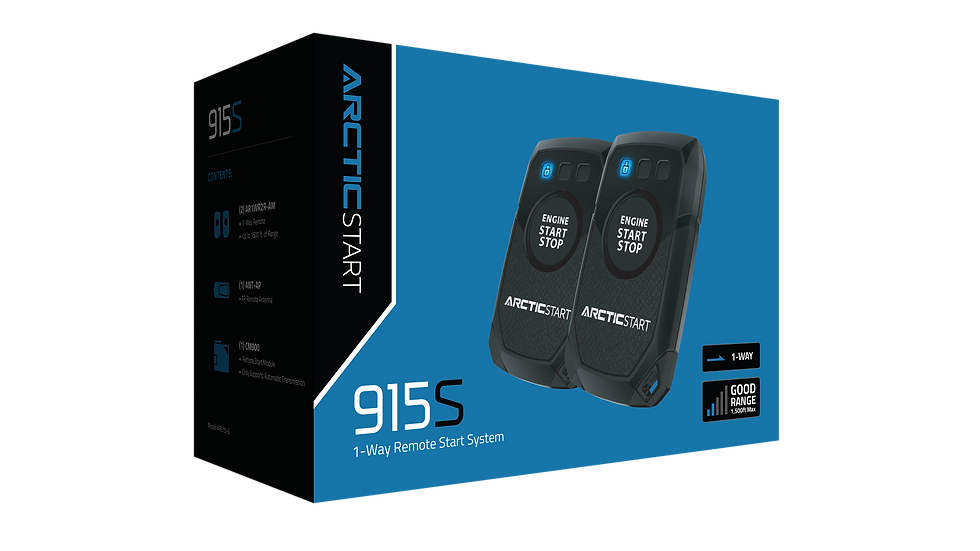
Remote starters have become increasingly popular, offering the luxury of pre-heating or cooling your car before you even step inside. But behind this convenient feature lies a complex installation process that requires careful consideration of several factors. Understanding where to install the various components of a remote starter is crucial for both optimal performance and vehicle safety. This guide will delve into the critical locations for remote starter components, offering an analytical perspective on why each placement is important.
Understanding Remote Starter Components
Before we dive into the specifics, let's briefly outline the key components of a typical remote starter system:
- Control Module (Brain): The heart of the system, responsible for processing signals from the remote and activating the necessary vehicle functions.
- Antenna: Receives the signal from the remote transmitter.
- Wiring Harness: A bundle of wires connecting the control module to various points in the vehicle's electrical system.
- Hood Pin Switch: A safety device that prevents the remote starter from engaging if the hood is open.
- Tachometer Wire (or equivalent): Used to monitor engine RPM to ensure a successful start and prevent over-revving.
- Brake Shut-off Wire: Shuts off the remote starter if the brake pedal is pressed.
Critical Installation Locations
The Control Module (Brain) – Selecting the Perfect Hideaway
The control module's location is paramount for security and accessibility. Ideally, it should be:
- Hidden and Protected: The goal is to conceal the module from potential thieves. Popular locations include behind the dashboard, under the steering column, or even within the center console. Avoid placing it in plain sight, as this makes the vehicle more vulnerable to theft. Consider the environmental factors too. The module should be protected from moisture and extreme temperatures, so under the driver's seat might not be ideal in a convertible.
- Accessible for Servicing: While hidden, the module must be accessible for troubleshooting and future programming. Tucking it deep within the dashboard might make it impossible to reach without significant disassembly. Therefore, striking a balance between security and accessibility is essential.
- Close to Key Wiring: The control module needs to be connected to various circuits in the vehicle's electrical system, including the ignition, starter, parking lights, and brake system. Locating the module near the main wiring harnesses in the steering column or under the dashboard can simplify the wiring process and reduce the number of extended wire runs. This minimizes the risk of voltage drop and interference.
Consider the vehicle's make and model when choosing a location. Some vehicles have designated areas for aftermarket electronics, which can simplify the installation process. Refer to the vehicle's service manual or online forums for model-specific recommendations.
The Antenna – Range and Reception are Key
The antenna's placement directly affects the remote starter's range. Several factors influence antenna placement:
- Unobstructed View: The antenna needs a relatively clear line of sight to the remote transmitter. Metal surfaces can block radio signals, so avoid placing the antenna behind large metal components.
- Height Advantage: Mounting the antenna higher within the vehicle generally improves range. The top of the windshield or dashboard are common locations.
- Away from Interference: Keep the antenna away from sources of electromagnetic interference (EMI), such as the vehicle's engine control unit (ECU) or other electronic devices. EMI can degrade the signal quality and reduce the remote starter's range.
Many antennas are designed to be mounted on the windshield using adhesive. Ensure the windshield is clean and free of debris before attaching the antenna. Some remote starter systems use externally mounted antennas, which offer superior range but require more complex installation.
The Hood Pin Switch – Prioritizing Safety
The hood pin switch is a critical safety component that prevents the remote starter from activating when the hood is open. This prevents accidental engine starting during maintenance or repair.
- Secure Mounting: The switch must be securely mounted to the vehicle's chassis or hood latch assembly. It should be positioned so that the hood presses firmly against the switch when closed.
- Reliable Connection: Ensure the wiring to the hood pin switch is properly connected and protected from the elements. Corrosion or loose connections can compromise the switch's functionality.
- Proper Adjustment: The hood pin switch needs to be adjusted so that it reliably disengages the remote starter when the hood is open. Test the switch functionality after installation to ensure it is working correctly.
Many installers recommend using a multimeter to verify the switch's continuity when the hood is open and closed. This ensures proper operation and prevents false triggers.
The Tachometer Wire (or Equivalent) – Accurate Engine Monitoring
The tachometer wire provides the remote starter with information about the engine's RPM. This allows the system to monitor the engine's starting process and prevent over-revving. There are two main ways to achieve this:
- Direct Tachometer Wire Connection: This involves connecting the remote starter to the vehicle's tachometer signal wire, which is typically located at the ECU or instrument cluster. Identifying the correct wire can be challenging, and it's crucial to consult the vehicle's wiring diagram to avoid damaging the electrical system.
- Virtual Tach Mode: Some remote starter systems offer a virtual tach mode, which learns the engine's RPM based on voltage fluctuations in the vehicle's electrical system. This method is often easier to install, but it may not be as accurate as a direct tachometer wire connection.
Regardless of the method used, it's crucial to ensure the RPM signal is accurate and reliable. An inaccurate RPM signal can lead to starting problems or engine damage. Modern vehicles often use CAN-bus systems for communication. In these cases, a CAN-bus interface module may be required to obtain the necessary engine data.
The Brake Shut-off Wire – Another Layer of Safety
The brake shut-off wire provides another safety mechanism, disabling the remote starter if the brake pedal is pressed while the engine is running via remote start. This prevents the vehicle from moving unexpectedly.
- Connection to Brake Light Circuit: The brake shut-off wire should be connected to the vehicle's brake light circuit. This ensures that the remote starter is disabled whenever the brake pedal is pressed.
- Proper Polarity: Ensure the correct polarity is observed when connecting the brake shut-off wire. Connecting it incorrectly can prevent the brake lights from functioning properly or damage the remote starter system.
General Wiring Considerations
Beyond the specific component locations, several general wiring considerations are crucial for a successful remote starter installation:
- Use High-Quality Wiring: Use automotive-grade wiring that is designed to withstand the harsh conditions inside a vehicle. Avoid using household wiring, as it is not designed for the same environment.
- Secure Connections: Use proper crimping tools and connectors to ensure secure and reliable wiring connections. Solder and heat shrink connections for added durability.
- Protect Wiring from Damage: Route wiring away from sharp edges and moving parts. Use wire looms or conduit to protect the wiring from abrasion and damage.
- Grounding: Ensure the remote starter is properly grounded to the vehicle's chassis. A poor ground connection can cause a variety of problems, including intermittent starting and electrical interference.
Conclusion
Installing a remote starter requires careful planning and attention to detail. By understanding the optimal locations for each component and following proper wiring practices, you can ensure a safe and reliable installation. Remember to consult the remote starter's installation manual and the vehicle's service manual for specific instructions and recommendations. If you are not comfortable working with automotive electrical systems, it is always best to consult a professional installer.