
Which Cable Goes First When Jumping A Car
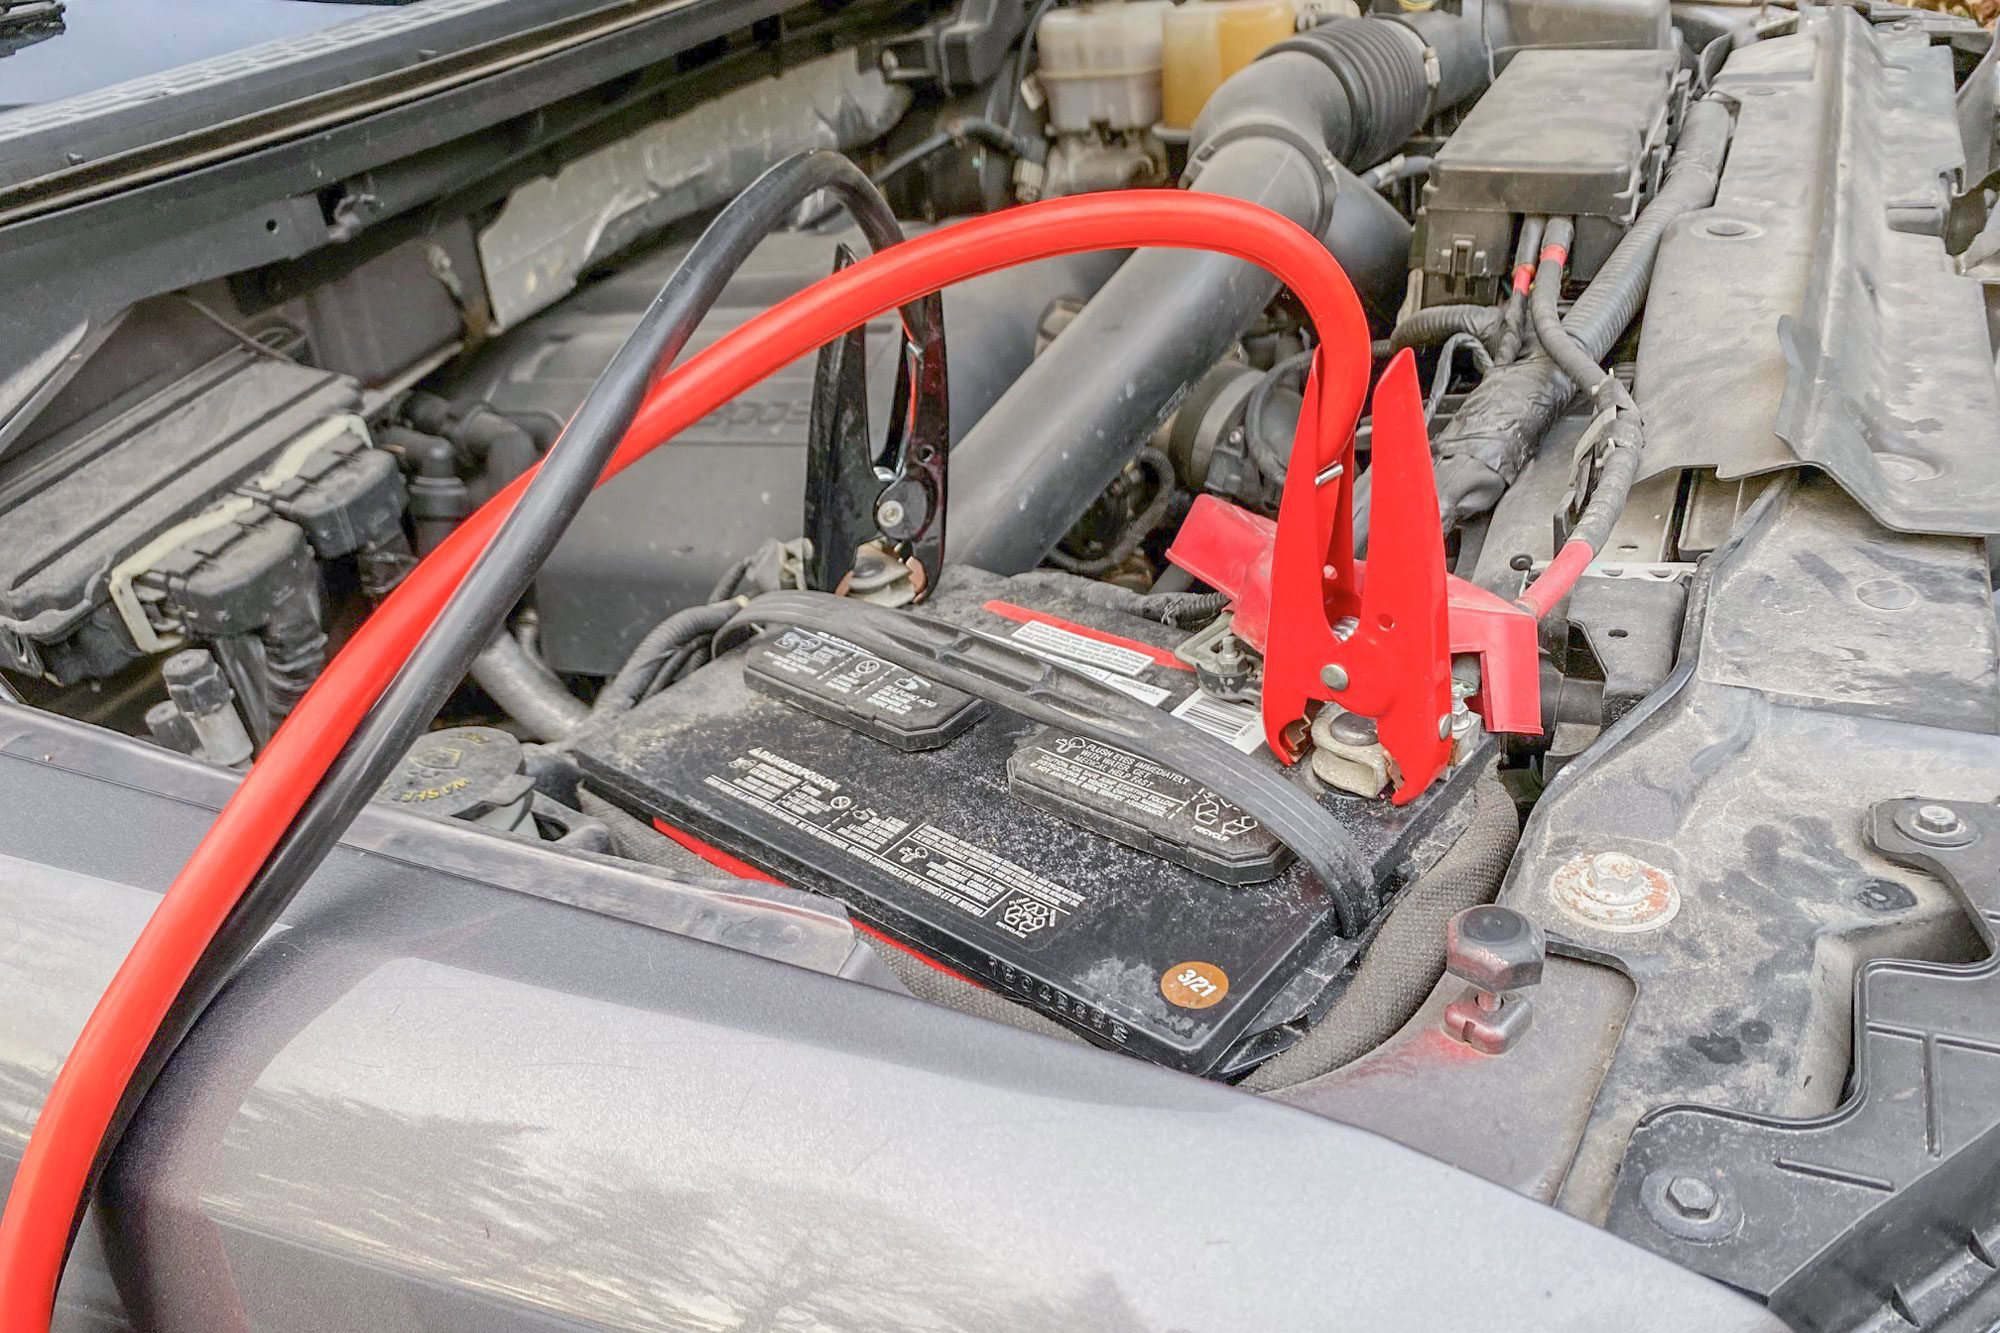
The correct sequence for connecting and disconnecting jumper cables when jump-starting a car is a crucial detail often overlooked, yet it significantly impacts safety and prevents potential damage to your vehicle's electrical system. This article will guide car owners and mechanics through the proper procedure, highlighting common mistakes and offering practical advice for maintenance and troubleshooting.
The Right Order Matters: Connecting Jumper Cables
The order in which you connect the jumper cables is vital to avoid sparks near the battery, which could ignite hydrogen gas (a byproduct of battery operation) and cause an explosion. The generally accepted and safest procedure is as follows:
- Positive to Dead (Red to Dead): Attach one red (positive) clamp to the positive (+) terminal of the dead battery.
- Positive to Good (Red to Good): Attach the other red (positive) clamp to the positive (+) terminal of the good (boosting) battery.
- Negative to Good (Black to Good): Attach one black (negative) clamp to the negative (-) terminal of the good (boosting) battery.
- Negative to Ground (Black to Metal): Attach the final black (negative) clamp to a clean, unpainted metal surface on the dead car, away from the battery and fuel lines. A good grounding point is often a metal strut, engine block, or frame component.
Why this sequence? Connecting the final negative cable to a grounded metal part on the dead car ensures that any sparks occur away from the battery, minimizing the risk of igniting hydrogen gas. Connecting directly to the negative terminal of the dead battery puts the spark right next to the gas vent.
Disconnecting Jumper Cables: Reversing the Process
Disconnecting the jumper cables follows the reverse order of connection. This helps prevent any voltage spikes from damaging sensitive electronics in either vehicle.
- Ground to Negative (Metal to Black): Remove the black (negative) clamp from the grounded metal surface on the car that was dead.
- Good Negative (Black to Good): Remove the black (negative) clamp from the negative (-) terminal of the good (boosting) battery.
- Good Positive (Red to Good): Remove the red (positive) clamp from the positive (+) terminal of the good (boosting) battery.
- Dead Positive (Red to Dead): Remove the red (positive) clamp from the positive (+) terminal of the dead battery.
Troubleshooting: Common Problems and Solutions
Even with the correct procedure, issues can arise during jump-starting. Here are some common problems and their potential solutions:
- Symptom: Car won't start, even with jumper cables attached.
- Possible Cause: Poor connection with jumper cables.
- Solution: Ensure clamps are securely attached to clean, unpainted metal surfaces. Wiggle the clamps to ensure a good connection. Check for corrosion on the battery terminals and clean them with a wire brush or terminal cleaner.
- Possible Cause: Dead battery is severely discharged or damaged beyond recovery.
- Solution: Try jump-starting for a longer period (5-10 minutes). If still no luck, the battery likely needs replacement. Consider having the battery tested at an auto parts store.
- Possible Cause: Starter motor failure.
- Solution: Listen for a clicking sound when attempting to start. If no clicking and no start, the starter motor may be faulty and require replacement. A mechanic can diagnose this.
- Example: In models like the Honda Civic or Toyota Corolla, a common issue after a dead battery is a stuck starter solenoid. Tapping the starter (carefully!) with a hammer can sometimes temporarily dislodge it.
- Symptom: Sparks flying when connecting the final negative clamp.
- Possible Cause: Incorrect grounding point.
- Solution: Ensure the final negative clamp is attached to a clean, unpainted metal surface, away from fuel lines and the battery. A common mistake is grounding to a painted surface, preventing a good electrical connection.
- Possible Cause: Short circuit in the dead vehicle's electrical system.
- Solution: This is a serious issue. Disconnect the jumper cables immediately and have the vehicle inspected by a mechanic. Continuing to attempt a jump-start could cause further damage.
- Example: In older Ford F-150 trucks, corrosion on the frame can create a poor ground. Finding a clean spot higher on the engine block may be necessary.
- Symptom: Car starts but dies immediately after removing jumper cables.
- Possible Cause: Alternator malfunction.
- Solution: The alternator is responsible for charging the battery while the engine is running. If it's not working correctly, the battery will quickly drain. Have the alternator tested and replaced if necessary.
- Possible Cause: Loose or corroded battery terminals.
- Solution: Check the battery terminals and cables for corrosion or looseness. Clean the terminals and tighten the connections.
- Example: Many BMW models are sensitive to voltage fluctuations. A failing alternator can cause a cascade of electronic issues, so prompt diagnosis is crucial.
Maintenance for a Healthy Battery
Preventive maintenance is key to avoiding dead battery situations. Here are some tips:
- Regular Battery Testing: Have your battery tested annually, especially before winter. Most auto parts stores offer free battery testing.
- Clean Battery Terminals: Regularly clean battery terminals to remove corrosion. Use a wire brush and a baking soda solution.
- Secure Battery Hold-Down: Ensure the battery is securely mounted. Vibration can damage the battery and shorten its lifespan.
- Avoid Short Trips: Short trips don't allow the alternator enough time to fully recharge the battery. Take longer drives periodically to keep the battery charged.
- Turn Off Lights: Ensure all lights are turned off when the car is not running. Leaving lights on is a common cause of dead batteries.
- Consider a Battery Tender: If you frequently leave your car unused for extended periods, consider using a battery tender to keep the battery charged.
By following these guidelines and understanding the proper jump-starting procedure, you can minimize the risk of damage and keep your vehicle running smoothly. Remember, if you're unsure about any aspect of jump-starting or vehicle maintenance, it's always best to consult a qualified mechanic.