
Which Cable Goes Where When Jumping A Car
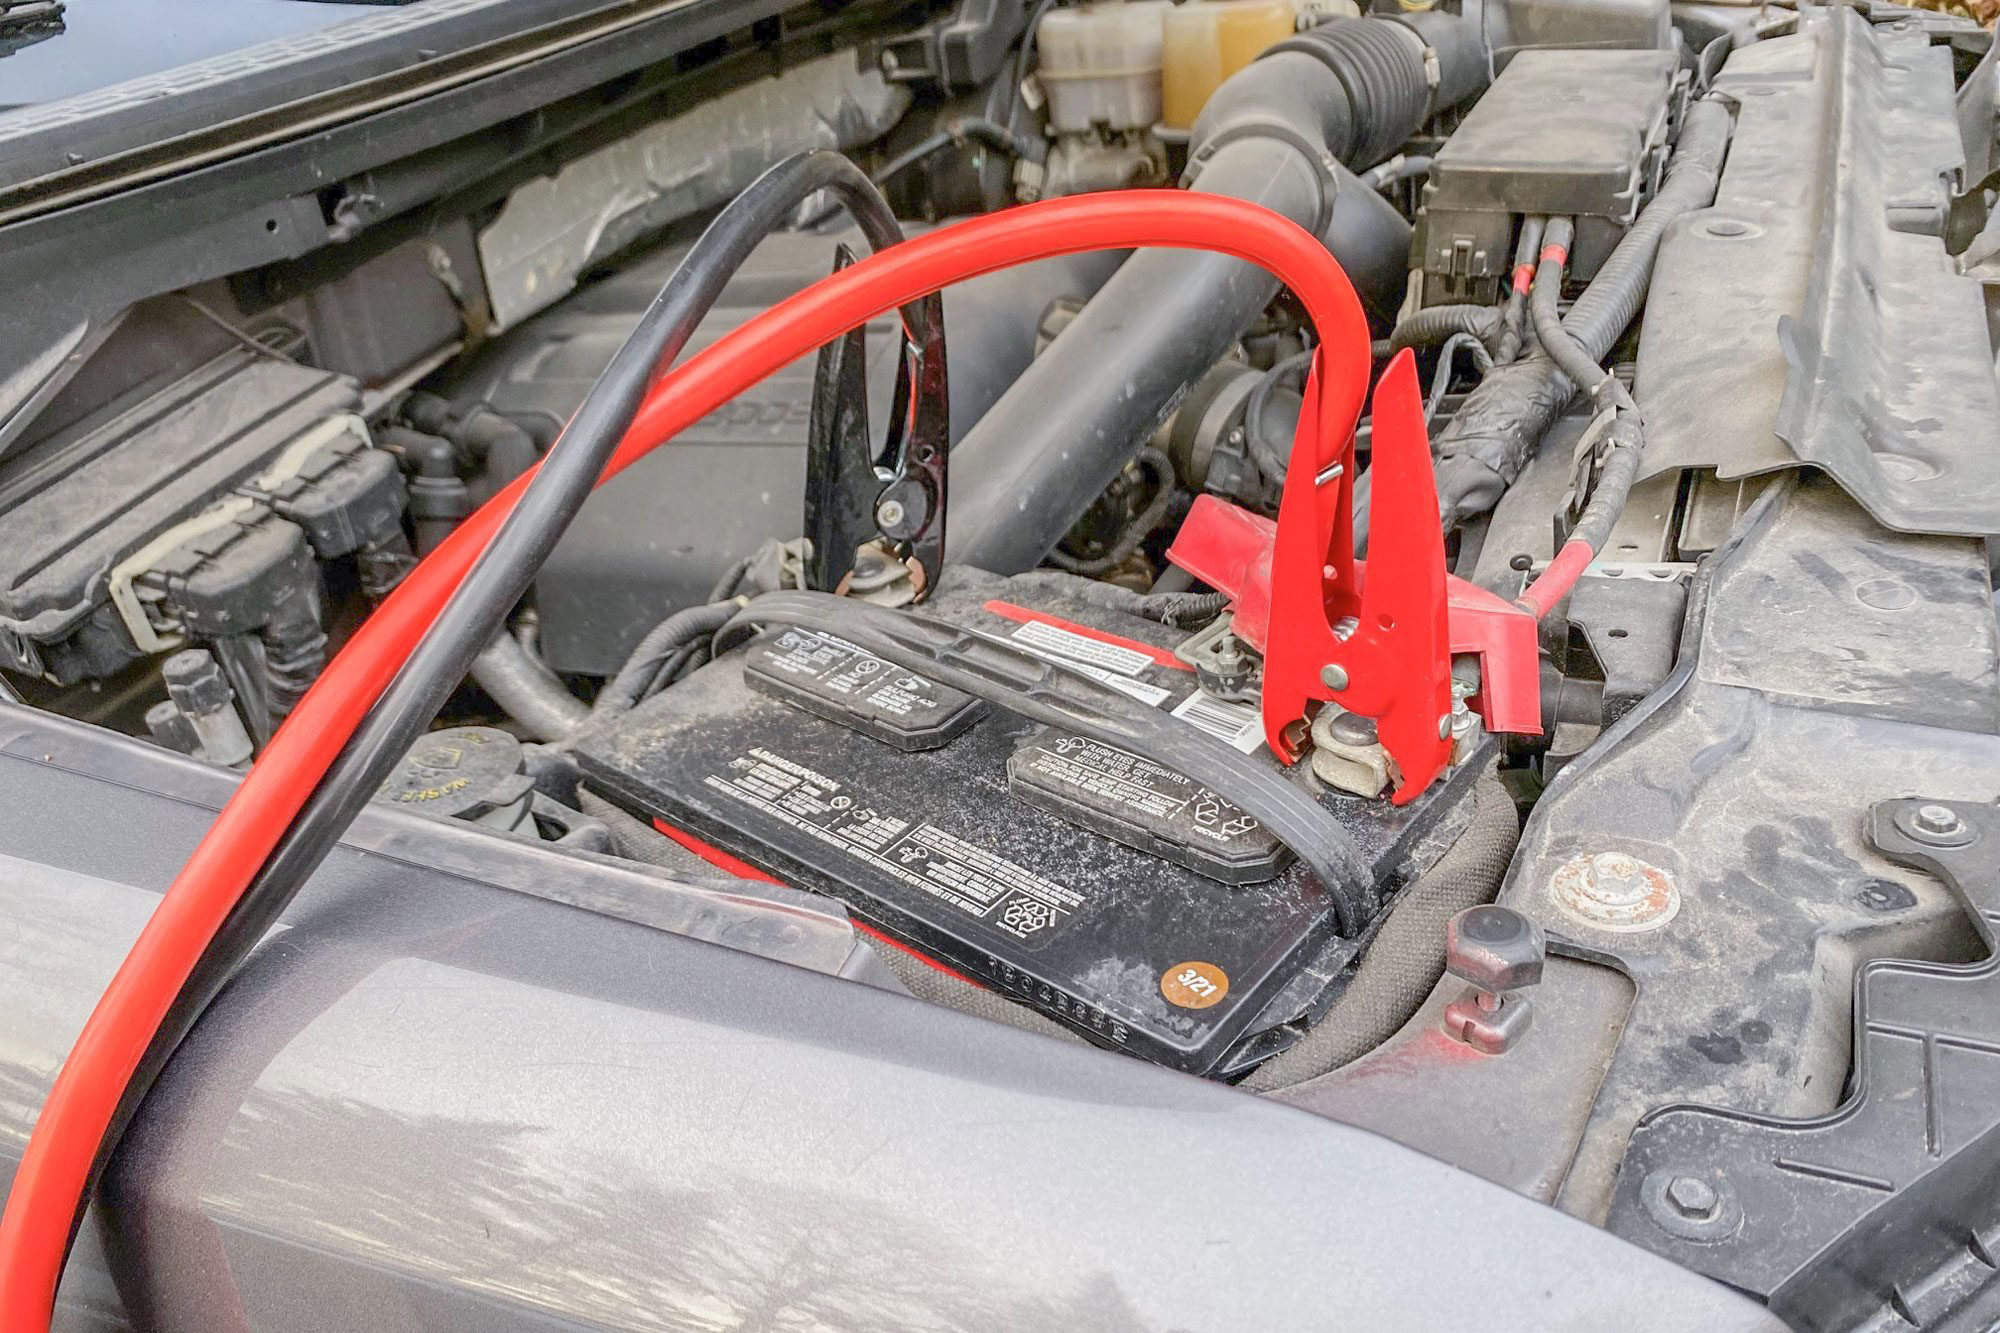
Jumping a car battery is a common roadside scenario, but connecting the jumper cables incorrectly can lead to serious damage to your vehicle's electrical system. This article provides a comprehensive guide to ensure you connect those cables in the right sequence, minimizing risks and getting you back on the road safely.
Understanding the Components
Before even thinking about connecting cables, it’s crucial to understand the players involved. You'll need a donor vehicle (the one with the good battery), the recipient vehicle (the one with the dead battery), and, of course, a set of quality jumper cables. Look for cables with thick gauge wires (the lower the gauge number, the thicker the wire) and well-insulated clamps. Thin, cheap cables might not be able to deliver enough current to start the engine.
Each cable set will have two distinct cables, one red and one black. The red cable is always used for the positive (+) terminal, and the black cable is always used for the negative (-) terminal. Never mix these up.
The Correct Connection Sequence: A Step-by-Step Guide
Safety is paramount. Ensure both vehicles are turned off, with the parking brakes engaged, and are not touching each other.
- Step 1: Positive to Positive (Donor Vehicle): Connect one end of the red (+) cable to the positive (+) terminal of the donor vehicle's battery. Ensure the clamp has a secure grip.
- Step 2: Positive to Positive (Recipient Vehicle): Connect the other end of the red (+) cable to the positive (+) terminal of the recipient vehicle's battery. Again, confirm a solid connection.
- Step 3: Negative to Negative (Donor Vehicle): Connect one end of the black (-) cable to the negative (-) terminal of the donor vehicle's battery. Ensure a good, firm grip.
- Step 4: Negative to Ground (Recipient Vehicle): This is the most critical step to prevent sparks near the battery. Connect the other end of the black (-) cable to an unpainted metal surface on the recipient vehicle's engine block or chassis, away from the battery. A good grounding point is typically a clean bolt or bracket on the engine. The further away from the battery, the better to minimize the risk of igniting any escaping hydrogen gas.
Why the Negative Connection is Different
The reason for grounding the negative cable on the recipient vehicle to a metal part of the car, rather than directly to the negative terminal of the battery, is to reduce the risk of hydrogen gas ignition. Batteries, especially when being charged or discharged rapidly, can release hydrogen gas. Connecting the last negative clamp directly to the battery near a potential spark could cause an explosion. By grounding to a remote metal surface, the spark is further away from the battery and any accumulated gas.
Starting the Vehicles
Once the cables are connected in the correct order, start the donor vehicle and let it run for a few minutes. This allows the donor battery to provide some charge to the depleted battery in the recipient vehicle. After a few minutes, try starting the recipient vehicle. If it starts, let it run for at least 20 minutes to allow the alternator to properly charge the battery. If it doesn't start, check all cable connections and try again. If it still doesn't start, the issue may be more serious than just a dead battery.
Disconnecting the Cables
Disconnect the cables in the reverse order of connection:
- Remove the black (-) cable from the grounding point on the recipient vehicle.
- Remove the black (-) cable from the negative (-) terminal of the donor vehicle.
- Remove the red (+) cable from the positive (+) terminal of the recipient vehicle.
- Remove the red (+) cable from the positive (+) terminal of the donor vehicle.
Important Safety Considerations
- Always wear eye protection.
- Never smoke or use open flames near the battery.
- If the battery is cracked or leaking, do not attempt to jump-start the vehicle. Call for professional assistance.
- Consult your vehicle's owner's manual for specific instructions and safety precautions.
Troubleshooting
If, after following these steps, the car still won't start, the problem might be more complex than a simple dead battery. Consider issues such as a faulty starter motor, a blown fuse, or a more serious electrical problem. A professional mechanic can diagnose the issue and perform necessary repairs.
By following this guide and understanding the reasons behind each step, you can safely and effectively jump-start a car battery, minimizing the risk of damage and getting back on the road quickly.