09 Nissan Rogue Ac Compressor
Alright, let's dive deep into the 2009 Nissan Rogue's AC compressor. Whether your AC's blowing warm air or making some unholy noises, understanding how this system works and how to diagnose potential issues is key for a successful repair. We'll cover the compressor itself, common failure points, troubleshooting steps, and replacement procedures. This isn’t a job for a complete novice, but with a little experience and the right tools, you can tackle it yourself.
Understanding the 2009 Nissan Rogue AC System
Before we get to the compressor, let's zoom out and understand the entire system. The air conditioning system in your Rogue is a closed-loop system that uses a refrigerant (typically R-134a) to cool the air. Here are the major components:
- Compressor: The heart of the system. It pressurizes the refrigerant, turning it into a high-pressure, high-temperature gas.
- Condenser: Located in front of the radiator, it cools the high-pressure refrigerant, turning it into a high-pressure liquid.
- Receiver Drier/Accumulator: Filters out moisture and contaminants from the refrigerant. The Rogue uses an accumulator, located on the low-pressure side, which also serves as a reservoir for liquid refrigerant.
- Expansion Valve/Orifice Tube: Meters the amount of refrigerant entering the evaporator. The 2009 Rogue uses an expansion valve, which provides more precise control.
- Evaporator: Located inside the dashboard, it allows the refrigerant to expand and evaporate, absorbing heat from the cabin air and cooling it down.
The refrigerant cycles through these components, constantly changing its state from gas to liquid and back again. When the compressor fails, the entire system is compromised.
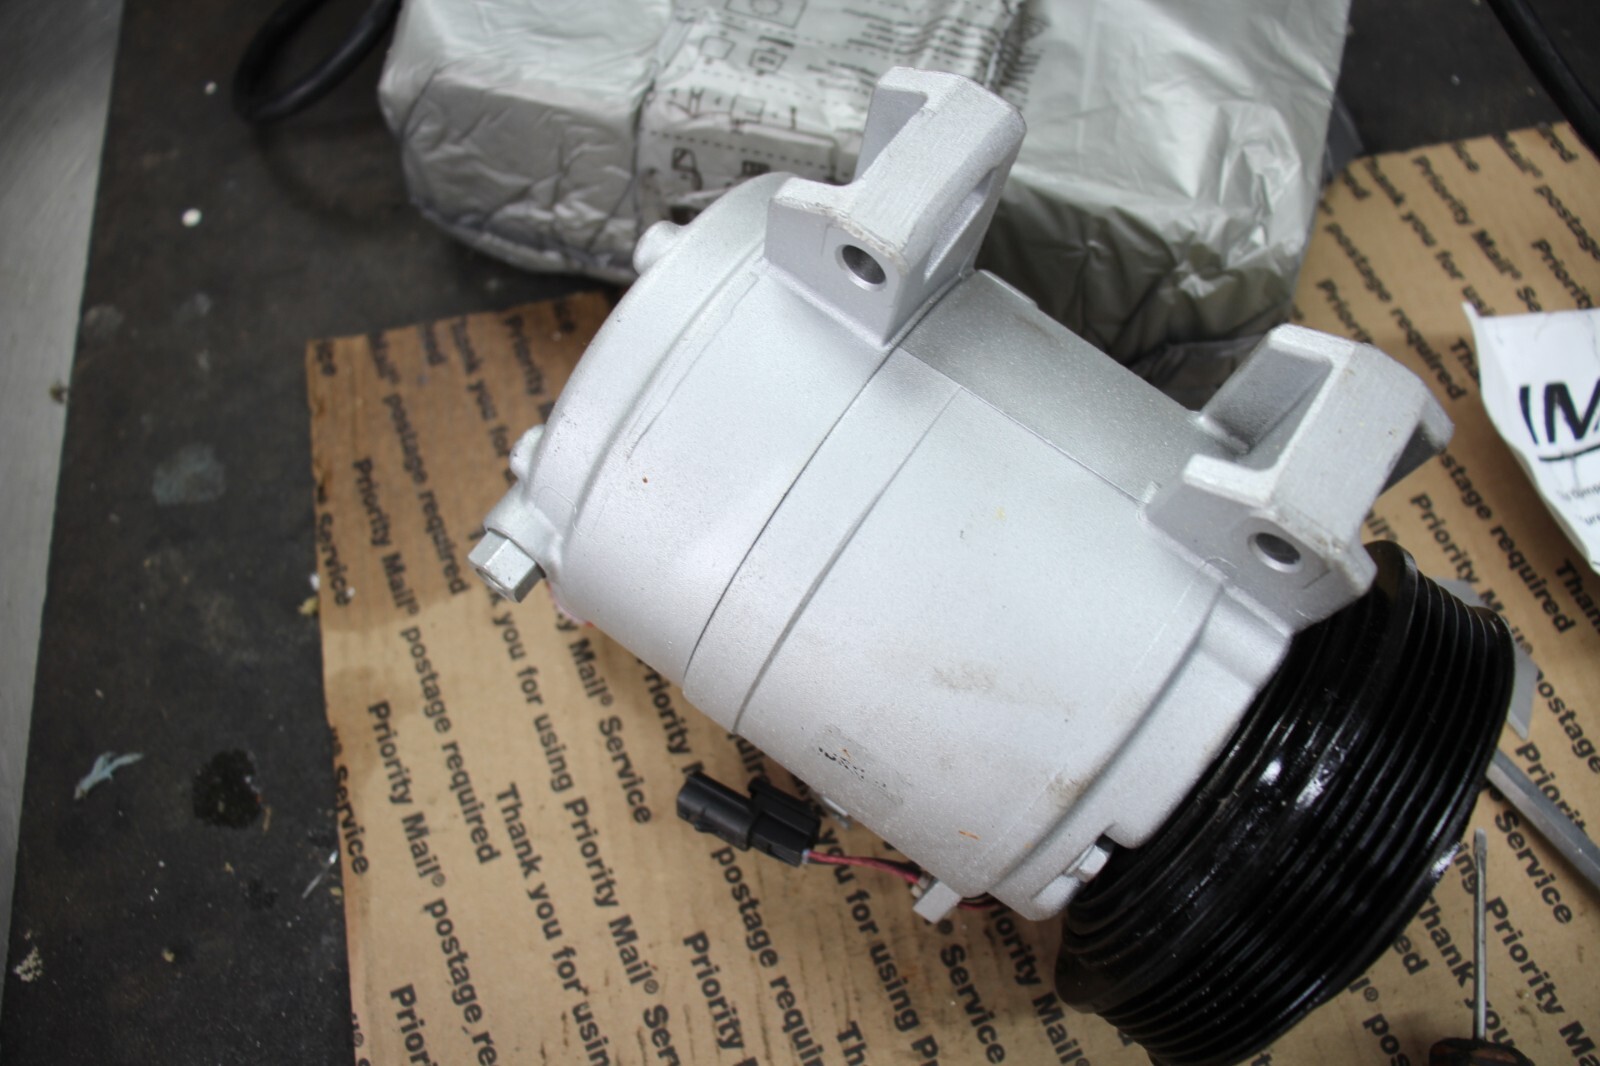
The AC Compressor: In Detail
The AC compressor in the 2009 Nissan Rogue is a scroll-type compressor. Unlike piston-type compressors, scroll compressors use two spiral-shaped scrolls to compress the refrigerant. One scroll is fixed, while the other orbits around it. This orbiting motion compresses the refrigerant between the scrolls, resulting in a smooth and continuous flow.
Here are the key components of the compressor:
- Clutch: Engages and disengages the compressor pulley from the compressor shaft. This allows the compressor to only run when cooling is needed. It's an electromagnetic clutch that's activated by the AC request signal from the HVAC control panel.
- Pulley: Driven by the engine's accessory belt. When the clutch is engaged, the pulley turns the compressor shaft.
- Scrolls: The heart of the compressor, where the refrigerant is compressed.
- Internal Relief Valve: Protects the compressor from over-pressurization. If the pressure inside the system gets too high, this valve will release some of the refrigerant.
- Ports: Connect the compressor to the high-pressure and low-pressure lines of the AC system.
The clutch is a common failure point. It can wear out over time, causing it to slip or fail to engage altogether. Internal compressor failure, such as damage to the scrolls, is another frequent issue.
Common Symptoms of a Failing AC Compressor
Knowing the symptoms of a failing AC compressor can help you diagnose the problem early and prevent further damage. Here are some common signs:
- Warm Air: This is the most obvious symptom. If your AC is blowing warm air instead of cold air, the compressor may not be able to properly pressurize the refrigerant.
- Noisy Compressor: Grinding, squealing, or rattling noises coming from the compressor are a sign of internal damage. These noises can be especially noticeable when the AC is turned on.
- Clutch Problems: If the compressor clutch is not engaging, the compressor won't run. You might hear a clicking sound as the clutch tries to engage, but the compressor itself won't turn. You can visually inspect the clutch to see if it's engaging when the AC is turned on.
- Refrigerant Leaks: Leaks can cause the compressor to work harder and eventually fail. Look for signs of leaks around the compressor, such as oily residue or a green dye (if dye has been added to the system).
- Reduced Fuel Efficiency: A failing compressor can put extra strain on the engine, leading to reduced fuel efficiency.
Troubleshooting the AC Compressor
Before replacing the compressor, it's important to troubleshoot the system to identify the root cause of the problem. Here’s a systematic approach:
- Check the Refrigerant Level: Use an AC manifold gauge set to check the high-side and low-side pressures. Low refrigerant can prevent the compressor from engaging. Consult the service manual for the correct pressure readings for your Rogue. Note: Working with refrigerant requires proper training and equipment. If you're not comfortable handling refrigerant, take your car to a qualified AC technician.
- Inspect the Compressor Clutch: With the engine running and the AC turned on, check if the compressor clutch is engaging. If it's not, check the clutch relay and the wiring to the clutch. You can use a multimeter to test for voltage at the clutch connector.
- Check the Compressor Relay and Fuse: The AC compressor relay and fuse are located in the under-hood fuse box. Check them for continuity and voltage. A blown fuse or a faulty relay can prevent the compressor from engaging.
- Scan for Diagnostic Trouble Codes (DTCs): Use an OBD-II scanner to check for any AC-related DTCs. These codes can provide valuable clues about the problem. Some common codes related to the AC compressor include codes related to the clutch circuit and refrigerant pressure.
- Inspect the Wiring and Connections: Check for any damaged or corroded wiring or connections related to the AC compressor. Clean and repair any damaged connections.
- Listen for Noises: Listen carefully for any unusual noises coming from the compressor. Grinding, squealing, or rattling noises indicate internal damage.
Important Safety Note: Before working on the AC system, make sure to disconnect the negative battery cable to prevent electrical shock. Also, be careful when working with refrigerant, as it can cause frostbite.
Replacing the AC Compressor
If your troubleshooting indicates that the AC compressor is faulty, you'll need to replace it. Here's a step-by-step guide:
- Recover the Refrigerant: Using an AC recovery machine, recover all the refrigerant from the system. This is crucial! Releasing refrigerant into the atmosphere is illegal and harmful to the environment.
- Disconnect the Battery: Disconnect the negative battery cable.
- Remove the Serpentine Belt: Use a belt tensioner tool to relieve the tension on the serpentine belt and remove it from the compressor pulley.
- Disconnect the Electrical Connector: Disconnect the electrical connector from the compressor clutch.
- Disconnect the Refrigerant Lines: Use wrenches to disconnect the refrigerant lines from the compressor. Be prepared for some residual refrigerant to escape, even after recovery. Use new O-rings when reconnecting the lines.
- Remove the Compressor Mounting Bolts: Remove the bolts that secure the compressor to the engine bracket.
- Remove the Old Compressor: Carefully remove the old compressor from the engine bay.
- Install the New Compressor: Install the new compressor in the reverse order of removal. Make sure to tighten the mounting bolts to the correct torque specification.
- Install New O-Rings: Replace all O-rings on the refrigerant line connections.
- Connect the Refrigerant Lines: Reconnect the refrigerant lines to the compressor and tighten the fittings.
- Connect the Electrical Connector: Reconnect the electrical connector to the compressor clutch.
- Install the Serpentine Belt: Reinstall the serpentine belt, making sure it's properly seated on all the pulleys.
- Evacuate and Recharge the System: Use a vacuum pump to evacuate the system for at least 30-45 minutes to remove any air and moisture. Then, recharge the system with the correct amount of R-134a refrigerant, as specified in the service manual.
- Check for Leaks: Use a leak detector to check for any refrigerant leaks around the compressor and refrigerant line connections.
- Test the System: Start the engine and turn on the AC to verify that the system is working properly and blowing cold air.
Important Considerations:
- Flushing the System: When replacing the AC compressor, it's highly recommended to flush the entire AC system to remove any contaminants. Debris from a failed compressor can circulate through the system and damage other components.
- Replacing the Accumulator: It's also a good idea to replace the accumulator when replacing the compressor, as it can become contaminated with debris.
- Oil Charge: The new compressor will need the correct amount of PAG oil added. Follow the manufacturer's instructions for oil quantity and viscosity. This information can typically be found in the service manual or on the compressor itself.
After the Replacement
After replacing the AC compressor, monitor the system for proper operation. Check the refrigerant pressures regularly to ensure they are within the specified range. Listen for any unusual noises and address any issues promptly. With proper care and maintenance, your new AC compressor should provide years of reliable cooling.
Replacing an AC compressor is a complex task, but with the right knowledge and tools, you can tackle it yourself. Remember to follow safety precautions and consult the service manual for specific instructions for your 2009 Nissan Rogue. Good luck!