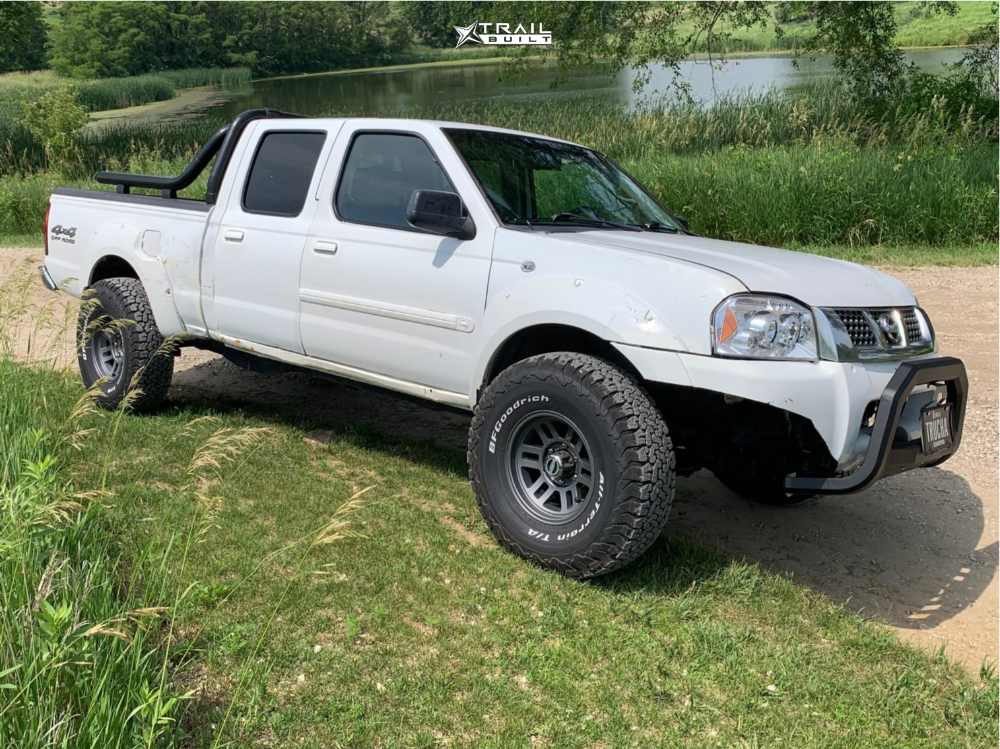
2004 Nissan Frontier Lift Kit
So, you're looking to lift your 2004 Nissan Frontier? Excellent choice! It's a rugged truck with plenty of potential, and a lift kit can significantly improve its off-road capabilities and overall stance. Before you dive in, let's break down what's involved, different types of lift kits, and some crucial considerations for your 2004 Frontier.
Understanding Lift Kits: Body vs. Suspension
The first thing to understand is the fundamental difference between body lifts and suspension lifts. These two types of kits achieve increased ride height in fundamentally different ways, impacting performance and cost differently.
Body Lifts
A body lift raises the body of the truck away from the frame using spacers. This essentially creates a gap between the cab and the chassis. The drivetrain and suspension remain at the stock height.
- Pros: Body lifts are generally more affordable and easier to install than suspension lifts. They allow you to run larger tires without modifying the suspension geometry.
- Cons: They don't improve ground clearance beneath the frame, axles, or suspension components. The increased gap between the body and frame can be aesthetically unappealing unless addressed with gap guards. Furthermore, they don't improve ride quality or off-road performance beyond tire clearance.
Suspension Lifts
A suspension lift modifies the actual suspension components to raise the vehicle's ride height. This can involve new springs, shocks, control arms, or a combination thereof. This type of lift has a much more significant impact on your truck's driving characteristics and off-road capabilities.
- Pros: Improved ground clearance under the entire vehicle, enhanced off-road performance (increased wheel travel, articulation), and a more aggressive look. Some kits can improve ride quality depending on the components used.
- Cons: Suspension lifts are generally more expensive and require more involved installation procedures. They can also alter the vehicle's center of gravity, potentially affecting handling. Incorrect installation or poor-quality components can lead to premature wear and tear on other suspension and drivetrain components.
Lift Kit Options for the 2004 Nissan Frontier
For your 2004 Frontier, you'll typically find the following types of lift kits available. The best choice depends on your budget, intended use, and desired level of modification.
Budget Boost/Coil Spacer Lifts
These are the most basic and affordable suspension lift option. They involve adding spacers above the coil springs (front) and either blocks or add-a-leafs in the rear. They essentially pre-load the existing springs to achieve lift.
- Pros: Least expensive suspension lift option, relatively easy to install.
- Cons: Can result in a harsher ride due to increased spring rate. Doesn't improve wheel travel or articulation. Over time, pre-loading the factory springs can cause them to sag prematurely.
Torsion Bar Crank/Shackle Lift
The 2004 Frontier likely uses a torsion bar suspension in the front. These kits often include longer shackles for the rear and rely on adjusting the torsion bars to increase front ride height. Torsion bars are spring steel bars that act as the front suspension spring.
- Pros: Inexpensive way to achieve a moderate lift.
- Cons: Cranking torsion bars too much can lead to a very harsh ride and limit down travel. Longer shackles in the rear can affect pinion angle and require additional modifications to prevent driveline vibrations.
Complete Suspension Lift Kits
These are the most comprehensive and often the most expensive lift kits. They typically include new front coil springs (or extended shocks and torsion bars if applicable), rear leaf springs or coil springs (depending on the specific Frontier model), new shocks all around, extended brake lines, and potentially new control arms or other suspension components.
- Pros: Offer the best ride quality and off-road performance. Designed as a complete system for optimal handling and durability. Improved wheel travel and articulation.
- Cons: Most expensive option, requires the most involved installation. May require professional installation to ensure proper alignment and functionality.
Key Considerations Before Lifting Your 2004 Frontier
Before you order that lift kit, take a moment to consider these important factors:
Tire Size
Lifting your Frontier allows you to run larger tires. Consider what size tires you want to run and choose a lift kit that provides the necessary clearance. Be aware that going too large can require trimming fenders or wheel wells.
Driveline Vibrations
Lifting your truck can change the angles of your driveshaft, potentially causing vibrations. This is especially common with taller lifts. To address this, you may need to install transfer case drop kits, carrier bearing shims, or even a custom driveshaft with a double cardan joint (CV joint).
Alignment
After installing a lift kit, it's absolutely crucial to get a proper wheel alignment. Lifting your truck changes the suspension geometry, and without an alignment, you'll experience premature tire wear, poor handling, and potentially even damage to suspension components.
Brake Lines
Most suspension lift kits include extended brake lines. Make sure these are properly installed and bled after installation. Failing to do so can compromise your braking performance.
Shocks
The shocks included in your lift kit are crucial for ride quality and handling. Consider the quality of the shocks and whether they are designed for off-road use if that's your intention. Some kits may allow you to reuse your factory shocks, but this is generally not recommended as they may not be long enough to accommodate the increased travel.
Differential Drop (4x4 Models)
For 4x4 models, lifting the truck can increase the angle of the CV axles, leading to premature wear. A differential drop kit lowers the front differential to reduce these angles and extend the life of your CV axles.
Installation
Assess your mechanical skills and tools. Body lifts and some basic suspension lifts (like coil spacers) can be tackled by experienced DIYers. However, more complex suspension lifts may require specialized tools and expertise, and it's best left to a professional mechanic.
Tools and Equipment You'll Likely Need
Here's a general list of tools you'll likely need for a lift kit installation. This is not exhaustive, and the specific tools required will depend on the type of lift kit and the condition of your vehicle.
- Jack and jack stands (heavy-duty)
- Wheel chocks
- Socket set (metric)
- Wrench set (metric)
- Torque wrench
- Hammer
- Pry bar
- Ball joint separator (pickle fork or ball joint press)
- Spring compressor (for some coil spring applications)
- Brake line wrench
- Grease gun
- Alignment tools (or arrangement to get an alignment afterwards)
- Penetrating oil (for stubborn bolts)
Step-by-Step Overview (General Suspension Lift)
While each lift kit comes with specific instructions, here's a general overview of the installation process for a typical suspension lift:
- Preparation: Park the truck on a level surface, engage the parking brake, and chock the wheels. Disconnect the negative battery cable.
- Remove Wheels: Loosen the lug nuts on all wheels before lifting the vehicle. Then, jack up the truck and securely support it with jack stands. Remove the wheels.
- Front Suspension Disassembly: Disconnect the sway bar links, brake lines, ABS wires, and any other components that may be attached to the front suspension. Use the appropriate tools to separate the ball joints and disconnect the steering linkage. Remove the existing shocks and springs.
- Front Suspension Installation: Install the new coil springs (or adjust the torsion bars), shocks, and any other included components according to the manufacturer's instructions. Reconnect all previously disconnected components, ensuring proper torque specifications.
- Rear Suspension Disassembly: Disconnect the sway bar links (if equipped), brake lines, and any other components attached to the rear suspension. Support the rear axle with a jack. Remove the existing shocks and leaf springs (or coil springs, depending on your Frontier model).
- Rear Suspension Installation: Install the new leaf springs (or coil springs), shocks, and any other included components. Reconnect all previously disconnected components, ensuring proper torque specifications.
- Brake Line Extension: Install the extended brake lines, ensuring they are properly routed and secured. Bleed the brakes to remove any air from the system.
- Reinstall Wheels: Reinstall the wheels and lower the truck to the ground. Torque the lug nuts to the manufacturer's specifications.
- Alignment: Take the truck to a qualified alignment shop for a professional wheel alignment.
- Test Drive: After the alignment, take the truck for a test drive to check for any vibrations, noises, or handling issues.
Final Thoughts
Lifting your 2004 Nissan Frontier can be a rewarding project. Just be sure to do your research, choose the right lift kit for your needs, and follow the instructions carefully. If you're not comfortable with any aspect of the installation, don't hesitate to seek professional help. A properly installed lift kit will enhance your truck's appearance, off-road capabilities, and overall enjoyment!