2004 Nissan Xterra Distributor Replacement
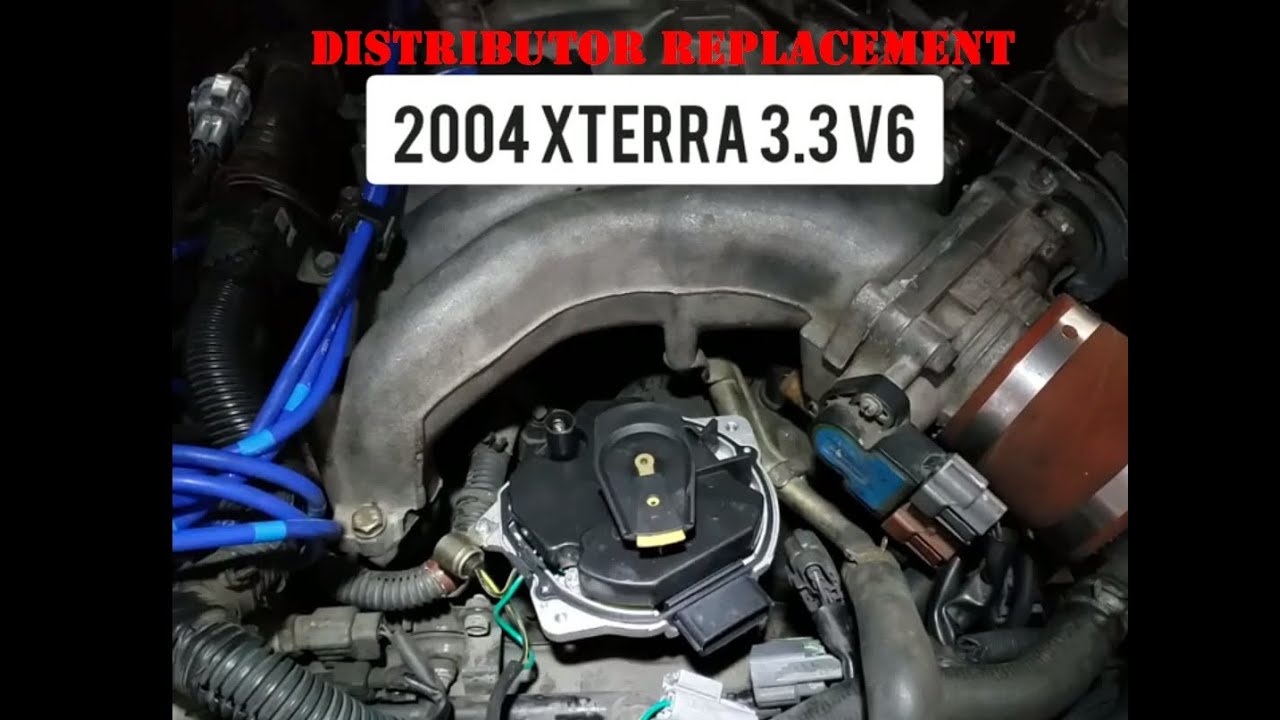
The 2004 Nissan Xterra, a rugged and reliable SUV, utilizes the VG33E 3.3-liter V6 engine. While not as technologically advanced as some modern engines, its simplicity offers a degree of straightforward maintenance. One crucial component within the VG33E's ignition system is the distributor. Replacing the distributor on a 2004 Nissan Xterra can seem daunting, but with the right tools, knowledge, and a methodical approach, it's a task many experienced DIYers and professional mechanics can handle.
Identifying the Need for Distributor Replacement
Before diving into the replacement process, it's vital to confirm the distributor is indeed the culprit. Symptoms of a failing distributor can mimic other ignition or fuel system issues. Here are some common indicators:
- Rough idling or stalling: A failing distributor can cause inconsistent spark delivery, leading to a rough idle or even stalling, especially when the engine is under load.
- Difficulty starting: If the distributor isn't properly directing spark, the engine may crank but fail to start.
- Misfires: Misfires occur when one or more cylinders fail to fire correctly. A faulty distributor can be a primary cause. Diagnostic trouble codes (DTCs) like P0300 (Random Misfire) or specific cylinder misfire codes (P0301-P0306) may be present.
- Check Engine Light (CEL): The CEL will often illuminate, indicating an issue within the engine management system. Scanning the ECU (Engine Control Unit) with an OBD-II scanner is crucial to identify the specific code(s) related to the distributor.
- Poor fuel economy: Inefficient spark delivery can lead to incomplete combustion, resulting in reduced fuel efficiency.
- Visible damage: Inspect the distributor cap and rotor for cracks, wear, or corrosion. These are often telltale signs of a failing distributor.
Important Note: Always rule out other potential causes, such as faulty spark plugs, spark plug wires, a failing ignition coil, or fuel delivery problems, before concluding that the distributor needs replacing.
Tools and Materials Required
Gathering the necessary tools and materials beforehand will streamline the replacement process.
- New Distributor: Purchase a high-quality replacement distributor designed specifically for the 2004 Nissan Xterra with the VG33E engine. Consider reputable brands for optimal performance and longevity.
- Distributor Cap and Rotor (Optional): While replacing the distributor, it's wise to replace the distributor cap and rotor, even if they appear to be in good condition. This ensures all ignition components are functioning optimally.
- Spark Plugs and Wires (Optional): If they haven't been replaced recently, consider replacing the spark plugs and wires as well.
- Socket Set: Metric sockets in various sizes will be needed.
- Wrench Set: A set of metric wrenches will also come in handy.
- Screwdrivers: Both Phillips-head and flat-head screwdrivers are essential.
- Timing Light: A timing light is crucial for setting the ignition timing after installing the new distributor.
- OBD-II Scanner: An OBD-II scanner is required to read and clear diagnostic trouble codes (DTCs).
- Multimeter: A multimeter can be used to test the continuity of circuits and components.
- Pen and Paper/Camera: Before removing any components, take detailed notes or pictures of the wiring and hose routing. This will greatly assist in reassembly.
- Penetrating Oil: Apply penetrating oil to any stubborn bolts or fasteners to loosen them before attempting removal.
- Shop Rags: Keep shop rags handy to wipe up any spills.
- Gloves: Wear gloves to protect your hands.
- Safety Glasses: Always wear safety glasses to protect your eyes.
Step-by-Step Distributor Replacement Procedure
Follow these steps carefully to ensure a successful distributor replacement:
- Disconnect the Negative Battery Terminal: Before starting any electrical work, disconnect the negative battery terminal to prevent short circuits.
- Locate the Distributor: The distributor is typically located on the engine block, near the front or side. Refer to the vehicle's service manual if you're unsure of its exact location.
- Disconnect Electrical Connectors: Carefully disconnect all electrical connectors attached to the distributor. Take pictures or make notes of their locations to ensure proper reconnection.
- Remove the Distributor Cap: Remove the distributor cap by releasing the retaining clips or screws. Inspect the cap for any signs of damage or wear.
- Note Rotor Position: This is critical. Before removing the distributor, note the position of the rotor. The engine should be at Top Dead Center (TDC) on cylinder #1. Mark the position of the rotor on the engine block or a nearby component. This will serve as a reference point when installing the new distributor. You may want to verify TDC using a compression tester or by visually inspecting the piston position through the spark plug hole.
- Remove the Distributor Hold-Down Bolt: Locate the bolt that secures the distributor to the engine block. Loosen and remove the bolt.
- Remove the Distributor: Carefully pull the distributor straight up and out of the engine block. Be mindful of the oil and debris that may be present.
- Install the New Distributor: Align the rotor of the new distributor with the mark you made in step 5. Carefully insert the distributor into the engine block. You may need to slightly rotate the rotor to engage the oil pump drive shaft.
- Install the Hold-Down Bolt: Install the distributor hold-down bolt and tighten it snugly, but not completely. You will need to adjust the timing later.
- Install the Distributor Cap: Install the distributor cap and secure it with the retaining clips or screws.
- Reconnect Electrical Connectors: Reconnect all electrical connectors to the distributor. Ensure they are securely attached.
- Reconnect the Negative Battery Terminal: Reconnect the negative battery terminal.
- Set the Ignition Timing: This is the most crucial step. Use a timing light to set the ignition timing to the manufacturer's specifications. The timing specification is typically found on a sticker under the hood or in the vehicle's service manual. Aim the timing light at the timing mark on the crankshaft pulley and adjust the distributor until the timing mark aligns with the correct setting. Once the timing is set, fully tighten the distributor hold-down bolt.
- Verify Operation: Start the engine and let it idle for a few minutes. Listen for any unusual noises or vibrations.
- Check for DTCs: Use an OBD-II scanner to check for any diagnostic trouble codes (DTCs). Clear any codes that may be present.
Setting the Ignition Timing
Setting the ignition timing correctly is paramount for optimal engine performance and fuel efficiency. Here's a more detailed explanation:
- Warm Up the Engine: Allow the engine to reach its normal operating temperature.
- Locate the Timing Marks: The timing marks are typically located on the crankshaft pulley and a corresponding scale on the engine block or timing cover.
- Connect the Timing Light: Connect the timing light according to the manufacturer's instructions. Typically, you'll need to connect the positive and negative leads to the battery and the inductive clamp to the number one spark plug wire.
- Disable Advance Timing (if applicable): Some vehicles require you to disconnect a vacuum hose or an electrical connector to disable the advance timing function. Refer to the vehicle's service manual for specific instructions.
- Aim and Observe: Start the engine and aim the timing light at the timing marks. Observe the position of the timing mark on the crankshaft pulley relative to the scale.
- Adjust the Distributor: Loosen the distributor hold-down bolt slightly. Rotate the distributor clockwise or counterclockwise to adjust the timing. Observe the timing marks as you rotate the distributor.
- Tighten and Recheck: Once the timing mark is aligned with the correct setting, tighten the distributor hold-down bolt. Recheck the timing to ensure it hasn't changed during tightening.
- Reconnect and Verify: Reconnect any vacuum hoses or electrical connectors that were disconnected to disable the advance timing function. Verify the ignition timing with the engine at idle and at higher RPMs to ensure it is advancing correctly.
Important Note: Incorrect ignition timing can lead to poor engine performance, reduced fuel economy, and even engine damage. If you're not comfortable setting the ignition timing yourself, it's best to have a qualified mechanic perform the procedure.
Post-Replacement Checks and Considerations
After replacing the distributor, perform these checks to ensure everything is working correctly:
- Smooth Idle: Verify that the engine idles smoothly without any rough patches or stalling.
- Proper Acceleration: Test the vehicle's acceleration to ensure it's responsive and doesn't hesitate or stumble.
- Fuel Economy: Monitor fuel economy over the next few days to see if it has improved.
- Listen for Noises: Pay attention to any unusual noises or vibrations coming from the engine compartment.
- Check for Leaks: Inspect the area around the distributor for any signs of oil leaks.
- OBD-II Scan: Perform another OBD-II scan to ensure there are no new diagnostic trouble codes (DTCs).
Troubleshooting Tips
If you encounter any problems during or after the distributor replacement, consider these troubleshooting tips:
- Engine Won't Start: Double-check the rotor position, wiring connections, and ignition timing. Ensure the distributor cap and rotor are properly installed.
- Rough Idle or Misfires: Verify the spark plug wires are connected to the correct cylinders. Check the condition of the spark plugs. Recheck the ignition timing.
- Check Engine Light: Use an OBD-II scanner to read the DTCs and diagnose the problem.
- Oil Leak: Ensure the distributor O-ring or gasket is properly installed and sealing correctly.
Replacing the distributor on a 2004 Nissan Xterra requires careful attention to detail and a methodical approach. By following these steps and taking the necessary precautions, you can successfully complete the task and restore your vehicle's ignition system to optimal performance. Remember that proper ignition timing is crucial for the VG33E engine, and if you're not comfortable with this aspect, seeking professional assistance is always recommended.