2005 Nissan Titan Coil Packs
Alright, let's dive into the ignition system on the 2005 Nissan Titan, specifically focusing on the coil packs. Understanding these components is crucial for maintaining smooth engine operation, diagnosing misfires, and even optimizing performance. This guide is aimed at the intermediate DIYer, so we'll cover the technical aspects without getting lost in overly complex jargon. We'll assume you have a basic understanding of automotive mechanics and some familiarity with using diagnostic tools.
Understanding Ignition Coils
Before we zero in on the Titan, let's establish a fundamental understanding of what an ignition coil actually does. In essence, it's a small but mighty transformer. Its primary function is to take the relatively low voltage (around 12V) supplied by the vehicle's electrical system and amplify it into a very high voltage – typically between 20,000 and 40,000 volts. This high voltage is then discharged across the spark plug gap, creating a spark that ignites the air-fuel mixture in the combustion chamber. This combustion is what drives the piston and ultimately powers the truck.
The 2005 Titan utilizes a coil-on-plug (COP) ignition system. This means that each cylinder has its own dedicated ignition coil positioned directly on top of the spark plug. This direct connection eliminates the need for a distributor and spark plug wires, leading to a more efficient and reliable ignition system compared to older designs. The elimination of spark plug wires also reduces radio frequency interference (RFI).
Specifics of the 2005 Nissan Titan Coil Packs
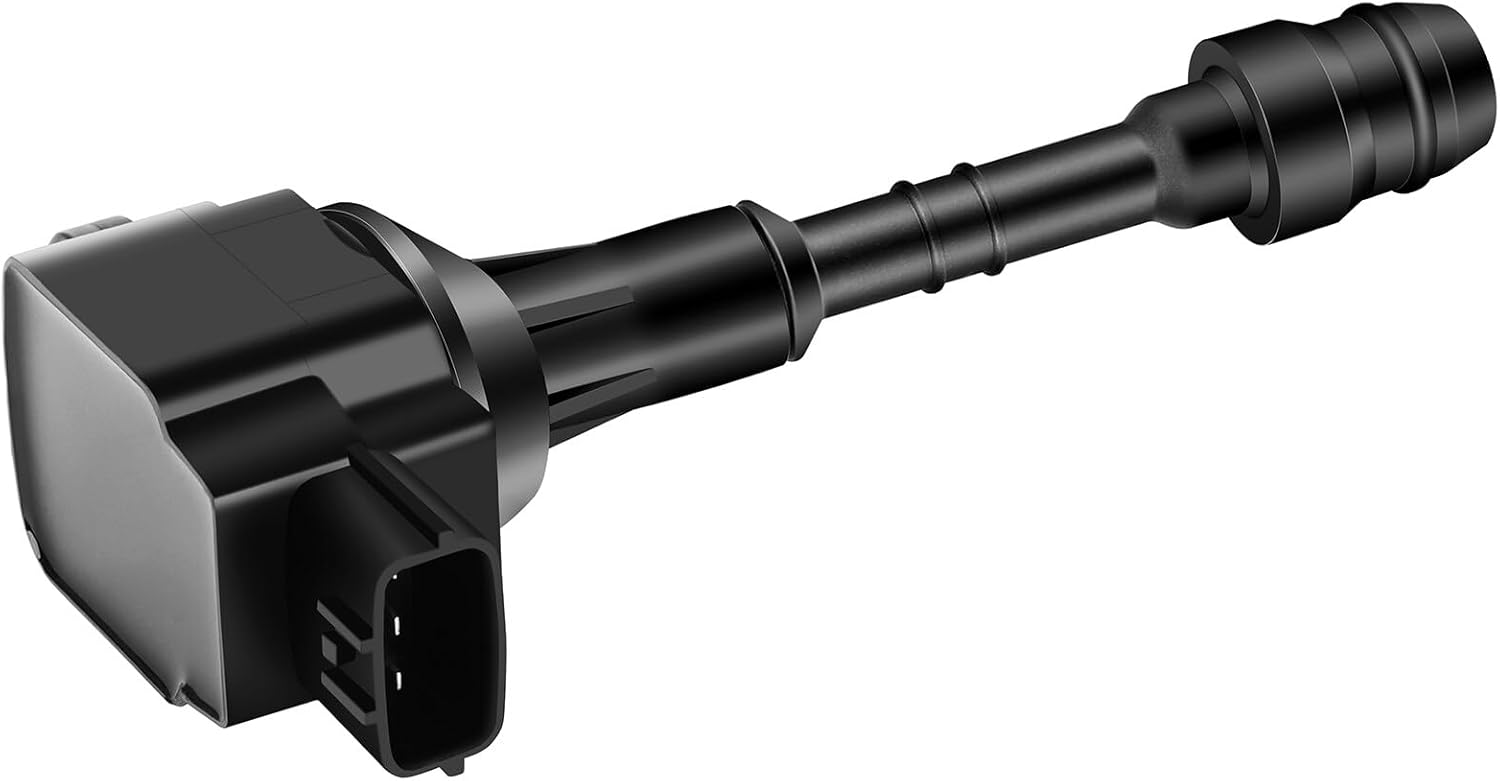
The 2005 Titan is equipped with a 5.6L VK56DE V8 engine. As such, it has eight individual ignition coils, one for each cylinder. These coils are usually manufactured by Hitachi, Diamond Electric, or other reputable OEM suppliers. While they may look similar, ensure you purchase coils specifically designed for the VK56DE engine to guarantee proper performance and compatibility.
Coil Pack Construction
A typical 2005 Titan coil pack consists of the following:
- Primary Winding: This is a coil of relatively few turns of heavy-gauge wire. It's connected to the vehicle's 12V power supply and the ignition control module (ICM).
- Secondary Winding: This is a coil of many turns of very fine wire. It's connected to the spark plug. The ratio of turns between the primary and secondary windings determines the voltage step-up.
- Iron Core: This core concentrates the magnetic field generated by the windings, improving the coil's efficiency.
- Epoxy Encapsulation: The entire assembly is encased in epoxy resin, which provides insulation, protects the internal components from vibration and moisture, and helps dissipate heat.
- Connector: A multi-pin connector allows the coil to receive power and signals from the ICM.
How the System Works
The engine control unit (ECU) sends a signal to the ICM (which can be part of the ECU or a separate module). This signal tells the ICM to ground the primary winding of a specific coil. When the primary winding is grounded, current flows through it, creating a strong magnetic field around the iron core. When the ECU wants the spark to fire, it commands the ICM to cut off the ground to the primary winding. This sudden interruption of current causes the magnetic field to collapse rapidly. As the magnetic field collapses, it induces a high-voltage current in the secondary winding. This high-voltage current then travels to the spark plug, creating the spark needed for combustion.
Symptoms of Failing Coil Packs
A failing coil pack can manifest in several ways. Recognizing these symptoms early can prevent more serious engine damage. Here are some common indicators:
- Misfires: This is the most common symptom. A misfire occurs when one or more cylinders fail to fire properly. You'll typically feel a rough idle, hesitation during acceleration, and a loss of power. Modern vehicles will often trigger a "check engine" light and store a misfire code (e.g., P0301 for a misfire on cylinder 1).
- Rough Idle: A misfiring cylinder will cause the engine to vibrate excessively at idle.
- Loss of Power: The engine may feel sluggish and unresponsive, especially during acceleration.
- Poor Fuel Economy: Misfires can cause incomplete combustion, leading to wasted fuel and reduced gas mileage.
- Check Engine Light (CEL): As mentioned earlier, the CEL will often illuminate when a misfire is detected. Diagnostic trouble codes (DTCs) related to coil packs can include P0300 (random misfire), P0301-P0308 (cylinder-specific misfires), and codes related to coil circuit faults.
- Stalling: In severe cases, a failing coil pack can cause the engine to stall, especially at low speeds.
Diagnosing Coil Pack Issues
Proper diagnosis is crucial before replacing any coil packs. Here's a step-by-step approach:
- Scan for Codes: Use an OBD-II scanner to retrieve any stored DTCs. Record all codes, even if they don't seem directly related to the ignition system. A generic code reader will suffice, but a professional-grade scanner will offer more detailed information.
- Identify the Misfiring Cylinder: If you have cylinder-specific misfire codes (P0301-P0308), you know which cylinder is misfiring. If you only have a P0300 code (random misfire), you'll need to investigate further.
- Visual Inspection: Carefully inspect each coil pack for any signs of physical damage, such as cracks, burns, or corrosion. Check the electrical connectors for loose connections or damage.
- Coil Swap Test: This is a common and effective troubleshooting method. Swap the coil pack from the suspected misfiring cylinder with a coil pack from a known good cylinder (e.g., swap coil 1 with coil 2). Clear the DTCs and drive the vehicle. If the misfire follows the coil pack (i.e., the misfire now occurs on cylinder 2), then the coil pack is likely faulty. If the misfire remains on the original cylinder, the problem lies elsewhere (e.g., spark plug, fuel injector, compression issue).
- Resistance Test: Use a multimeter to measure the resistance of the primary and secondary windings of each coil pack. Compare the readings to the manufacturer's specifications (if available) or to the readings from a known good coil pack. Significant deviations can indicate a faulty coil. Important: Disconnect the coil pack from the wiring harness before performing this test. Also, refer to the manufacturer's specifications for correct testing procedures and acceptable resistance ranges.
- Spark Test (Caution Advised): This test should be performed with extreme caution, as it involves working with high voltage. Disconnect the coil pack from the spark plug but leave it connected to the wiring harness. Ground the spark plug against the engine block. Have an assistant crank the engine while you observe the spark plug gap. A healthy coil pack will produce a strong, blue spark. A weak, yellow spark or no spark at all indicates a faulty coil. Note: This test can damage sensitive electronic components if performed incorrectly. If you're not comfortable working with high voltage, it's best to leave this test to a qualified mechanic.
Replacing Coil Packs
Replacing coil packs is a relatively straightforward process. Here's a general guide:
- Gather Tools and Materials: You'll need a ratchet and socket set, a torque wrench, a flathead screwdriver, dielectric grease, and new coil packs.
- Disconnect the Battery: This is a crucial safety step to prevent electrical shocks.
- Locate the Coil Packs: The coil packs are located on top of the engine, directly above the spark plugs.
- Disconnect the Electrical Connector: Carefully disconnect the electrical connector from the coil pack. Use a small flathead screwdriver to release any retaining clips.
- Remove the Coil Pack: Remove the mounting bolt or bolts that secure the coil pack to the engine. Then, gently pull the coil pack straight up and out.
- Install the New Coil Pack: Apply a small amount of dielectric grease to the spark plug boot of the new coil pack. This will help prevent moisture from entering the boot and improve electrical conductivity. Install the new coil pack in the reverse order of removal. Torque the mounting bolt to the manufacturer's specified torque.
- Reconnect the Electrical Connector: Reconnect the electrical connector to the coil pack, ensuring that it clicks into place.
- Repeat for Other Coil Packs: Repeat the process for any other coil packs that need to be replaced.
- Reconnect the Battery: Reconnect the battery.
- Clear DTCs: Use an OBD-II scanner to clear any stored DTCs.
- Test Drive: Test drive the vehicle to ensure that the misfire is resolved.
Preventative Maintenance and Considerations
While coil packs are designed to last, certain factors can contribute to their premature failure. Here are some tips for extending the life of your coil packs:
- Replace Spark Plugs Regularly: Worn or fouled spark plugs can increase the voltage required to create a spark, putting extra strain on the coil packs. Follow the manufacturer's recommended spark plug replacement interval.
- Check Wiring and Connections: Regularly inspect the wiring and connectors for any signs of damage or corrosion. Clean and tighten any loose connections.
- Avoid Overheating: Excessive engine heat can shorten the life of coil packs. Ensure that the cooling system is functioning properly and address any overheating issues promptly.
- Use Quality Fuel: Poor-quality fuel can lead to incomplete combustion and spark plug fouling, which can stress the ignition system.
- Don't Ignore Misfires: Address misfires promptly to prevent further damage to the coil packs and other engine components.
Important Note: When replacing coil packs, it's generally recommended to replace all of them at the same time, especially if one has failed due to age or wear. This helps ensure consistent performance and prevents other coil packs from failing shortly after the first one is replaced. While this may seem like a more expensive option upfront, it can save you time and money in the long run.
By understanding the function, diagnosis, and maintenance of coil packs on your 2005 Nissan Titan, you'll be well-equipped to keep your engine running smoothly and efficiently. Remember to always prioritize safety and consult a qualified mechanic if you're unsure about any aspect of the repair process. Good luck!