2005 Nissan Xterra Oil Filter
The 2005 Nissan Xterra, a rugged and reliable SUV, is known for its off-road capabilities and practical design. A critical component in maintaining its performance and longevity is the oil filter. This article provides a comprehensive guide to the 2005 Nissan Xterra oil filter, covering maintenance, troubleshooting, and real-world issues that owners and mechanics commonly encounter.
Understanding the 2005 Nissan Xterra Oil Filter
The oil filter plays a vital role in the Xterra's engine lubrication system. Its primary function is to remove contaminants such as dirt, metal particles, and sludge from the engine oil. Clean oil is essential for reducing friction, preventing wear and tear, and maintaining optimal engine performance. A clogged or malfunctioning oil filter can lead to serious engine damage.
Common Oil Filter Types for the 2005 Xterra
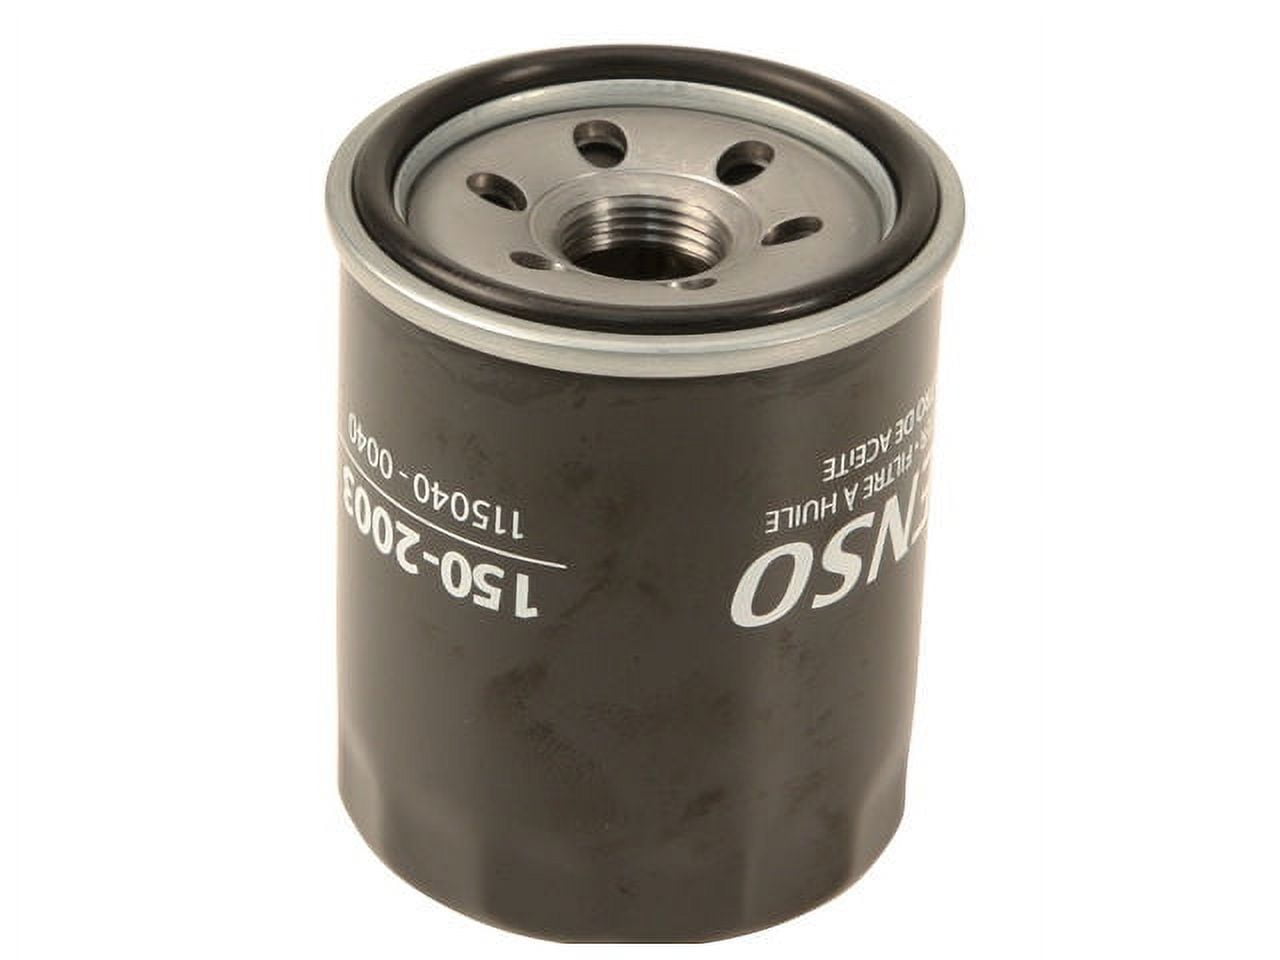
The 2005 Nissan Xterra typically uses a spin-on type oil filter. While specific brands and models may vary, compatibility depends on the engine (likely either a 2.5L inline-4 or a 4.0L V6) and the manufacturer's specifications. Always consult the owner's manual or a reputable parts supplier to ensure you're using the correct filter for your vehicle.
Oil Filter Maintenance: Prevention is Key
Regular oil and filter changes are crucial for extending the life of your 2005 Nissan Xterra's engine. Nissan recommends specific intervals based on driving conditions. However, a general guideline is to change the oil and filter every 3,000 to 5,000 miles for conventional oil or every 7,500 to 10,000 miles for synthetic oil, or as indicated by the vehicle's oil life monitoring system, if equipped.
The Oil Change Procedure: Step-by-Step
While a professional mechanic can handle the oil change, many Xterra owners prefer to do it themselves. Here's a simplified guide:
- Preparation: Gather necessary tools: new oil filter, correct type and quantity of engine oil, oil filter wrench, socket wrench, drain pan, funnel, gloves, and safety glasses.
- Warm Up the Engine: Run the engine for a few minutes to warm the oil, making it flow more easily. Be careful, as the exhaust and engine components will be hot.
- Locate the Oil Filter and Drain Plug: Consult your owner's manual to find the exact location of the oil filter and drain plug. Typically, the oil filter is easily accessible from underneath the vehicle.
- Drain the Old Oil: Position the drain pan under the drain plug. Use the socket wrench to loosen and remove the drain plug, allowing the old oil to drain completely.
- Remove the Old Oil Filter: Once the oil flow slows to a drip, use the oil filter wrench to loosen and remove the old oil filter. Be prepared for some residual oil to spill.
- Prepare the New Oil Filter: Lightly lubricate the rubber gasket on the new oil filter with fresh engine oil. This helps create a proper seal.
- Install the New Oil Filter: Screw the new oil filter onto the engine by hand until the gasket makes contact with the engine block. Then, tighten it another 1/2 to 3/4 turn, as specified on the filter. Do not overtighten.
- Reinstall the Drain Plug: Replace the drain plug with a new crush washer (if recommended) and tighten it securely to the specified torque.
- Add New Oil: Remove the oil fill cap and use the funnel to pour in the correct amount of new engine oil, as specified in your owner's manual.
- Check the Oil Level: Use the dipstick to check the oil level and add more oil if necessary to reach the "full" mark.
- Start the Engine: Start the engine and let it run for a few minutes, checking for any leaks around the oil filter and drain plug.
- Re-Check the Oil Level: After the engine has run for a few minutes, turn it off and let it sit for a few minutes before rechecking the oil level. Add more oil if needed.
- Dispose of Old Oil Properly: Take the used oil and filter to a recycling center or auto parts store for proper disposal.
Troubleshooting Oil Filter Issues: Symptoms, Causes, and Fixes
Even with regular maintenance, oil filter problems can arise. Recognizing the symptoms early can prevent significant engine damage.
Symptom: Low Oil Pressure
Cause: A severely clogged oil filter can restrict oil flow, leading to low oil pressure. This can also be caused by a faulty oil pump or excessive engine wear.
Solution: First, check the oil level and top it off if necessary. Replace the oil filter immediately. If the low oil pressure persists, consult a mechanic to diagnose potential issues with the oil pump or engine.
Example: Similar to a clogged fuel filter restricting fuel delivery in a 2008 Honda Civic, a clogged oil filter restricts oil flow, causing pressure drops.
Symptom: Engine Knocking or Ticking
Cause: Insufficient lubrication due to a clogged oil filter can cause engine knocking or ticking, particularly at startup. This indicates that vital engine parts are not receiving adequate oil.
Solution: Change the oil and oil filter immediately. Consider using an engine flush to remove any accumulated sludge. If the noise persists, professional diagnosis is recommended, as it could indicate more serious engine damage.
Example: Just as a lack of proper valve adjustment in a 2010 Toyota Camry can cause ticking noises, insufficient oil flow due to a clogged filter can lead to similar sounds within the engine.
Symptom: Dirty or Contaminated Oil
Cause: An ineffective or damaged oil filter can fail to remove contaminants from the oil, resulting in dirty or contaminated oil. This is often visible on the dipstick.
Solution: Replace the oil and filter with high-quality components. Consider using a premium synthetic oil designed to provide superior cleaning and protection. Monitor the oil condition closely after the change.
Example: Similar to how using the wrong type of coolant in a 2012 Ford Focus can lead to corrosion and contamination of the cooling system, using a low-quality oil filter can result in contaminated engine oil.
Symptom: Oil Leaks Around the Filter
Cause: Oil leaks around the filter can be caused by improper installation, a damaged oil filter gasket, or overtightening the filter.
Solution: Inspect the oil filter and surrounding area for leaks. Ensure the oil filter is properly tightened according to the manufacturer's instructions. Replace the filter if the gasket is damaged. Clean the area thoroughly to monitor for recurrence. If replacing the filter, lightly lubricate the new filter's gasket with fresh engine oil before installation.
Example: Just as a worn-out valve cover gasket in a 2007 Honda Accord can cause oil leaks, a damaged or improperly installed oil filter gasket can lead to similar issues.
Symptom: Decreased Fuel Efficiency
Cause: While not directly related, a severely neglected oil filter can contribute to decreased fuel efficiency. A poorly lubricated engine has to work harder, consuming more fuel.
Solution: Change the oil and filter promptly. Also, check other factors that contribute to fuel efficiency, such as tire pressure, air filter condition, and spark plugs.
Example: Similar to how a clogged air filter in a 2015 Mazda 3 can restrict airflow and reduce fuel economy, a severely clogged oil filter can indirectly impact fuel efficiency by hindering optimal engine performance.
Real-World Issues and Practical Tips
- Choosing the Right Oil Filter: Opt for a reputable brand known for quality and filtration efficiency. Consider synthetic media filters for extended service intervals and superior filtration.
- Proper Torque: Over-tightening or under-tightening the oil filter can cause leaks or damage. Use a torque wrench and follow the manufacturer's specifications. If a torque wrench isn't available, hand-tighten as instructed on the filter.
- Regular Inspections: Periodically check the oil level and condition. Look for signs of contamination or unusual discoloration. This can provide early warning of potential problems.
- Driving Conditions: If you regularly drive in dusty or severe conditions, consider shortening the oil and filter change intervals. This will help protect the engine from excessive wear.
- Documenting Maintenance: Keep a record of oil and filter changes, including the date, mileage, and type of oil and filter used. This can be helpful for tracking maintenance and identifying potential issues.
Keeping Your 2005 Nissan Xterra in Top Condition
Maintaining your 2005 Nissan Xterra’s oil filter is a small investment that yields significant returns in engine life and performance. Regular oil and filter changes, combined with proactive troubleshooting, will keep your Xterra running smoothly for years to come.
Beyond the oil filter, remember that comprehensive maintenance is key. This includes:
- Regular fluid checks and changes: Transmission fluid, coolant, brake fluid, and power steering fluid.
- Inspection and replacement of wear items: Brake pads, tires, belts, and hoses.
- Periodic tune-ups: Spark plugs, ignition system, and fuel system.
- Addressing minor issues promptly: Don't ignore unusual noises, vibrations, or warning lights. Catching problems early can prevent them from escalating into costly repairs.
By prioritizing preventative maintenance and addressing issues promptly, you can ensure that your 2005 Nissan Xterra remains a reliable and enjoyable vehicle for many years to come. A well-maintained Xterra is not just a vehicle; it's an investment in dependability and peace of mind.