2008 Nissan Altima Radiator Replacement
The 2008 Nissan Altima, a popular mid-size sedan, is known for its reliability and fuel efficiency. However, like any vehicle, it requires routine maintenance and occasional repairs. One of the most crucial components for maintaining engine health is the radiator. Over time, radiators can become clogged, corroded, or damaged, leading to overheating and potential engine damage. Replacing the radiator on a 2008 Altima is a job that many DIY enthusiasts can tackle with the right tools, knowledge, and patience. This guide provides a detailed walkthrough of the process, simplifying the technical aspects for car enthusiasts, owners, and hobby mechanics.
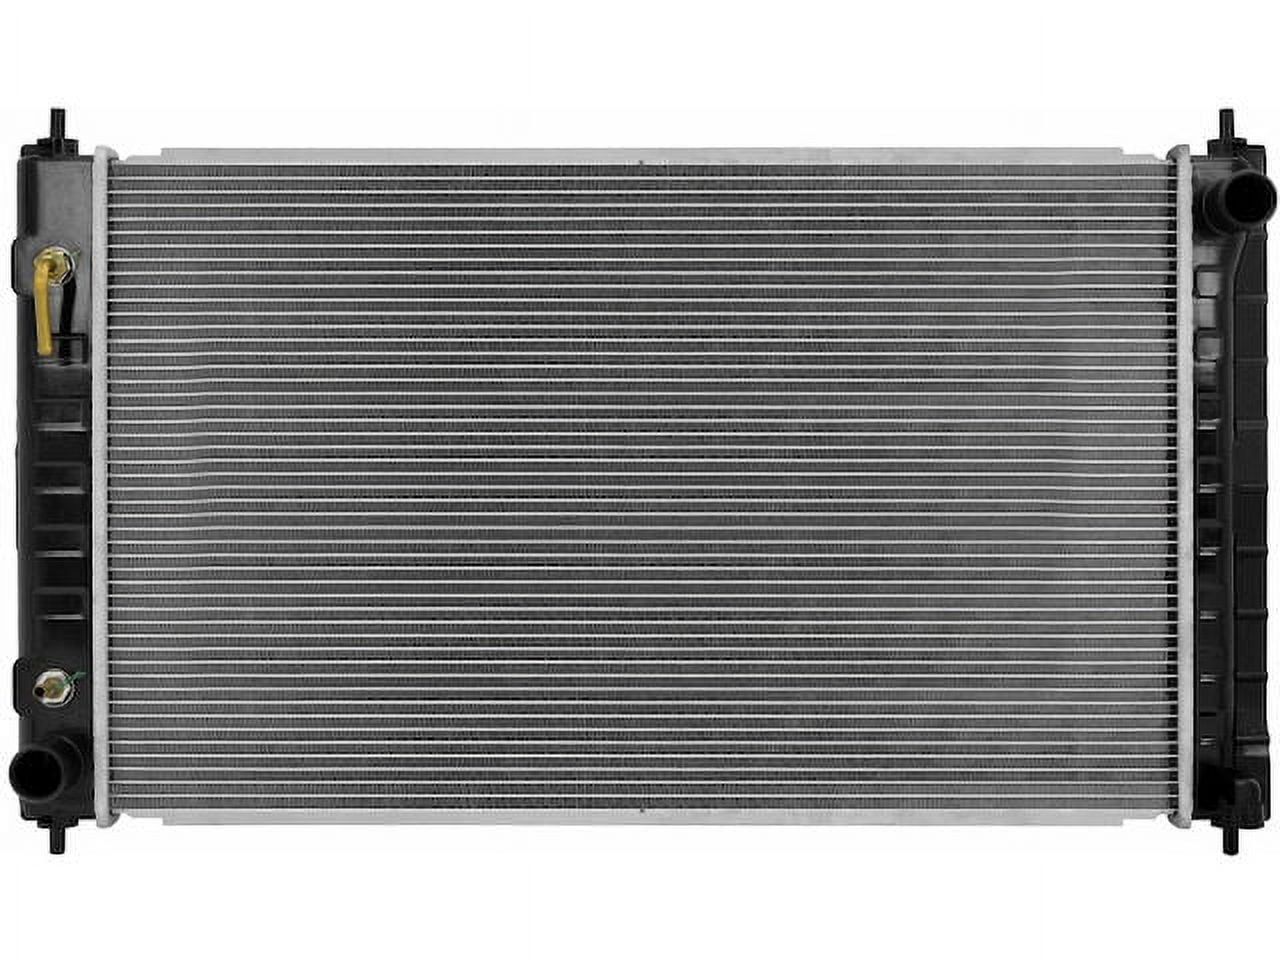
Understanding the Radiator's Role
Before diving into the replacement process, let's understand what the radiator does. In simple terms, the radiator is the engine's cooling system's main heat exchanger. As the engine runs, it generates a lot of heat. The coolant, a mixture of water and antifreeze, circulates through the engine, absorbing this heat. The hot coolant then flows into the radiator. The radiator, with its intricate network of fins and tubes, dissipates this heat into the air, effectively cooling the coolant before it's pumped back into the engine. Think of it like the lungs of your car's cooling system, exhaling the engine's heat.
A faulty radiator can manifest in several ways. Common signs include:
- Overheating: This is the most obvious symptom. The temperature gauge will consistently read high, especially during demanding driving conditions.
- Coolant Leaks: Look for puddles of green, orange, or pink fluid under the car, especially near the front.
- Low Coolant Level: Regularly check your coolant reservoir. Consistently needing to add coolant indicates a leak in the system.
- Sludge in Coolant: If the coolant looks muddy or oily, it could indicate internal radiator corrosion or a more serious issue like a blown head gasket.
- Rust or Corrosion on the Radiator: Visual inspection can reveal obvious signs of wear and tear.
Ignoring these symptoms can lead to catastrophic engine damage, so addressing a faulty radiator promptly is crucial.
Tools and Materials Needed
Before starting the radiator replacement, gather the necessary tools and materials. Having everything on hand will make the job smoother and more efficient. Here's a comprehensive list:
- New Radiator: Ensure it's the correct part for your 2008 Nissan Altima (engine type matters!). Check online retailers like RockAuto or visit your local auto parts store.
- New Coolant: Use the correct type specified in your owner's manual. Nissan vehicles often require a specific type of coolant, such as Nissan Long Life Antifreeze/Coolant (Blue). Using the wrong coolant can damage the cooling system.
- Radiator Cap (Optional): It's good practice to replace the radiator cap along with the radiator.
- Hose Clamps (Optional): If your old hose clamps are rusty or damaged, replace them.
- Basic Hand Tools: Wrenches, sockets, screwdrivers (Phillips and flathead), pliers.
- Drain Pan: To catch the old coolant.
- Funnel: For refilling the cooling system.
- Gloves: To protect your hands.
- Safety Glasses: To protect your eyes from coolant splashes.
- Shop Rags: For cleaning up spills.
- Distilled Water: For flushing the cooling system (optional but recommended).
- Jack and Jack Stands: To safely lift the vehicle.
Step-by-Step Radiator Replacement Guide
1. Safety First!
Safety is paramount. Park the car on a level surface, engage the parking brake, and allow the engine to cool completely before starting. Hot coolant can cause severe burns.
2. Disconnect the Battery
Disconnect the negative (-) battery terminal. This prevents accidental electrical shorts during the process. Use a wrench to loosen the nut on the negative terminal and carefully remove the cable.
3. Drain the Coolant
Locate the radiator drain cock (typically a small petcock valve at the bottom of the radiator). Place the drain pan underneath the radiator. Open the drain cock to allow the coolant to drain. If the drain cock is stuck, you may need to use pliers gently. To speed up the draining process, you can remove the radiator cap, but do this carefully as the system may still be under slight pressure.
Example: Similar to how you drain the oil from your engine, draining the coolant is about finding the lowest point and letting gravity do its work.
4. Remove the Upper and Lower Radiator Hoses
Once the coolant is drained, loosen the hose clamps on the upper and lower radiator hoses using a screwdriver or pliers. Carefully twist and pull the hoses off the radiator necks. Be prepared for some residual coolant to spill out. Inspect the hoses for cracks or damage; replace them if necessary.
Example: Think of these hoses as arteries delivering coolant to and from the engine. You want to disconnect them carefully to avoid damaging the connection points.
5. Disconnect Transmission Cooler Lines (If Applicable)
Some 2008 Altima models have an automatic transmission with cooler lines that run to the radiator. If your vehicle has these lines, carefully disconnect them. Use a wrench to loosen the fittings and disconnect the lines. Be prepared for a small amount of transmission fluid to spill out. Have a rag handy to catch the fluid. It's advisable to cap or plug the lines to prevent dirt and debris from entering the transmission.
Example: These lines are like veins, carrying transmission fluid to be cooled. Disconnecting them requires extra care to avoid contamination.
6. Disconnect Electrical Connectors
Locate any electrical connectors attached to the radiator, such as those for the cooling fan or temperature sensors. Disconnect these connectors carefully, pressing the release tabs to unlock them.
7. Remove the Cooling Fan Assembly
The cooling fan assembly is usually attached to the radiator with bolts or clips. Remove these fasteners to detach the fan assembly from the radiator. Carefully lift out the fan assembly. Some models may require removing the shroud before removing the fan.
Example: The cooling fan is like an auxiliary cooling system, kicking in when the car is stationary or moving slowly. You need to remove it to access the radiator.
8. Remove the Radiator
The radiator is typically held in place by brackets or bolts. Remove these fasteners to release the radiator. Carefully lift the radiator out of the engine compartment. Be cautious not to damage any surrounding components.
Example: Think of the radiator as a puzzle piece. You need to carefully remove the fasteners that hold it in place before you can lift it out.
9. Prepare the New Radiator
Inspect the new radiator for any damage. Transfer any components from the old radiator to the new one, such as mounting brackets or fittings. Ensure all connections are secure.
10. Install the New Radiator
Carefully lower the new radiator into the engine compartment, aligning it with the mounting points. Secure the radiator with the brackets or bolts. Ensure the radiator is properly seated and secure.
11. Reinstall the Cooling Fan Assembly
Reattach the cooling fan assembly to the radiator, securing it with the bolts or clips. Ensure the fan spins freely.
12. Reconnect Electrical Connectors
Reconnect all electrical connectors to the radiator and cooling fan assembly.
13. Reconnect Transmission Cooler Lines (If Applicable)
Reconnect the transmission cooler lines to the radiator, tightening the fittings securely.
14. Reconnect the Upper and Lower Radiator Hoses
Reattach the upper and lower radiator hoses to the radiator necks, securing them with the hose clamps. Ensure the hoses are properly seated and the clamps are tight.
15. Refill the Cooling System
Slowly pour the new coolant into the radiator using a funnel. Fill the radiator to the proper level, as indicated in your owner's manual. Also, fill the coolant reservoir to the "MAX" line.
16. Bleed the Cooling System
Bleeding the cooling system removes air pockets that can cause overheating. Start the engine and let it idle with the radiator cap off (carefully monitor the coolant level). As the engine warms up, air bubbles will escape from the radiator. Add coolant as needed to maintain the proper level. Some vehicles have a bleed valve on the engine or radiator; open this valve to release trapped air. Once the air bubbles stop escaping, replace the radiator cap.
Example: Imagine filling a water bottle with water quickly. Air gets trapped inside. Bleeding the cooling system is like burping the water bottle to release the air.
17. Check for Leaks
After bleeding the cooling system, inspect all connections for leaks. Check the radiator hoses, transmission cooler lines (if applicable), and the radiator drain cock. Tighten any connections as needed.
18. Reconnect the Battery
Reconnect the negative (-) battery terminal.
19. Test Drive
Take the car for a short test drive to ensure the cooling system is functioning properly. Monitor the temperature gauge closely. If the engine overheats, stop immediately and check the coolant level.
Practical Takeaways
- Coolant Choice Matters: Using the correct type of coolant is crucial for the longevity of your cooling system. Check your owner's manual for the recommended coolant type.
- Flush the System: Consider flushing the cooling system with distilled water before refilling it with new coolant. This removes any remaining debris or contaminants.
- Hose Condition: Inspect the radiator hoses regularly for cracks, bulges, or leaks. Replace them as needed to prevent coolant leaks and overheating.
- Cap Replacement: Replacing the radiator cap along with the radiator is a good preventative measure. A faulty radiator cap can cause pressure imbalances in the cooling system.
- Proper Disposal: Dispose of the old coolant properly. Antifreeze is toxic and should not be poured down the drain or into the environment. Many auto parts stores accept used coolant for recycling.
- Torque Specs: If you're using a torque wrench, consult a repair manual for the correct torque specifications for the radiator mounting bolts and hose clamps. Over-tightening can damage the radiator or hoses.
- Take Pictures: Before disconnecting anything, take pictures of the hose routing and electrical connections. This will help you remember how to put everything back together correctly.
- If in Doubt, Seek Professional Help: If you're uncomfortable performing this repair yourself, it's best to take your car to a qualified mechanic. A misdiagnosis or improper repair can lead to further damage.
By following these steps and tips, you can successfully replace the radiator on your 2008 Nissan Altima and ensure your engine stays cool and runs smoothly for years to come.