2009 Nissan Maxima Headlight Bulb Replacement
Replacing a headlight bulb on your 2009 Nissan Maxima is a task most owners can handle themselves with a few basic tools and a little patience. This guide provides a step-by-step process to safely and effectively replace your headlight bulb, saving you time and money compared to taking it to a mechanic. A properly functioning headlight is crucial for safe driving, especially at night or in inclement weather, so don't delay this essential maintenance.
Understanding Your 2009 Nissan Maxima Headlight System
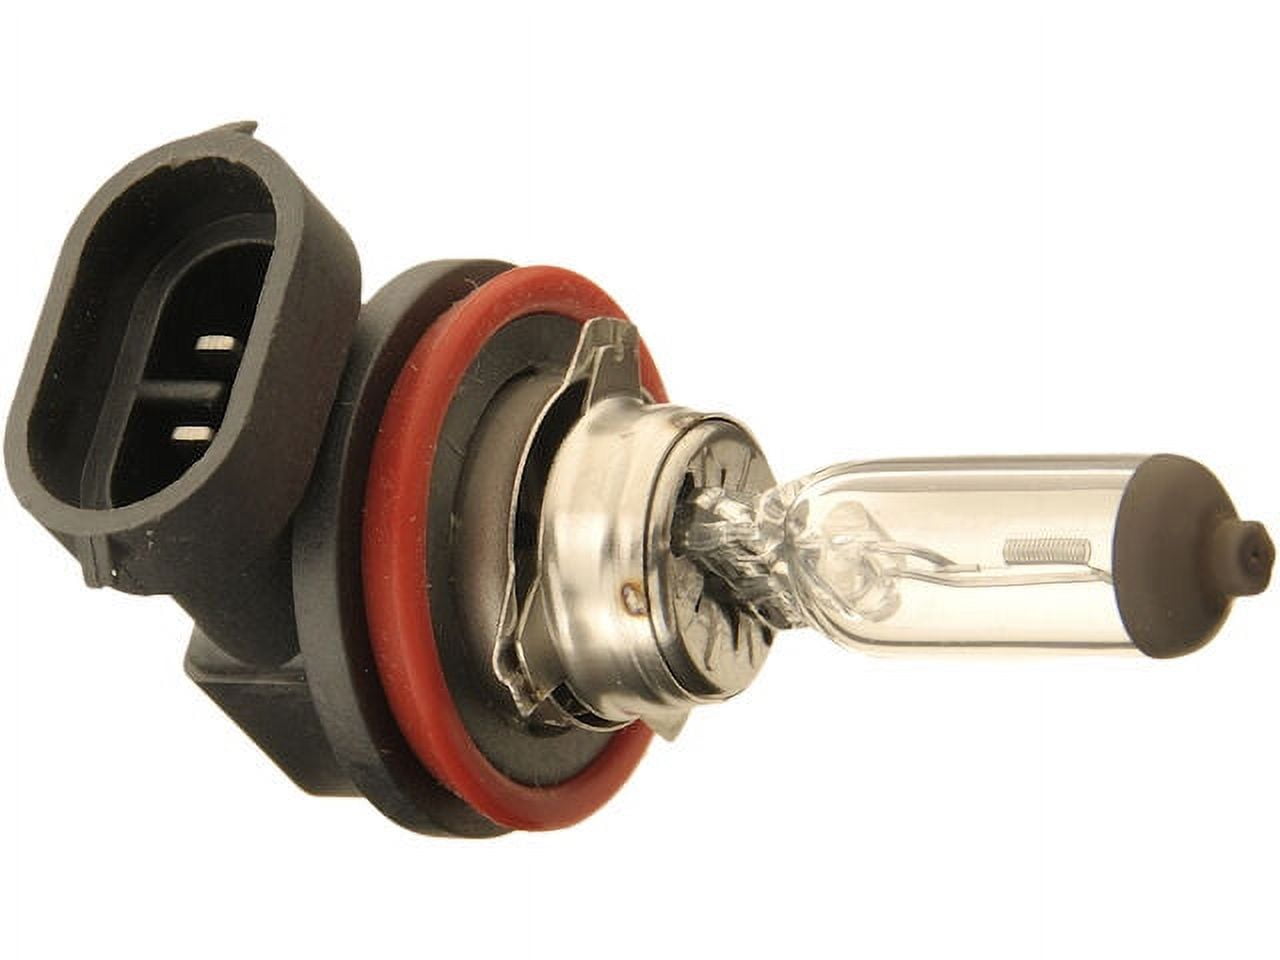
Before diving in, it's important to understand the type of headlight bulb your 2009 Nissan Maxima uses. Typically, the 2009 Maxima utilizes halogen bulbs. Verify the specific bulb type by consulting your owner's manual or by visually inspecting the old bulb after removal. Common bulb types for the 2009 Maxima include 9006 (low beam) and 9005 (high beam), but always confirm before purchasing a replacement. Using the correct bulb type ensures proper fit and optimal light output. Also, consider whether you want to replace both bulbs at the same time. It's often recommended to replace headlight bulbs in pairs because if one bulb has failed, the other is likely nearing the end of its lifespan as well. Replacing both ensures consistent brightness and color temperature.
Necessary Tools and Materials
To successfully replace your 2009 Nissan Maxima's headlight bulb, gather the following tools and materials:
- New Headlight Bulb(s): Make sure you purchase the correct bulb type.
- Gloves: Protect your hands and prevent oil from your skin from getting on the new bulb. Oils can shorten the bulb's lifespan.
- Socket Wrench Set (optional): May be needed to remove the headlight assembly for easier access.
- Screwdriver (optional): May be needed to remove the headlight assembly.
- Clean Rags: For wiping down surfaces.
- Owner's Manual: Provides specific information about your vehicle.
Having these items ready beforehand will streamline the replacement process.
Step-by-Step Headlight Bulb Replacement Guide
Follow these steps carefully to replace the headlight bulb on your 2009 Nissan Maxima:
- Safety First: Park your car on a level surface, engage the parking brake, and turn off the engine. Allow the headlight assembly to cool down before starting, especially if the headlights were recently in use. Disconnect the negative terminal of the battery for added safety (optional, but recommended).
- Accessing the Headlight Assembly: In most cases, you can access the headlight bulb from behind the headlight assembly in the engine compartment. However, some vehicles may require you to remove the entire headlight assembly for easier access. Consult your owner's manual for specific instructions on removing the headlight assembly, if necessary. This often involves removing a few bolts or screws. If you don't need to remove the headlight assembly, proceed to the next step. If you do need to remove it, carefully detach any wiring connectors connected to the assembly before removing it from the vehicle. Place the assembly on a soft surface to prevent scratches.
- Locating the Headlight Bulb Socket: Once you have access to the back of the headlight assembly, locate the headlight bulb socket. It's typically a round or oval-shaped connector with wires leading to it.
- Disconnecting the Electrical Connector: Gently disconnect the electrical connector from the headlight bulb socket. There might be a small clip or tab that you need to press to release the connector. Never pull on the wires themselves. Firmly grasp the connector body and wiggle it free.
- Removing the Old Headlight Bulb: The headlight bulb is usually held in place by a retaining clip or a twist-lock mechanism. Refer to your owner's manual for the specific method for your vehicle. For a retaining clip, you may need to press and release the clip to free the bulb. For a twist-lock mechanism, rotate the bulb socket counterclockwise to release it. Once released, carefully remove the old headlight bulb from the socket. Do not touch the glass portion of the bulb with your bare hands. The oils on your skin can create hotspots and shorten the bulb's lifespan.
- Installing the New Headlight Bulb: Align the new headlight bulb with the socket, ensuring it's oriented correctly. The bulb will usually have tabs or notches that match up with corresponding features in the socket. Gently insert the bulb into the socket.
- Securing the New Headlight Bulb: Secure the new headlight bulb using the same method that held the old bulb in place (retaining clip or twist-lock mechanism). Make sure the bulb is firmly secured to prevent it from vibrating loose.
- Reconnecting the Electrical Connector: Reconnect the electrical connector to the headlight bulb socket. Ensure the connector clicks into place, indicating a secure connection.
- Testing the New Headlight Bulb: Before reassembling anything, turn on your headlights to test the new bulb. If the bulb doesn't light up, double-check the electrical connector and the bulb's installation. If it still doesn't work, you may have a faulty bulb or an issue with your vehicle's electrical system.
- Reinstalling the Headlight Assembly (if removed): If you removed the headlight assembly, carefully reinstall it in the reverse order of removal. Reconnect any wiring connectors and secure the assembly with the bolts or screws.
- Repeat for the Other Side (if necessary): If you are replacing both headlight bulbs, repeat the process for the other side of the vehicle.
- Final Check: Once you've replaced the headlight bulb(s), double-check that both headlights are working properly. Also, verify the high beams and low beams are functioning correctly.
Following these steps should allow you to successfully replace your 2009 Nissan Maxima's headlight bulb(s).
Tips for Success
Here are a few additional tips to ensure a successful headlight bulb replacement:
- Work in a Well-Lit Area: Good lighting will make it easier to see the components and connections.
- Take Your Time: Rushing can lead to mistakes or damage to the vehicle.
- Consult Your Owner's Manual: The owner's manual provides specific instructions and diagrams for your vehicle.
- Wear Gloves: Gloves protect your hands and prevent oil from your skin from getting on the new bulb.
- Dispose of Old Bulbs Properly: Headlight bulbs contain small amounts of mercury and should be disposed of properly. Check with your local recycling center for disposal options.
- Consider Upgrading: While replacing your bulb, consider upgrading to a brighter or longer-lasting bulb. LED and HID options are available, but ensure they are compatible with your vehicle's electrical system and DOT-approved.
By following these tips, you can ensure a safe and successful headlight bulb replacement.
Troubleshooting Common Issues
Sometimes, even after replacing the headlight bulb, you may encounter issues. Here are some common problems and potential solutions:
- New Bulb Doesn't Light Up:
- Check the Electrical Connector: Ensure the connector is securely attached to the bulb socket.
- Check the Fuse: A blown fuse can prevent the headlight from working. Consult your owner's manual to locate the headlight fuse and replace it if necessary.
- Check the Bulb: The new bulb may be faulty. Try testing it in the other headlight socket (if you haven't replaced that bulb yet) or try a different new bulb.
- Electrical Problems: There may be an underlying electrical problem in your vehicle. Consult a qualified mechanic for diagnosis and repair.
- Headlight is Dim:
- Check the Ground Connection: A poor ground connection can reduce the headlight's brightness. Clean and tighten the ground connection near the headlight assembly.
- Oxidation on Connectors: Clean the connectors to remove any oxidation.
- Voltage Drop: A voltage drop in the wiring can cause dim headlights. Consult a qualified mechanic for diagnosis and repair.
- Headlight Flickers:
- Loose Connection: Check for loose connections in the wiring harness.
- Faulty Bulb: The bulb may be faulty.
- Voltage Fluctuations: Voltage fluctuations in the vehicle's electrical system can cause flickering. Consult a qualified mechanic for diagnosis and repair.
If you are unable to resolve the issue yourself, it's best to consult a qualified mechanic for assistance.
Cost Considerations
The cost of replacing a headlight bulb on your 2009 Nissan Maxima can vary depending on several factors, including the type of bulb, the brand, and whether you do it yourself or have a mechanic do it for you. A single halogen bulb typically costs between $10 and $30. Premium bulbs, such as those with longer lifespans or brighter light output, may cost more. If you choose to have a mechanic replace the bulb, you can expect to pay additional labor costs, which can range from $50 to $150 or more, depending on the shop's hourly rate and the complexity of the job. Doing it yourself can save you a significant amount of money on labor costs.
By following this guide and taking your time, you can confidently replace the headlight bulb on your 2009 Nissan Maxima and ensure safe driving conditions. Remember to always prioritize safety and consult a professional if you are unsure about any step in the process.
Regular maintenance, including replacing headlight bulbs when needed, is essential for maintaining your 2009 Nissan Maxima in optimal condition. Properly functioning headlights are crucial for safe driving, and taking the time to replace a faulty bulb is a small investment that can make a big difference.