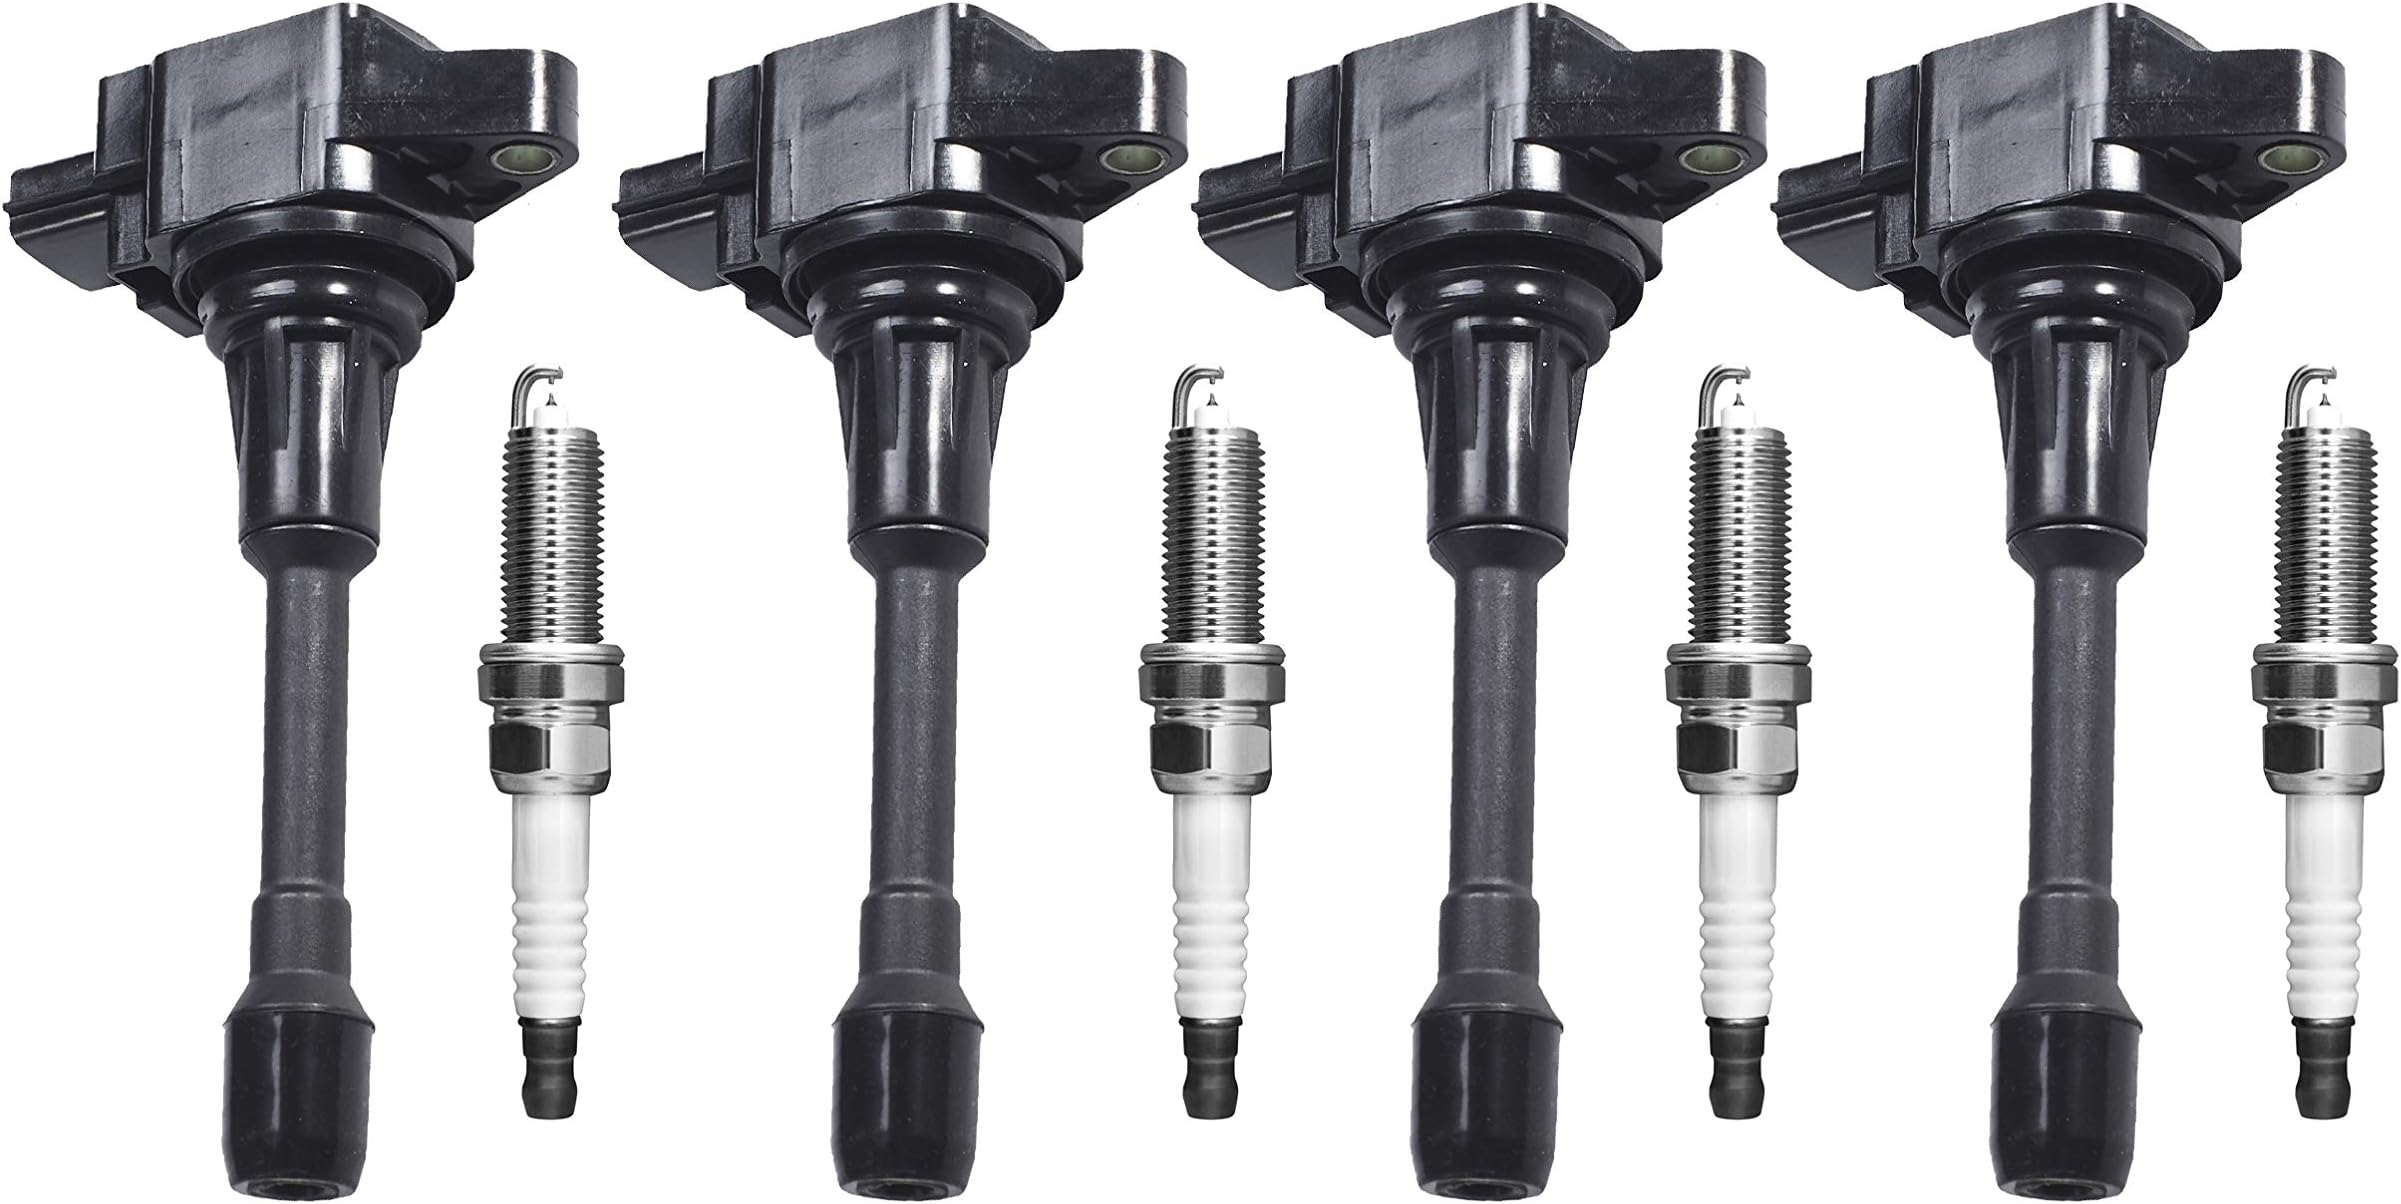
2010 Nissan Altima Coil Pack
Hey folks, let's talk about a common issue I see a lot of 2010 Nissan Altima owners dealing with: coil pack failure. If your Altima is acting up, running rough, or throwing a check engine light, there's a good chance a faulty ignition coil is the culprit. Don't worry, it's a repair many DIYers can handle with a little guidance. This article will walk you through the symptoms, diagnosis, and replacement of a coil pack on your 2010 Altima.
Symptoms of a Failing 2010 Nissan Altima Coil Pack
Before we jump into fixing things, let's make sure we're on the right track. Here are the most common signs that one or more of your Altima's coil packs are failing:
- Misfiring Engine: This is the most obvious symptom. You'll feel a noticeable hesitation, stuttering, or jerking, especially during acceleration. The engine might feel like it's "skipping" a beat.
- Check Engine Light (CEL): A failing coil pack will almost always trigger the check engine light. You'll likely get codes like P0300 (Random Misfire), P0301 (Misfire Cylinder 1), P0302 (Misfire Cylinder 2), and so on, indicating which cylinder is misfiring.
- Rough Idle: The engine might idle unevenly and vibrate more than usual. It might even stall at idle in severe cases.
- Reduced Fuel Economy: A misfiring cylinder isn't burning fuel efficiently, leading to a drop in gas mileage.
- Lack of Power: The engine might feel sluggish and lack its usual pep, especially when climbing hills or accelerating onto the highway.
- Smell of Gasoline: In some cases, unburnt fuel from the misfiring cylinder can make its way into the exhaust, resulting in a gasoline smell.
Keep in mind that these symptoms can also be caused by other issues, such as bad spark plugs, vacuum leaks, or fuel injector problems. Accurate diagnosis is key!
Diagnosing a Faulty Coil Pack
Okay, so you're experiencing some of the symptoms above. How do you confirm it's actually a coil pack issue? Here's a step-by-step approach:
1. Read the Diagnostic Trouble Codes (DTCs)
The first step is to retrieve the codes stored in your Altima's computer. You'll need an OBD-II scanner for this. These scanners are relatively inexpensive and can be found at most auto parts stores. Plug the scanner into the OBD-II port (usually located under the dashboard near the steering column) and follow the scanner's instructions to read the codes.
Write down all the codes, even if you think they're not related. Misfire codes (P0300-P030X) are a strong indicator of a coil pack problem. Note the cylinder number associated with the misfire.
2. Visual Inspection
Pop the hood and take a close look at the coil packs. They're usually located on top of the engine, directly above the spark plugs. Look for any obvious signs of damage, such as:
- Cracks in the coil pack housing
- Burn marks or discoloration
- Oil or coolant leaks around the coil pack
- Loose or corroded electrical connectors
Even if you don't see any visible damage, a coil pack can still be faulty.
3. The Coil Pack Swap Test (Recommended)
This is a simple and effective way to pinpoint a bad coil pack. Here's how it works:
- Identify the cylinder with the misfire. This is determined by the P030X code you retrieved earlier (e.g., P0301 indicates a misfire on cylinder 1).
- Locate the coil pack for that cylinder. The cylinder numbers are usually stamped on the engine or intake manifold. Consult your Altima's repair manual if you're unsure.
- Swap the suspected bad coil pack with a known good one. For example, if you have a misfire on cylinder 1, swap its coil pack with the coil pack from cylinder 2 (assuming cylinder 2 isn't misfiring).
- Clear the DTCs with your OBD-II scanner.
- Start the engine and let it run for a few minutes.
- Read the DTCs again. If the misfire has moved to the cylinder where you moved the suspected bad coil pack (e.g., now you have a P0302 code), then the coil pack is definitely faulty.
This swap test is a reliable way to confirm the diagnosis. If the misfire stays on the original cylinder after the swap, then the problem lies elsewhere (e.g., spark plug, fuel injector).
4. Using a Multimeter (Advanced)
If you're comfortable using a multimeter, you can test the primary and secondary resistance of the coil packs. However, this method is less definitive than the swap test, as a coil pack can still fail under load even if its resistance readings are within spec. Refer to your Altima's repair manual for the correct resistance values.
Replacing the 2010 Nissan Altima Coil Pack
Once you've confirmed that a coil pack is faulty, replacing it is a relatively straightforward process. Here's what you'll need:
- New Coil Pack(s): Buy a quality replacement coil pack from a reputable brand. I recommend sticking with OEM or well-known aftermarket brands like Denso, NGK, or Bosch.
- Socket Set: You'll need sockets to remove the coil pack mounting bolts. The size is usually 10mm or 12mm.
- Ratchet: A standard ratchet will work fine.
- Extension Bar: An extension bar can be helpful for reaching some of the coil packs.
- Screwdriver (Optional): You might need a flathead screwdriver to help release the electrical connector.
- Dielectric Grease: This will protect the electrical connector from corrosion.
- OBD-II Scanner: To clear the DTCs after the repair.
- Gloves (Recommended): To protect your hands.
Here's the step-by-step replacement procedure:
- Disconnect the Negative Battery Terminal: This is a crucial safety step to prevent electrical shocks.
- Locate the Faulty Coil Pack: Refer to your diagnostic results to identify the correct coil pack.
- Disconnect the Electrical Connector: Gently press the release tab on the connector and pull it straight off. Be careful not to break the connector. A small flathead screwdriver can sometimes help.
- Remove the Mounting Bolt(s): Use the appropriate socket and ratchet to remove the bolt(s) securing the coil pack to the engine.
- Remove the Old Coil Pack: Pull the coil pack straight up and out of the engine. It might take a little wiggling.
- Inspect the Spark Plug Well: Before installing the new coil pack, take a look down the spark plug well. Make sure there's no debris or oil in there. If there is, clean it out with a clean rag.
- Apply Dielectric Grease: Apply a small amount of dielectric grease to the inside of the electrical connector on the new coil pack. This will help prevent corrosion and ensure a good connection.
- Install the New Coil Pack: Push the new coil pack straight down into the spark plug well until it's fully seated.
- Reinstall the Mounting Bolt(s): Tighten the bolt(s) to the specified torque (refer to your Altima's repair manual or the coil pack manufacturer's instructions). Don't overtighten!
- Reconnect the Electrical Connector: Push the electrical connector onto the coil pack until it clicks into place.
- Repeat for Any Other Faulty Coil Packs: If you're replacing multiple coil packs, repeat steps 2-9 for each one.
- Reconnect the Negative Battery Terminal.
- Clear the DTCs with your OBD-II scanner.
- Start the Engine and Test Drive: Start the engine and let it idle for a few minutes. Check for any misfires or unusual noises. Then, take the car for a test drive to make sure the problem is resolved.
Important Note: It's often recommended to replace all the coil packs at the same time, especially if your Altima has high mileage. This is because if one coil pack has failed, the others are likely nearing the end of their lifespan as well. Replacing them all at once can save you time and hassle in the long run.
Estimated Repair Costs
The cost of replacing a coil pack on a 2010 Nissan Altima can vary depending on several factors, including:
- The brand of the coil pack: OEM coil packs are generally more expensive than aftermarket ones.
- Whether you do it yourself or take it to a mechanic: DIY will save you on labor costs.
- Your location: Labor rates vary from region to region.
Here's a rough estimate:
- DIY: A single aftermarket coil pack can cost anywhere from $30 to $100. So, if you're replacing one coil pack yourself, you can expect to spend around $30-$100 on parts, plus the cost of the OBD-II scanner if you don't already have one.
- Mechanic: A mechanic will charge you for parts and labor. The total cost can range from $150 to $400 per coil pack, depending on the labor rate and the brand of the coil pack.
Pro Tip: Call around to different auto parts stores and mechanics to compare prices before making a purchase or scheduling a repair.
Preventative Maintenance
While coil pack failure can sometimes be unavoidable, there are a few things you can do to help prolong their lifespan:
- Replace Spark Plugs Regularly: Worn or fouled spark plugs can put extra stress on the coil packs. Follow the manufacturer's recommended spark plug replacement interval (usually every 30,000 to 60,000 miles).
- Avoid Short Trips: Frequent short trips can cause the engine to run rich, which can lead to spark plug fouling and increased stress on the coil packs.
- Keep the Engine Clean: A clean engine runs cooler, which can help extend the life of all its components, including the coil packs.
- Address Misfires Promptly: If you notice any signs of a misfire, get it diagnosed and repaired as soon as possible. Running with a misfire can damage the catalytic converter and other engine components.
Hopefully, this article has given you a better understanding of coil pack problems on your 2010 Nissan Altima and how to address them. Remember, if you're not comfortable working on your car yourself, it's always best to take it to a qualified mechanic. Good luck!