2010 Nissan Maxima Alternator Replacement
The 2010 Nissan Maxima: a "4-Door Sports Car" (4DSC) according to Nissan's marketing. While that moniker might raise eyebrows among purists, there's no denying the Maxima offered a blend of comfort and surprising athleticism. But like any car pushing past a decade of service, components start to show their age. One common culprit? The alternator. Knowing the ins and outs of replacing the alternator on your 2010 Maxima can save you time, money, and a whole lot of frustration. Let's dive in.
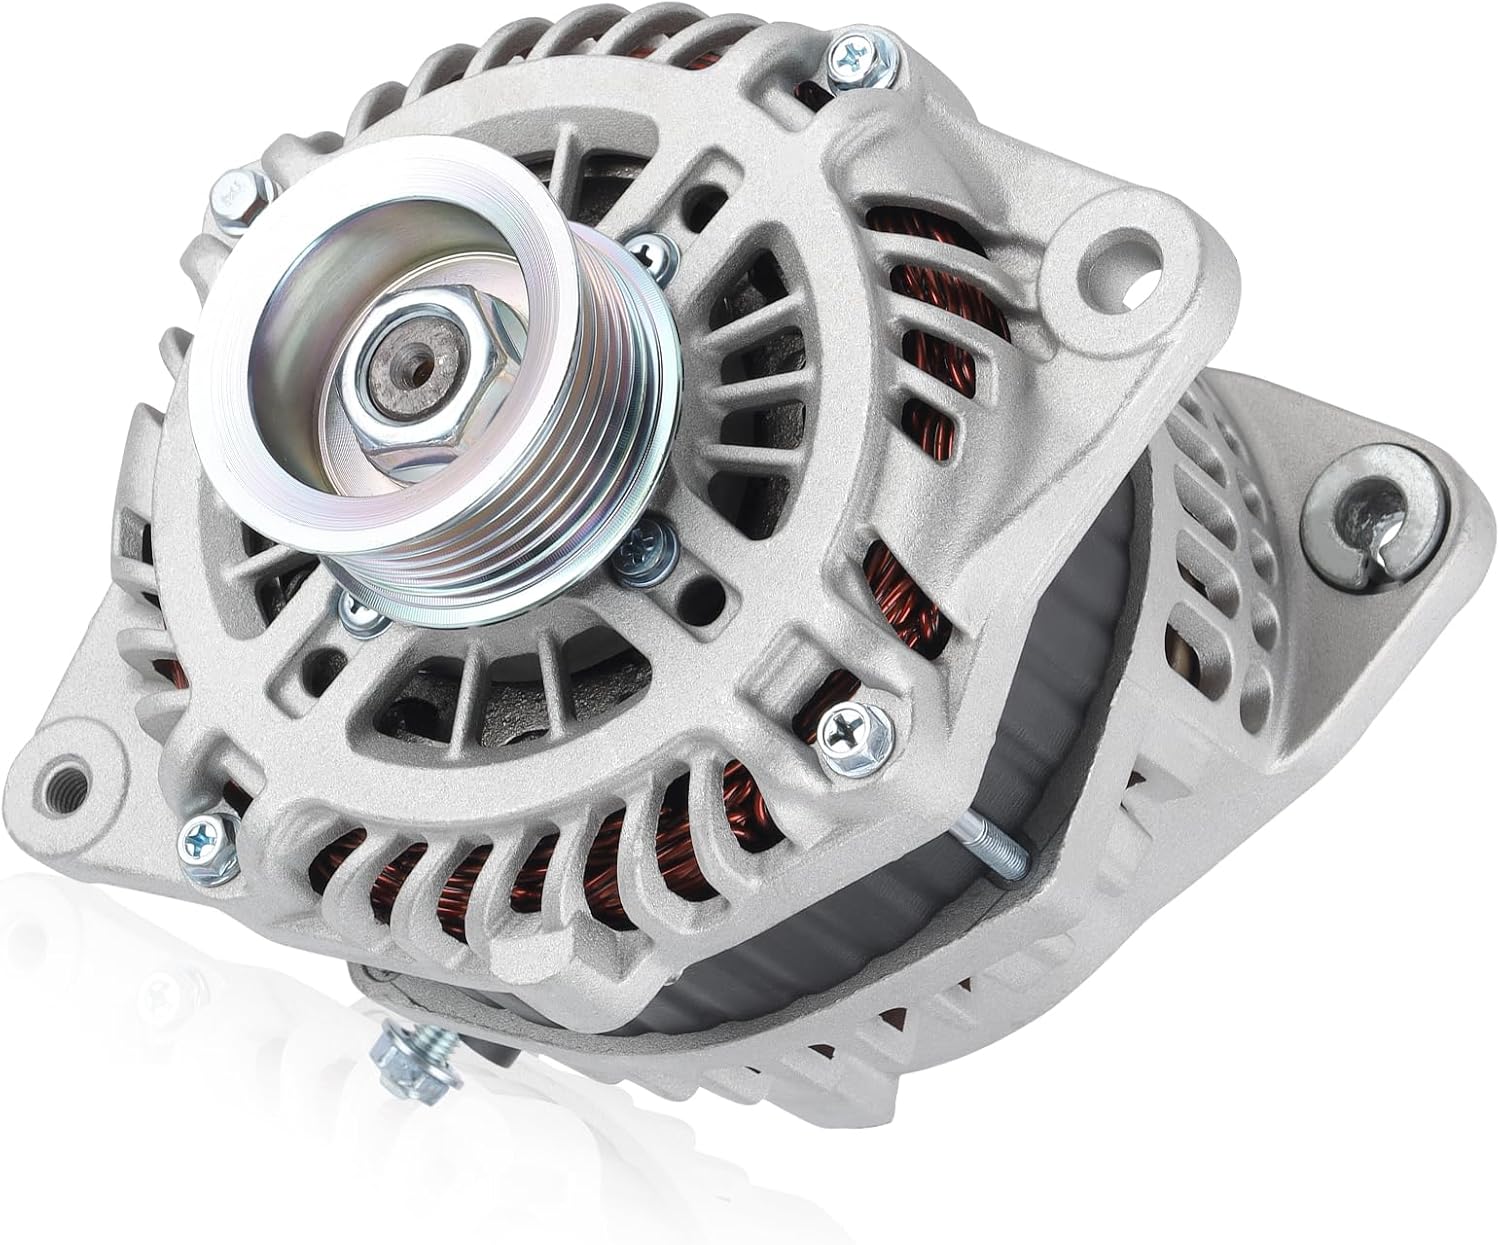
Understanding the 2010 Maxima Alternator
Thankfully, the 2010 Maxima kept things relatively simple when it came to powertrain options. Regardless of trim level (S or SV), every 2010 Maxima came equipped with the same engine: Nissan's venerable 3.5-liter VQ35DE V6. This means a single alternator specification across the board. No complicated choices based on engine size or towing packages here!
Key Specs:
While specific amperage might vary *slightly* depending on the supplier (new vs. remanufactured), the core specifications remain consistent:
| Specification | Value |
|---|---|
| Engine | 3.5L VQ35DE V6 |
| Voltage | 12V |
| Nominal Amperage | 130-150 Amps (check your old unit for exact value) |
Important Note: While the engine is the same, always double-check the amperage rating of your original alternator before purchasing a replacement. A difference of even 10-20 amps can impact the car's electrical system performance. Look for the rating stamped on the alternator's housing.
Choosing Your Replacement: New vs. Remanufactured
You've got two primary options when it comes to a replacement alternator: brand new or remanufactured. Each has its own set of pros and cons:
New Alternator:
- Pros:
- Longer lifespan (generally).
- Peace of mind knowing it's a completely new component.
- Typically comes with a longer warranty.
- Cons:
- Higher initial cost.
Remanufactured Alternator:
- Pros:
- Lower initial cost.
- Environmentally friendly (reusing existing components).
- Cons:
- Potentially shorter lifespan.
- Warranty may be shorter.
- Quality can vary depending on the remanufacturer.
Real-World Driving Impressions: I've used both new and remanufactured alternators on my own vehicles (though not specifically a 2010 Maxima). In my experience, a quality remanufactured unit from a reputable supplier can be a perfectly viable option, especially if you're on a budget. However, if you plan on keeping the car for many more years, the extra investment in a new alternator might be worthwhile for the added longevity and peace of mind.
The Replacement Process: Getting Your Hands Dirty
Replacing the alternator on a 2010 Maxima is a task most DIY mechanics with some experience can tackle. Here's a general overview (remember to consult your service manual for specific instructions and torque specifications):
- Disconnect the Battery: Safety First! Always disconnect the negative battery terminal before working on any electrical components.
- Remove Accessory Belt: Use a wrench to relieve tension on the belt tensioner and remove the serpentine belt. Take a picture of the belt routing beforehand to make reinstallation easier.
- Disconnect Electrical Connectors: Disconnect the wiring harness and the B+ terminal from the alternator.
- Remove Mounting Bolts: Unbolt the alternator from its mounting bracket.
- Remove the Old Alternator: Carefully maneuver the old alternator out of the engine bay. You might need to remove or reposition other components to create enough clearance.
- Install the New Alternator: Install the new alternator in reverse order of removal. Torque the mounting bolts to the manufacturer's specifications.
- Reconnect Electrical Connectors: Reconnect the wiring harness and the B+ terminal.
- Reinstall Accessory Belt: Reinstall the serpentine belt, ensuring it's properly seated on all pulleys.
- Reconnect the Battery: Reconnect the negative battery terminal.
- Test the System: Start the engine and use a multimeter to check the charging voltage at the battery. It should be between 13.5 and 14.5 volts.
Common Challenges and Tips:
- Tight Spaces: The engine bay can be cramped, making access to the alternator and its mounting bolts difficult. Be patient and use the correct tools.
- Seized Bolts: Corrosion can cause the mounting bolts to seize. Apply penetrating oil and use a breaker bar to loosen them. If necessary, use heat to break the corrosion bond.
- Belt Routing: Incorrect belt routing can lead to premature belt wear or damage to the engine. Double-check the belt routing diagram before starting the engine.
- Test, Test, Test: After installation, thoroughly test the charging system to ensure everything is working correctly.
Pro Tip: While you have the alternator out, inspect the serpentine belt for signs of wear or damage. Replacing it at the same time can save you time and effort down the road.
S vs. SV: Does Trim Level Matter?
As mentioned earlier, the trim level (S or SV) of your 2010 Maxima does not impact the alternator replacement process. Both trims used the same engine and electrical system components. The only differences between the S and SV trims were cosmetic and feature-related, such as leather seats, upgraded audio systems, and navigation.
Technological Considerations: Beyond the Basics
While the 2010 Maxima doesn't boast overly complex electrical systems compared to modern cars, it's still worth noting a few technological aspects:
- Electronic Load Management: The Maxima's ECU manages the electrical load on the alternator to optimize fuel efficiency. This means the alternator output might vary depending on driving conditions and electrical demand.
- CAN Bus Communication: The alternator communicates with the ECU via the CAN bus network. This allows the ECU to monitor the alternator's performance and detect any faults.
Real-World Driving Impressions: I've noticed that some aftermarket alternators can sometimes cause minor issues with the CAN bus system, leading to false error codes or flickering lights. To minimize this risk, I recommend sticking with reputable brands and ensuring the replacement alternator is specifically designed for the 2010 Maxima.
Symptoms of a Failing Alternator
Recognizing the signs of a failing alternator is crucial to prevent being stranded. Here are some common symptoms:
- Dimming Headlights: Headlights that dim when the engine is idling or when other electrical loads are activated.
- Warning Lights: The battery warning light or the "ALT" warning light illuminating on the dashboard.
- Slow Cranking: Difficulty starting the engine, especially in cold weather.
- Dead Battery: A battery that repeatedly dies, even after being charged.
- Strange Noises: Whining or growling noises coming from the alternator.
- Electrical Problems: Malfunctioning accessories, such as the radio, power windows, or air conditioning.
If you experience any of these symptoms, it's essential to have your charging system tested by a qualified mechanic. Ignoring these warning signs can lead to further damage and potentially leave you stranded on the side of the road.
Conclusion
Replacing the alternator on a 2010 Nissan Maxima is a manageable DIY project that can save you a significant amount of money. By understanding the specifications, choosing the right replacement unit, and following the correct procedures, you can keep your 4DSC running smoothly for years to come. Just remember, safety first, and always consult your service manual for specific instructions and torque specifications.
So, here's the question for the comment section: New vs. Remanufactured – which do you really trust, and what's the worst alternator story you've got? Let the debate begin!