2010 Nissan Versa Motor Mount
Alright, let's talk about motor mounts on your 2010 Nissan Versa. If you're reading this, chances are you're experiencing some unsettling vibrations, noises, or maybe even a feeling of instability while driving. A worn or broken motor mount could very well be the culprit. Don't worry, this isn't the end of the road for your Versa. With a little knowledge and maybe some elbow grease, you can diagnose and address this issue. I'm here to guide you through the process.
Understanding Motor Mounts and Their Function
First, let's clarify what motor mounts actually *do*. They're the unsung heroes that hold your engine and transmission securely in place within the chassis. But they do more than just secure them. They're designed with rubber or fluid-filled components to absorb vibrations and reduce engine noise from transmitting into the cabin. Think of them as cushions isolating the engine from the rest of the car. A healthy motor mount contributes to a smoother, quieter, and more comfortable driving experience.
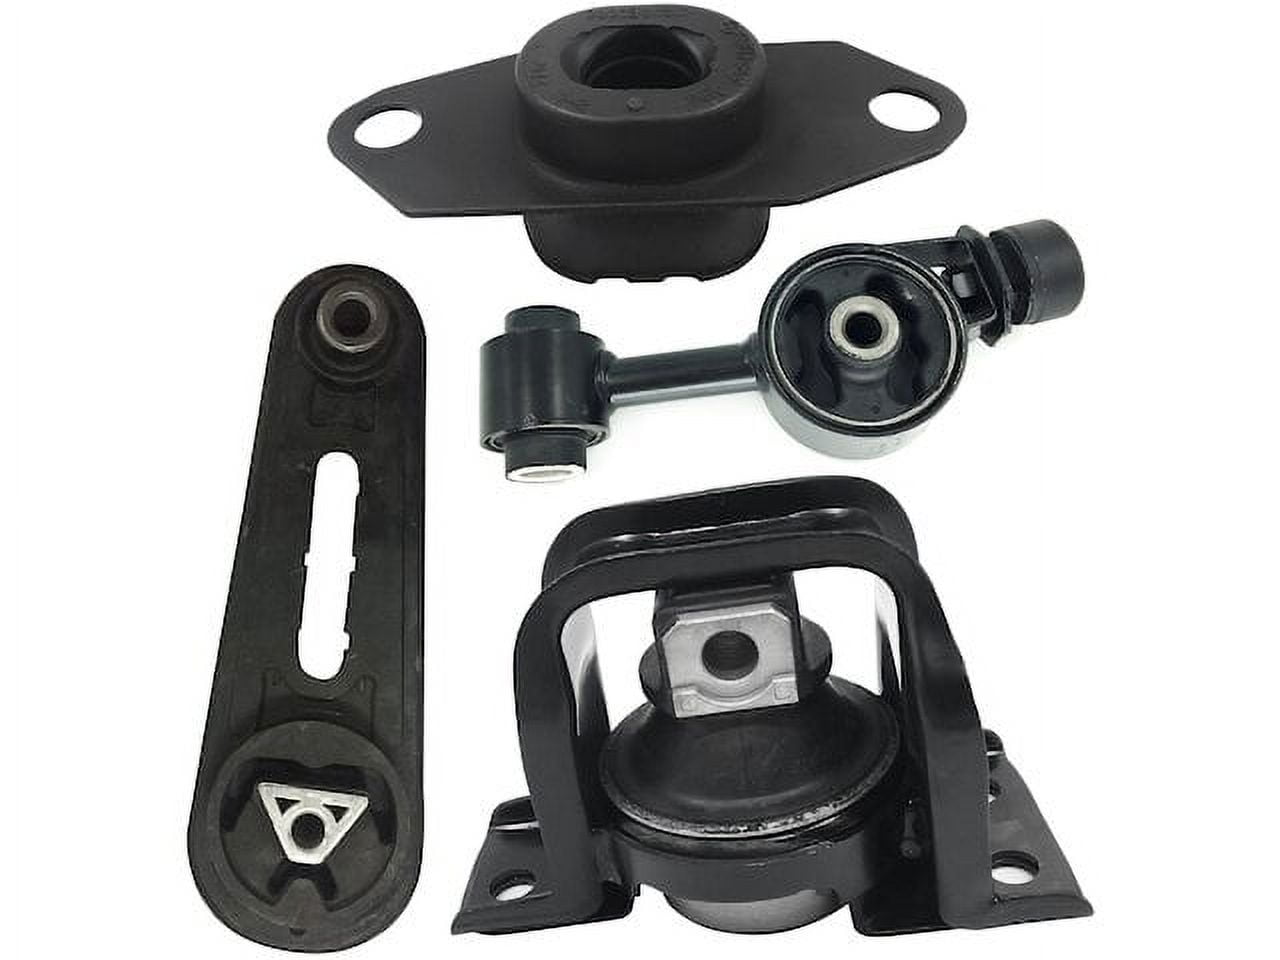
In your 2010 Nissan Versa, you likely have 3-4 motor mounts. There's usually one or two near the front of the engine, one on the transmission side (often called a transmission mount), and sometimes a rear mount or torque strut to further stabilize the drivetrain. Each mount plays a crucial role, and the failure of just one can lead to noticeable problems.
Symptoms of Failing Motor Mounts
So, how do you know if your motor mounts are going bad? Here are some telltale signs to watch out for:
- Excessive Vibrations: This is often the most common and noticeable symptom. You might feel vibrations through the steering wheel, seats, or floorboards, especially at idle or during acceleration. These vibrations are usually much more pronounced than normal engine operation.
- Clunking or Banging Noises: You might hear a clunking or banging sound, especially when shifting gears (particularly from Park to Drive or Reverse), accelerating quickly, or going over bumps. This noise occurs when the engine shifts position due to the failing mount's inability to dampen movement.
- Engine Movement: This is a more advanced symptom and requires a visual inspection. If you can safely and carefully observe the engine while someone revs it (in Park or Neutral, and with the parking brake engaged!), you might see excessive engine movement or rocking. Safety first! Never put yourself in a position where you could be injured by a moving vehicle.
- Shifting Problems: In some cases, a failing transmission mount can affect shifting performance. You might experience difficulty shifting gears smoothly, or the transmission might feel jerky or hesitant.
- Visual Cracks or Damage: This is the most direct way to confirm a bad motor mount. A visual inspection of the mounts themselves can reveal cracks, tears, or separation of the rubber components. Fluid-filled mounts might show signs of leakage.
Diagnosing a Bad Motor Mount
Okay, you suspect a bad motor mount. Now what? Here's a step-by-step approach to diagnosing the problem:
- Visual Inspection: This is the easiest and often the most revealing step. With the engine off and cool, visually inspect each motor mount. Look for cracks, tears, or separation in the rubber. Check for leaks if you have fluid-filled mounts. A flashlight can be helpful. Pay close attention to the areas where the rubber is bonded to the metal.
- The "Rocking" Test: With the engine off and the parking brake firmly engaged, have a helper gently rock the car back and forth. Observe the engine for excessive movement. A good mount should allow for minimal engine movement.
- The "Pry Bar" Test: This test requires a little more caution and skill. Using a pry bar (covered with a rag to protect the components), gently apply pressure to the motor mount while observing its movement. Excessive play or separation indicates a worn mount. Be extremely careful not to damage other components, such as hoses or wiring, with the pry bar.
- The "Start-Up" Test: Start the engine and listen carefully for any unusual noises. Place the car in Drive and Reverse, and again listen for clunking or banging sounds. Pay attention to the vibrations you feel in the cabin.
If you're not comfortable performing these tests yourself, it's always best to take your Versa to a trusted mechanic for a professional diagnosis.
Tools and Materials Needed for Replacement (DIY Approach)
If you're a confident DIYer, you can tackle the motor mount replacement yourself. Here's a list of tools and materials you'll likely need:
- New Motor Mount(s): Purchase the correct motor mount(s) for your 2010 Nissan Versa. Double-check the part numbers to ensure compatibility. Brands like Anchor, DEA, and Beck/Arnley are common choices.
- Socket Set: Metric sockets are essential for removing and installing the mounting bolts.
- Wrench Set: A set of metric wrenches will also be necessary.
- Jack and Jack Stands: You'll need to safely lift and support the vehicle. Never work under a vehicle supported only by a jack! Always use jack stands.
- Floor Jack or Engine Support Bar: To support the engine from below or above while removing the mounts. This is crucial to prevent the engine from shifting or dropping.
- Pry Bar: For gently prying the old mounts out of place.
- Penetrating Oil: To help loosen stubborn bolts.
- Torque Wrench: To tighten the new mount bolts to the correct specification.
- Gloves and Safety Glasses: For personal protection.
- Wheel Chocks: For added safety, place wheel chocks behind the rear wheels.
- Shop Rags: For cleaning up any spills or messes.
Replacement Procedure (General Guidelines)
Disclaimer: This is a general guide, and the specific procedure for replacing motor mounts on your 2010 Nissan Versa may vary depending on the location of the mount. Always consult a repair manual or online resources specific to your vehicle before attempting any repairs.
- Safety First! Disconnect the negative battery cable. Secure the vehicle with wheel chocks and engage the parking brake.
- Support the Engine: Using a floor jack with a block of wood or an engine support bar, carefully support the engine. Apply just enough pressure to take the weight off the motor mount you're replacing.
- Remove the Old Mount: Locate the motor mount you're replacing. Use sockets and wrenches to remove the bolts securing the mount to the engine and the vehicle's frame. Penetrating oil can be helpful for stubborn bolts. You may need to use a pry bar to gently dislodge the old mount.
- Install the New Mount: Position the new motor mount in place and align the bolt holes. Install the bolts and tighten them hand-tight.
- Torque the Bolts: Using a torque wrench, tighten the bolts to the manufacturer's specified torque. This is crucial to ensure the mount is properly secured.
- Remove Engine Support: Slowly and carefully lower the engine, removing the floor jack or engine support bar.
- Repeat for Other Mounts: If you're replacing multiple motor mounts, repeat steps 2-6 for each mount.
- Reconnect Battery and Test: Reconnect the negative battery cable. Start the engine and check for any unusual noises or vibrations. Test drive the vehicle to ensure the new mounts are functioning correctly.
Estimated Repair Costs
The cost of replacing motor mounts on your 2010 Nissan Versa can vary depending on several factors, including:
- Labor Costs: Labor rates vary depending on your location and the mechanic's hourly rate.
- Part Costs: Motor mount prices can range from $50 to $200 per mount, depending on the brand and quality.
- Number of Mounts Replaced: Replacing multiple mounts will obviously increase the overall cost.
As a general estimate, expect to pay between $200 and $600 to have a single motor mount replaced by a professional mechanic. If you're doing it yourself, you'll save on labor costs, but you'll need to invest in the necessary tools. Expect to spend $50-$200 for the part(s) if doing the repair yourself.
When to Consult a Professional
While replacing motor mounts can be a DIY project, there are situations where it's best to consult a professional mechanic:
- You're not comfortable working on your car. Safety should always be your top priority.
- You don't have the necessary tools. Investing in the tools can be expensive, especially if you only need them for this one job.
- You're unsure about the diagnosis. A professional mechanic can accurately diagnose the problem and ensure that the motor mounts are indeed the issue.
- You encounter difficulties during the repair. If you get stuck or run into unexpected problems, it's best to seek professional assistance rather than risk damaging your vehicle further.
Replacing motor mounts on your 2010 Nissan Versa can restore a smooth and comfortable driving experience. By understanding the symptoms, diagnosis, and replacement procedure, you can make an informed decision about whether to tackle the job yourself or seek professional help. Good luck, and safe driving!