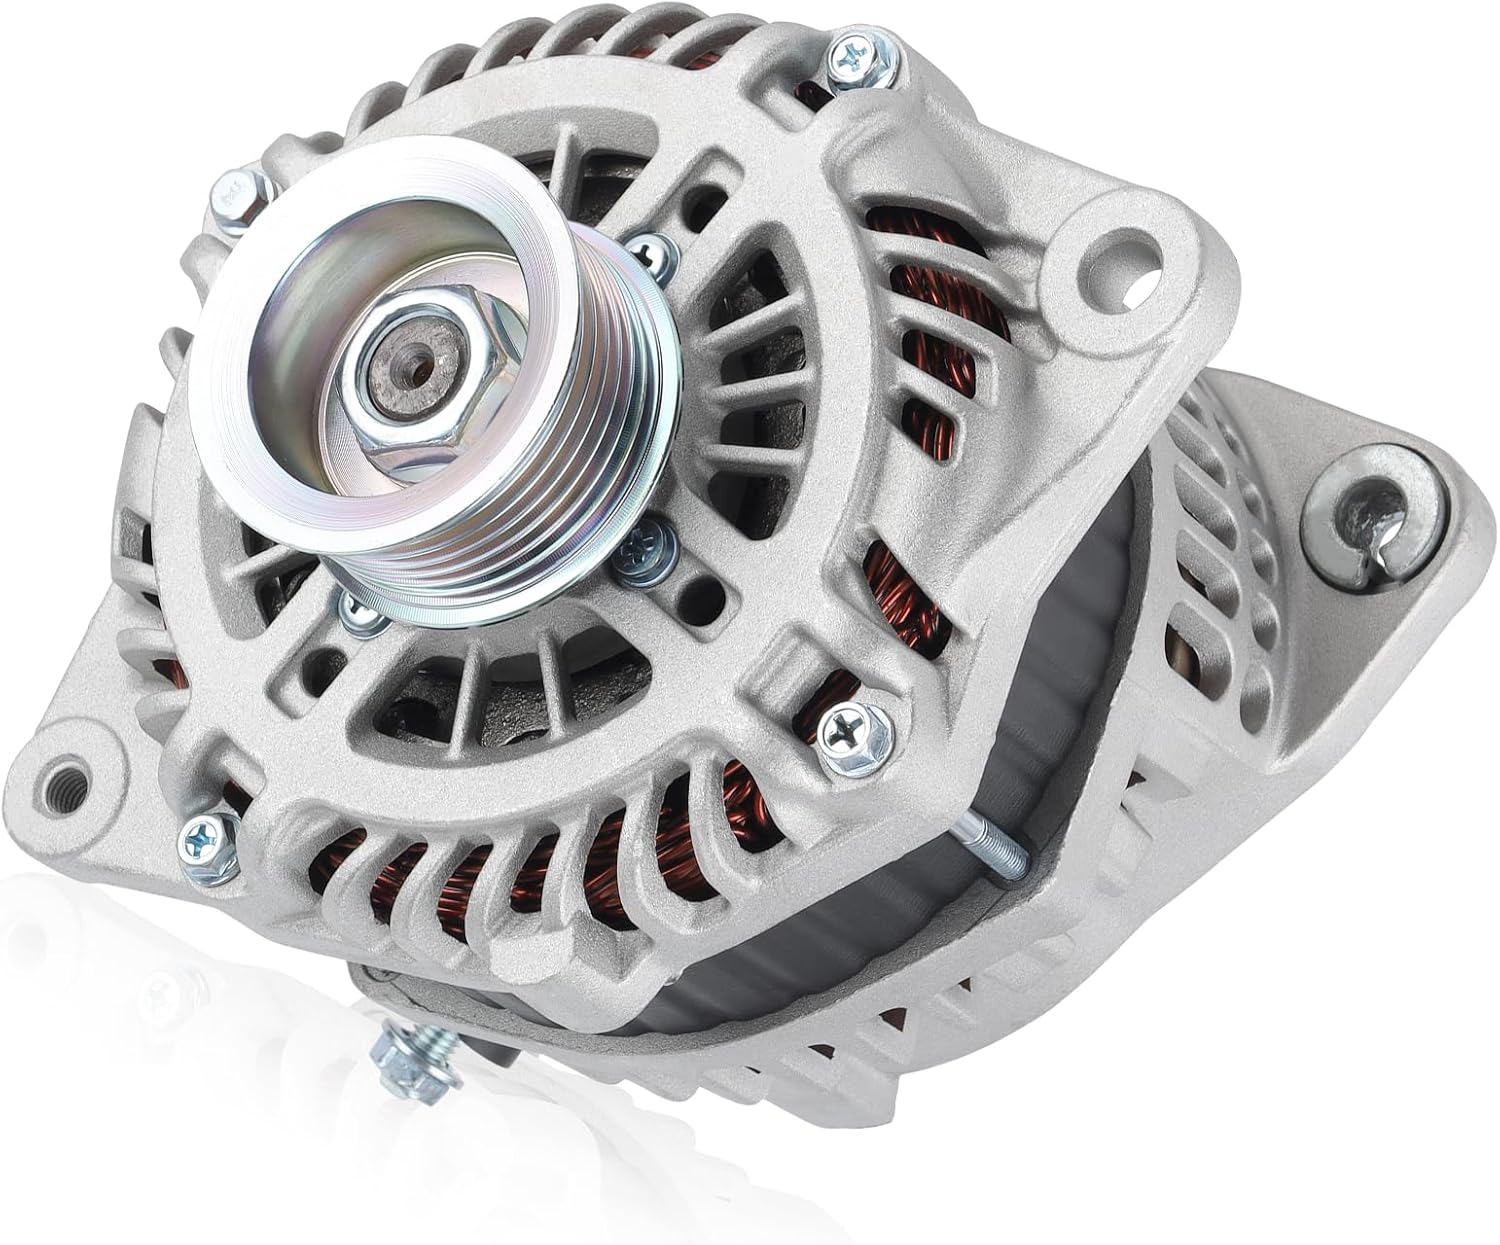
2011 Nissan Maxima Alternator
The 2011 Nissan Maxima, a car known for blending sporty handling with near-luxury comfort, relies on a healthy electrical system for all its features. At the heart of that system sits the alternator, the component responsible for keeping the battery charged and powering the electrical components while the engine is running. Understanding the alternator in your Maxima is crucial for maintaining its performance and preventing inconvenient breakdowns.
What Does an Alternator Do?
Think of the alternator as the Maxima's power station. It converts mechanical energy from the engine into electrical energy. Here's a simplified explanation:
- Mechanical Input: The engine's crankshaft turns a belt (the serpentine belt) that drives the alternator's pulley. This is similar to how a belt drives the power steering pump or AC compressor.
- Rotor and Stator: Inside the alternator, a rotating part called the rotor spins within a stationary part called the stator. The rotor is essentially an electromagnet.
- Electromagnetic Induction: As the rotor spins, its magnetic field interacts with the stator's windings (coils of wire). This interaction, known as electromagnetic induction, generates alternating current (AC) electricity.
- Rectification: Cars use direct current (DC) electricity, not AC. The alternator has a built-in rectifier (typically a diode bridge) that converts the AC electricity into DC electricity.
- Voltage Regulation: The alternator also contains a voltage regulator. This crucial component ensures the voltage output remains consistent, usually around 13.5-14.5 volts, regardless of engine speed or electrical load. Without a regulator, the voltage could spike and damage sensitive electronic components.
- Output: The regulated DC electricity is then sent to the battery to keep it charged and to power the car's electrical systems like the headlights, infotainment system, power windows, and engine control unit (ECU).
Consider a simpler example: a bicycle dynamo. When you pedal, the dynamo spins a magnet near a coil of wire, generating electricity to power the headlight. The alternator in your Maxima works on the same principle, just on a much larger and more sophisticated scale.
Common Problems with the 2011 Maxima Alternator
Like any mechanical component, alternators can fail over time. Here are some common problems you might encounter with your 2011 Maxima's alternator:
- Worn Brushes: The rotor's electromagnetic field is created by passing current through slip rings. Brushes are spring-loaded contacts that ride on these slip rings, providing the electrical connection. Over time, the brushes wear down, reducing the alternator's output. Think of it like the brake pads on your car; they wear down with use and eventually need replacement.
- Diode Failure: The diodes in the rectifier are responsible for converting AC to DC. If a diode fails, the alternator may produce insufficient voltage or even allow AC voltage to leak into the DC system, which can damage sensitive electronics. A faulty diode can cause the battery to drain even when the car is running.
- Voltage Regulator Failure: A faulty voltage regulator can cause overcharging or undercharging of the battery. Overcharging can damage the battery, shortening its lifespan. Undercharging can lead to a dead battery, especially in cold weather.
- Stator or Rotor Failure: The stator and rotor windings can short circuit or open circuit due to heat, vibration, or corrosion. This can drastically reduce or completely eliminate the alternator's output.
- Bearing Failure: The alternator's rotor is supported by bearings. These bearings can wear out over time, causing noise (whining or grinding) and eventually leading to alternator failure.
- Loose or Corroded Connections: Even if the alternator itself is in good condition, loose or corroded connections can prevent it from delivering power to the battery and the car's electrical systems. This is often an overlooked but common cause of charging problems.
Symptoms of a Failing Alternator
Recognizing the symptoms of a failing alternator can help you address the problem before it leaves you stranded. Here are some telltale signs:
- Dim or Flickering Headlights: If your headlights dim or flicker, especially at idle, it could be a sign that the alternator isn't producing enough power.
- Warning Lights: The battery warning light (shaped like a battery) or the "ALT" warning light on your dashboard will illuminate when the charging system is malfunctioning. However, keep in mind that a bad battery can also trigger these lights, so it's important to properly diagnose the issue.
- Slow or No-Start: If the alternator isn't properly charging the battery, the battery may not have enough power to start the engine. This is similar to how a weak battery in a flashlight causes the light to dim and eventually go out.
- Electrical System Problems: Other electrical components, such as the power windows, radio, or air conditioning, may function erratically or not at all.
- Whining or Grinding Noise: A failing alternator bearing can produce a noticeable whining or grinding noise that increases with engine speed.
- Stalling: In some cases, a severely failing alternator can cause the engine to stall, especially at low speeds.
Diagnosing an Alternator Problem
Diagnosing an alternator problem typically involves the following steps:
- Visual Inspection: Check the alternator's wiring connections for looseness, corrosion, or damage. Inspect the serpentine belt for wear or cracks. Make sure the belt is properly tensioned.
- Voltage Test: Use a multimeter to measure the battery voltage with the engine off and then with the engine running. With the engine off, a fully charged battery should read around 12.6 volts. With the engine running, the voltage should be between 13.5 and 14.5 volts. If the voltage is significantly lower or higher, it indicates a problem with the alternator or the charging system. This test is similar to checking the voltage of a AA battery in your house.
- Load Test: A load test assesses the alternator's ability to maintain voltage under load. This involves turning on several electrical accessories (headlights, air conditioning, radio) while monitoring the voltage. A significant voltage drop indicates a weak alternator. Most auto parts stores offer free battery and alternator testing.
- OBD-II Scan: Connect an OBD-II scanner to the car's diagnostic port to check for any trouble codes related to the charging system. Codes like P0620 (Generator Control Circuit Malfunction) or P0562 (System Voltage Low) can provide valuable clues.
Important Note: Always disconnect the negative battery cable before working on the electrical system to prevent accidental shorts and electrical shocks.
Replacing the 2011 Maxima Alternator
Replacing the alternator is a moderately challenging task that can be tackled by experienced DIYers. Here's a general overview of the process:
- Disconnect the Battery: Disconnect the negative battery cable.
- Remove the Serpentine Belt: Use a wrench to release the tension on the serpentine belt tensioner and remove the belt from the alternator pulley.
- Disconnect Electrical Connections: Disconnect the electrical connector and the B+ terminal (the large wire connected to the alternator).
- Remove Mounting Bolts: Remove the bolts that secure the alternator to the engine bracket.
- Remove the Alternator: Carefully remove the alternator from the engine compartment.
- Install the New Alternator: Install the new alternator in the reverse order of removal. Make sure all connections are tight and secure.
- Reinstall the Serpentine Belt: Reinstall the serpentine belt, ensuring it's properly seated on all pulleys.
- Reconnect the Battery: Reconnect the negative battery cable.
- Verify Operation: Start the engine and check the battery voltage to ensure the new alternator is charging properly.
Pro Tip: Before installing the new alternator, compare it to the old one to ensure they are identical in terms of size, mounting points, and electrical connections. Also, it's often a good idea to replace the serpentine belt at the same time, as it may be worn or cracked.
Choosing a Replacement Alternator
When replacing your 2011 Maxima's alternator, you have several options:
- New OEM (Original Equipment Manufacturer) Alternator: These alternators are manufactured by the same company that supplied the original alternator to Nissan. They are typically the most expensive option but offer the best guarantee of fit and performance.
- New Aftermarket Alternator: These alternators are manufactured by third-party companies. They are often less expensive than OEM alternators and can offer comparable performance. Reputable brands like Denso, Bosch, and Remy are good choices.
- Remanufactured Alternator: Remanufactured alternators are used alternators that have been disassembled, cleaned, and rebuilt with new or refurbished parts. They are typically less expensive than new alternators and can be a good option for budget-conscious buyers. However, it's important to choose a remanufactured alternator from a reputable supplier with a good warranty.
Important Consideration: Always check the amperage rating of the replacement alternator. The amperage rating should match or exceed the original alternator's rating. Using an alternator with a lower amperage rating can overload the system and cause it to fail prematurely.
Practical Takeaways
Here are some practical takeaways to help you maintain your 2011 Nissan Maxima's alternator and charging system:
- Regularly Inspect the Serpentine Belt: Check the serpentine belt for wear, cracks, or fraying. Replace it if necessary. A worn belt can slip and reduce the alternator's output.
- Keep Connections Clean and Tight: Clean and tighten the battery terminals and alternator connections to prevent corrosion and ensure good electrical contact.
- Monitor Battery Voltage: Periodically check the battery voltage with a multimeter to identify potential charging problems early.
- Don't Overload the Electrical System: Avoid using excessive electrical accessories at the same time, especially at idle.
- Heed Warning Signs: Pay attention to any warning lights, noises, or other symptoms that may indicate an alternator problem. Address the issue promptly to prevent further damage.
By understanding the alternator's function, recognizing common problems, and performing regular maintenance, you can keep your 2011 Nissan Maxima's electrical system running smoothly and avoid costly repairs down the road. Just as maintaining the engine oil ensures long engine life, taking care of the alternator will extend its life and ensure reliable performance for your Maxima.