2011 Nissan Maxima Alternator Replacement
2011 Nissan Maxima Alternator Replacement: A Comprehensive Guide
The 2011 Nissan Maxima, known for its blend of sporty performance and near-luxury features, relies heavily on a healthy electrical system. At the heart of that system is the alternator, responsible for charging the battery and powering the vehicle's electrical components while the engine is running. When the alternator fails, a cascade of electrical problems can arise, leaving you stranded. This guide provides a detailed walkthrough of replacing the alternator on a 2011 Nissan Maxima, catering to both experienced mechanics and confident DIY enthusiasts.
Identifying Alternator Failure
Before diving into the replacement process, accurately diagnosing alternator failure is crucial. Common symptoms include:
- Dimming Headlights: A failing alternator may not provide sufficient voltage, resulting in noticeably dimmer headlights, especially at idle.
- Warning Lights: The battery warning light (shaped like a battery) or the "ALT" (alternator) warning light will illuminate on the instrument cluster.
- Slow or No Start: A weak battery, due to insufficient charging, can lead to difficulty starting or a complete no-start condition. However, always confirm the battery's health before assuming alternator failure.
- Electrical System Issues: Erratic behavior in other electrical components, such as power windows, radio, or climate control, can indicate an underperforming alternator.
- Unusual Noises: A failing alternator bearing can produce whining or grinding noises.
- Battery Drain: A parasitic draw test can confirm if the alternator is contributing to a battery drain even when the vehicle is off.
It's always recommended to perform a voltage test on the battery and the alternator's output using a multimeter. A healthy alternator should produce approximately 13.5 to 14.5 volts with the engine running.
Tools and Materials Required
Gathering the necessary tools and materials beforehand streamlines the replacement process. You'll need:
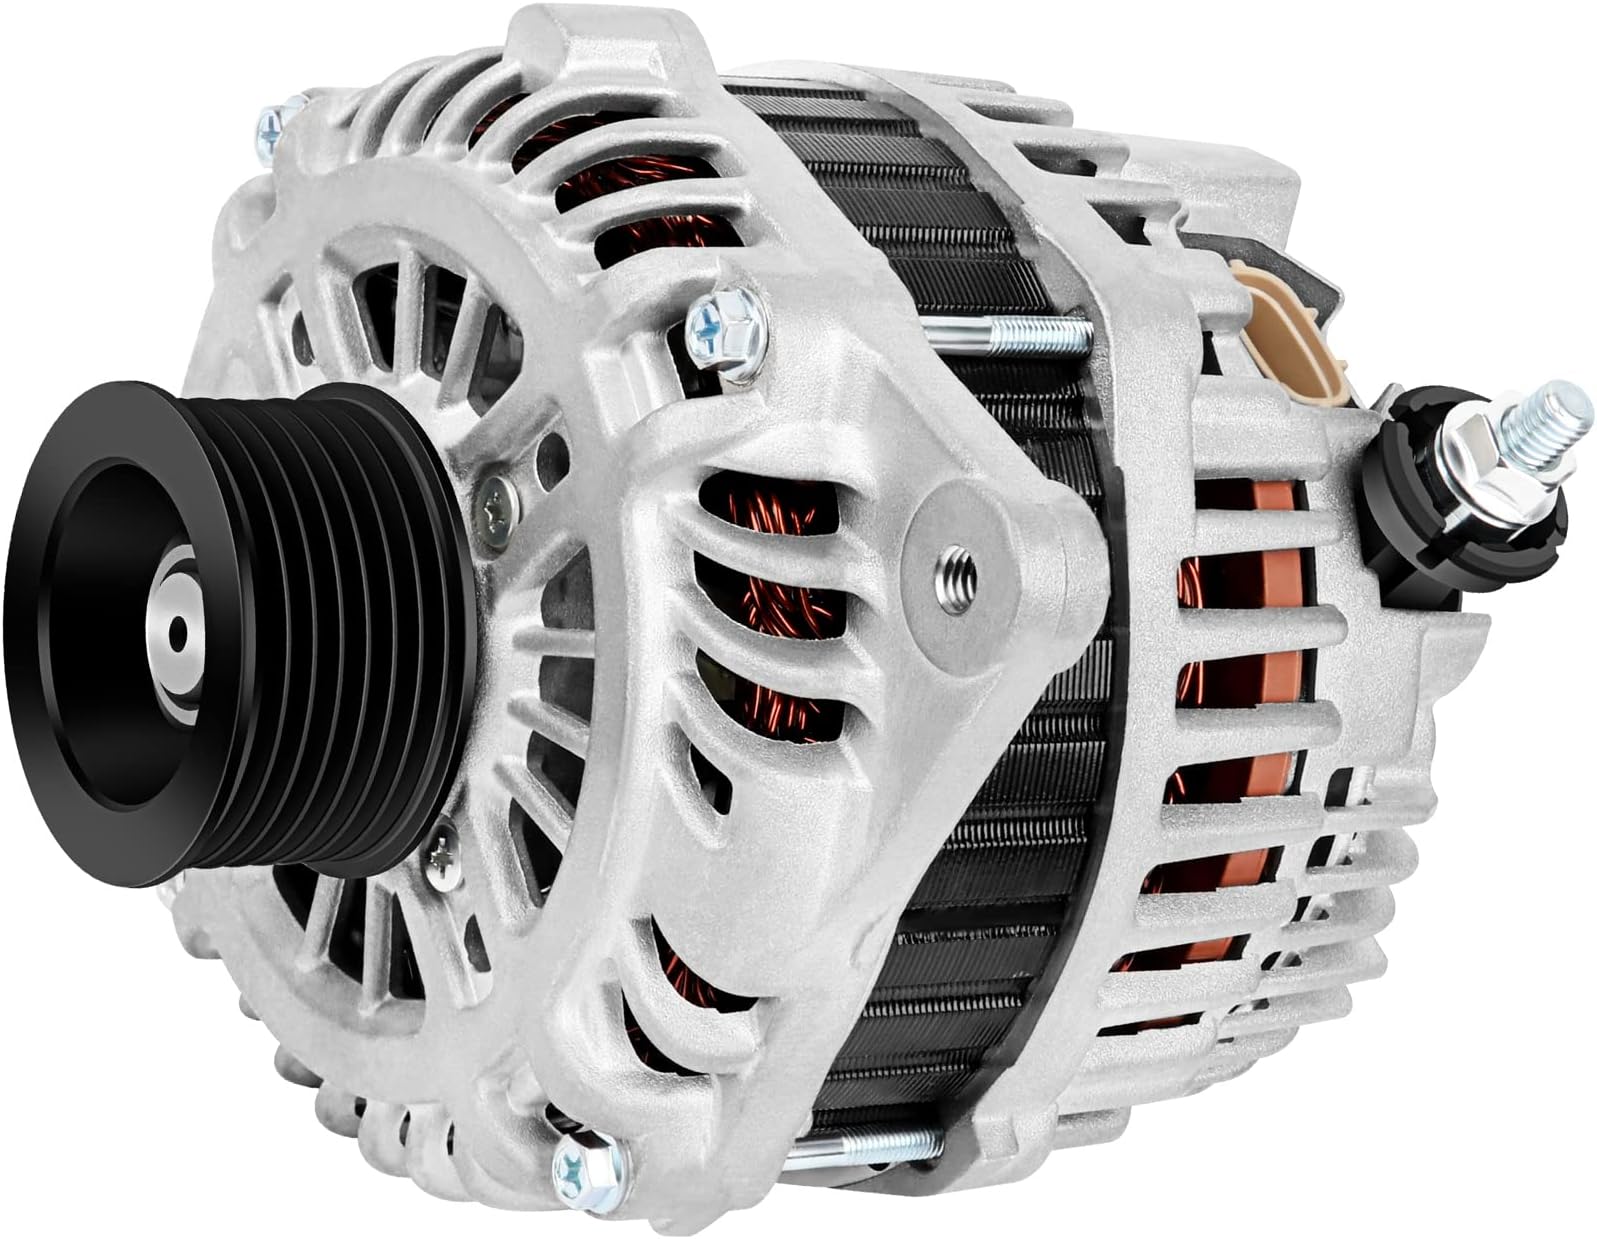
- New alternator (confirm correct part number for your 2011 Nissan Maxima – OEM or reputable aftermarket brands are recommended).
- Socket set (metric, including a 10mm, 12mm, 14mm, and possibly 17mm socket).
- Wrench set (metric, matching the socket sizes).
- Screwdrivers (Phillips head and flathead).
- Torque wrench.
- Multimeter.
- Battery terminal cleaner and protectant.
- Penetrating oil (for stubborn bolts).
- Safety glasses and gloves.
- Jack and jack stands (if accessing the alternator from underneath the vehicle).
- Wheel chocks.
Step-by-Step Replacement Procedure
Safety First: Disconnect the negative battery terminal before starting any electrical work. This prevents accidental shorts and potential injuries.
- Preparation: Engage the parking brake, chock the rear wheels, and disconnect the negative (black) battery terminal. Allow the vehicle to sit for a few minutes to allow any residual electrical charge to dissipate.
- Accessing the Alternator: The alternator's location can vary slightly, but on the 2011 Maxima, it's typically located on the front of the engine. You may need to remove plastic engine covers to gain access. Note the routing of the serpentine belt before removal. Consider taking a photo or drawing a diagram for reference during reinstallation.
- Serpentine Belt Removal: Locate the serpentine belt tensioner. Use a wrench or socket to rotate the tensioner and relieve the tension on the belt. Carefully remove the belt from the alternator pulley. It's good practice to inspect the belt for wear and tear and replace it if necessary.
- Disconnecting Electrical Connections: Disconnect the electrical connectors from the alternator. These typically include a large gauge wire (B+ terminal) and a smaller connector. Be gentle when disconnecting the connectors, as the plastic can become brittle with age. Important: Before disconnecting the B+ terminal, double-check that the negative battery cable is disconnected to prevent short circuits.
- Removing the Alternator: Remove the mounting bolts securing the alternator to the engine bracket. These bolts can be tight, so penetrating oil and a breaker bar may be necessary. Support the alternator as you remove the final bolt to prevent it from falling.
- Installing the New Alternator: Carefully install the new alternator, aligning it with the mounting bracket. Reinstall the mounting bolts and tighten them to the manufacturer's specified torque. Refer to your vehicle's service manual for the correct torque specifications.
- Reconnecting Electrical Connections: Reconnect the electrical connectors to the new alternator, ensuring they are securely attached. Pay attention to the correct polarity of the B+ terminal.
- Reinstalling the Serpentine Belt: Route the serpentine belt around the pulleys, following the diagram or photo you took earlier. Use the tensioner to relieve the tension on the belt and slide it onto the alternator pulley. Release the tensioner, ensuring the belt is properly seated on all pulleys.
- Final Checks: Double-check all connections and ensure all tools and materials are removed from the engine compartment.
- Reconnecting the Battery: Reconnect the negative battery terminal.
- Testing: Start the engine and use a multimeter to check the alternator's output voltage. It should be between 13.5 and 14.5 volts. Also, check for any warning lights on the instrument cluster.
Torque Specifications
Using the correct torque specifications is vital to ensure proper alternator function and prevent damage to the engine block or alternator housing. While specific torque values can vary slightly based on the exact model year and engine configuration, here are some general guidelines. Always refer to your vehicle's service manual for the most accurate and up-to-date torque specifications.
- Alternator Mounting Bolts: Typically between 30-40 ft-lbs (41-54 Nm).
- B+ Terminal Nut: Approximately 10-15 ft-lbs (14-20 Nm). Over-tightening can damage the terminal.
Troubleshooting
Even after a successful alternator replacement, issues can sometimes arise. Here are a few common troubleshooting tips:
- Battery Light Remains On: If the battery light stays on after replacement, double-check all connections, including the ground connections. The new alternator might be faulty, requiring a warranty replacement.
- No Output Voltage: If the alternator is not producing any voltage, ensure the exciter wire (the smaller connector) is properly connected. This wire provides the initial voltage needed to start the alternator charging.
- Whining Noise: A whining noise after replacement can indicate a misalignment of the serpentine belt or a faulty bearing in the new alternator.
- Overcharging: An alternator that consistently outputs more than 14.5 volts can damage the battery and other electrical components. This typically indicates a faulty voltage regulator within the alternator.
Preventative Maintenance
To extend the life of your alternator and prevent future failures, consider these preventative maintenance tips:
- Regular Battery Checks: A healthy battery reduces the workload on the alternator. Have your battery tested regularly, especially during extreme temperatures.
- Serpentine Belt Inspection: Inspect the serpentine belt for cracks, wear, and proper tension. Replace it as needed. A slipping belt can prevent the alternator from charging properly.
- Avoid Excessive Electrical Load: Minimize the use of high-power accessories, such as aftermarket audio systems or lights, as they can strain the alternator.
- Keep the Engine Bay Clean: A clean engine bay allows for better airflow and helps to prevent overheating, which can damage the alternator.
Choosing a Replacement Alternator
Selecting the right replacement alternator is crucial for optimal performance and longevity. Several options are available, each with its pros and cons:
- New OEM Alternator: The most expensive option but offers the best guarantee of quality and fitment. Nissan OEM parts are designed specifically for your vehicle.
- New Aftermarket Alternator: Reputable aftermarket brands offer alternators that meet or exceed OEM specifications at a lower price. Research the brand thoroughly before purchasing.
- Remanufactured Alternator: A more budget-friendly option where a used alternator is rebuilt with new components. Ensure the remanufactured alternator comes with a warranty.
- Used Alternator: The cheapest option, but it carries the highest risk of failure. Unless you're on a very tight budget, it's generally not recommended.
When choosing an alternator, consider the amperage rating. Selecting an alternator with a higher amperage rating than the original can provide additional capacity for electrical accessories, but it's not always necessary.
Conclusion
Replacing the alternator on a 2011 Nissan Maxima is a manageable task for those with moderate mechanical skills. By following these steps and taking the necessary precautions, you can save money on labor costs and ensure your vehicle's electrical system is functioning properly. Remember to prioritize safety, use the correct tools and torque specifications, and consult your vehicle's service manual for specific instructions.