2012 Nissan Altima Front Bumper Replacement
Replacing a front bumper might seem daunting, but with the right tools and a bit of patience, it's a project many car enthusiasts can tackle themselves. This article will guide you through the process of replacing the front bumper on a 2012 Nissan Altima, explaining the technical aspects in a clear and understandable way.
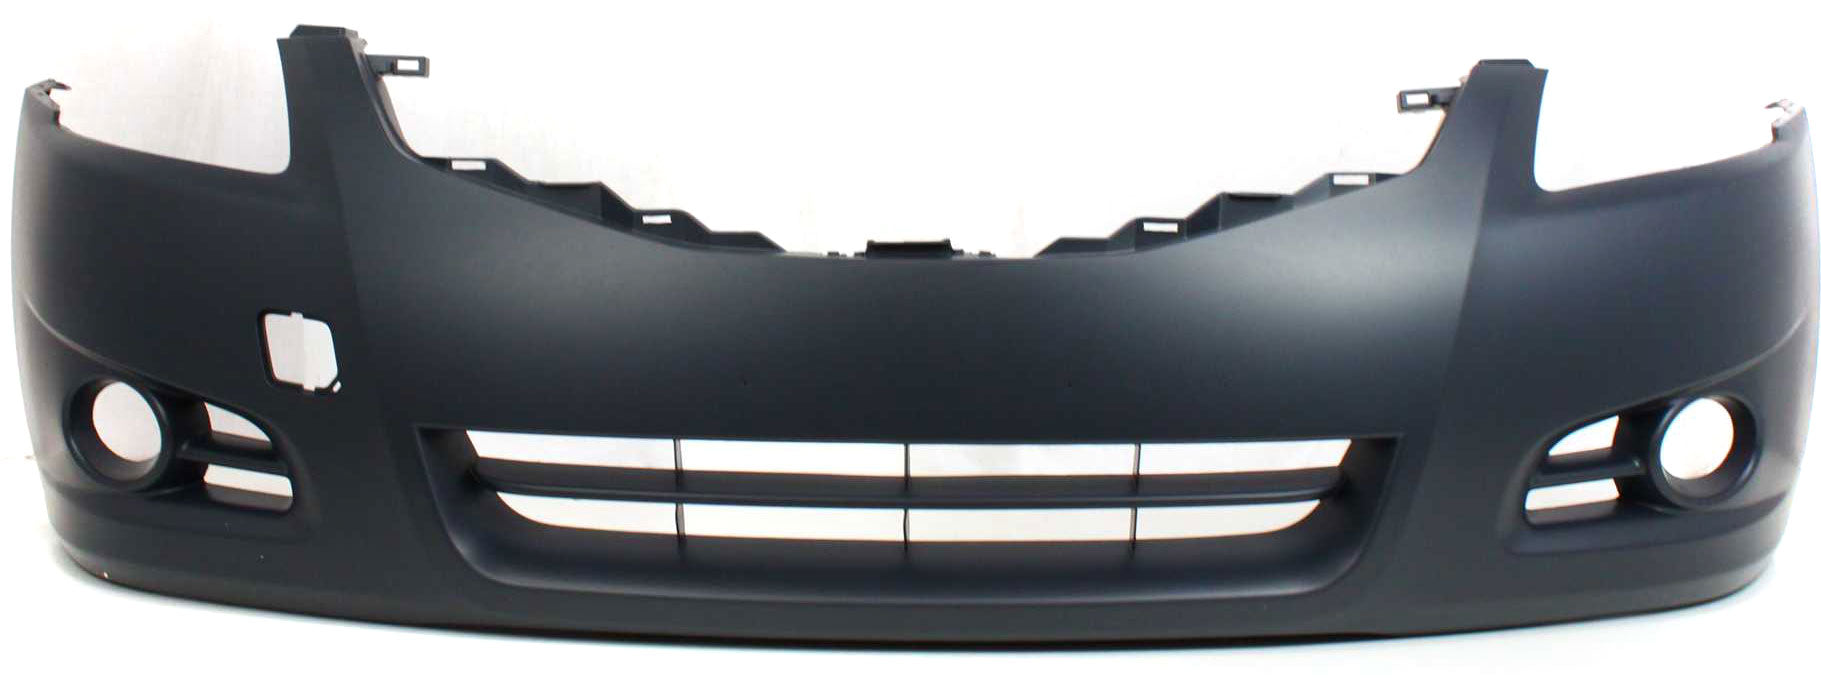
Understanding the Anatomy of a Front Bumper
Before diving in, let's understand what we're dealing with. A front bumper isn't just a cosmetic piece; it's designed to absorb impact in low-speed collisions, protecting vital components like the headlights, grille, radiator, and even the engine. Think of it as your car's first line of defense. The 2012 Altima's bumper, like most modern bumpers, is typically made of a flexible plastic material – often polypropylene – which is durable and can withstand minor impacts without shattering. This is similar to the bumpers found on many modern Hondas and Toyotas.
The bumper assembly usually comprises several parts: the bumper cover (the painted exterior piece), an energy absorber (often made of foam or a honeycomb structure), and sometimes a metal or plastic reinforcement bar behind the absorber. The reinforcement bar provides structural support and helps distribute impact forces. Some vehicles, like certain BMW models, have more complex bumper systems with integrated parking sensors, headlight washers, and adaptive cruise control sensors, which add to the complexity of the removal and installation process. The 2012 Altima’s setup is fairly straightforward by comparison, though you'll still likely encounter fasteners, clips, and possibly wiring for fog lights (if equipped).
Tools and Materials You'll Need
Having the right tools is crucial for a smooth bumper replacement. Here's a list of essentials:
- Socket set: Metric sockets, specifically 10mm, 12mm, and 14mm are common sizes used in automotive body panels.
- Wrench set: Corresponding metric wrench sizes to the socket set.
- Screwdrivers: Both Phillips head and flathead screwdrivers. The flathead is especially useful for prying plastic clips.
- Plastic trim removal tools: These are essential for removing plastic fasteners and clips without damaging the bumper or surrounding body panels. A metal screwdriver *can* be used, but it's much more likely to scratch paint or break plastic components.
- Jack and jack stands: Lifting the front of the car will provide easier access to the underside fasteners. Always use jack stands for safety.
- New bumper cover: Make sure you order the correct part number for your 2012 Nissan Altima, considering trim level (e.g., base, S, SL) as there may be slight variations.
- Optional: Work gloves, safety glasses, a headlamp, and penetrating oil (for loosening rusted bolts).
Step-by-Step Bumper Removal
Now, let's get to the practical part. Here’s a step-by-step guide to removing the old bumper:
- Preparation: Disconnect the negative terminal of the battery. This prevents accidental electrical shorts during the process, especially if you have fog lights. Put on your work gloves and safety glasses.
- Jacking up the car: Using a jack, lift the front of the Altima and securely place it on jack stands. Never work under a car supported only by a jack.
- Removing the fasteners: Locate and remove all screws, bolts, and clips holding the bumper in place. Start with the ones underneath the car, along the leading edge of the bumper. These often attach the bumper to the splash shield or lower engine cover. Use your socket set and screwdrivers. If bolts are rusted, apply penetrating oil and let it soak for a few minutes before attempting to remove them.
- Wheel well fasteners: Next, move to the wheel wells. There will be several screws or clips attaching the bumper cover to the fender liner. Use your trim removal tools to carefully detach the clips.
- Upper fasteners: Open the hood. You'll find more screws or clips along the top edge of the bumper, near the grille and headlights. Remove these.
- Disconnecting fog lights (if equipped): If your Altima has fog lights, carefully disconnect the wiring harness connectors. Make sure to note which connector goes to which fog light.
- Removing the bumper cover: With all the fasteners removed, gently pull the bumper cover forward, starting from the corners where it meets the fenders. It might be necessary to wiggle it a bit to release it from any remaining clips or alignment tabs. Have a helper assist you to prevent the bumper from falling and potentially getting damaged. This step is similar to removing bumpers on vehicles like the Mazda 3 or Ford Focus.
Inspecting and Preparing for Installation
With the old bumper removed, inspect the area behind it. Check the energy absorber and reinforcement bar for any damage. If they are damaged, replace them as well. Clean the area with a cloth to remove any dirt or debris. This is also a good time to inspect and clean the fog lights, if applicable. You might find small rocks or debris lodged in the fog light housings.
Before installing the new bumper cover, transfer any necessary components from the old bumper to the new one. This might include fog lights, grilles, or any other trim pieces. Pay close attention to how these components are attached to the old bumper so you can replicate the process on the new one.
Installing the New Bumper
Installation is essentially the reverse of removal:
- Positioning the bumper cover: Carefully align the new bumper cover with the fenders and headlights. Start by lining up the corners and gently pushing it into place. Ensure all alignment tabs are properly seated.
- Connecting fog lights (if equipped): Reconnect the fog light wiring harnesses. Ensure they are securely connected and the wires are routed correctly.
- Fastening the bumper: Reinstall all the screws, bolts, and clips in the reverse order of removal. Start with the upper fasteners, then the wheel well fasteners, and finally the fasteners underneath the car. Tighten all fasteners securely, but don't overtighten them, as this could damage the plastic bumper cover.
- Reinstalling the wheel well liners: Make sure the fender liners are properly aligned and secured to the bumper cover with the clips.
- Final checks: Double-check that all fasteners are in place and properly tightened. Ensure the fog lights (if equipped) are working correctly.
- Lowering the car: Carefully lower the car from the jack stands.
- Reconnect the battery: Reconnect the negative terminal of the battery.
Troubleshooting Common Issues
Even with careful preparation, you might encounter some issues. Here are a few common problems and how to address them:
- Difficulty removing rusted bolts: Apply penetrating oil and let it soak for a longer period. If the bolt is severely rusted, you might need to use a bolt extractor or even cut the bolt off and replace it.
- Broken plastic clips: Plastic clips can become brittle over time and break easily. Have a supply of replacement clips on hand. You can usually find these at your local auto parts store or online.
- Misaligned bumper cover: If the bumper cover doesn't align properly, double-check that all alignment tabs are seated correctly. You might need to loosen the fasteners and adjust the position of the bumper cover slightly.
- Fog lights not working: Check the fog light fuses and wiring connections. If the fuse is blown, replace it with a new one of the same amperage. If the wiring is damaged, you might need to repair or replace it.
Practical Takeaways
Replacing a 2012 Nissan Altima front bumper is a manageable DIY project, but preparation and attention to detail are key. Here are some practical takeaways:
- Take pictures: Before you start disassembling anything, take pictures of the bumper and its components. This will help you remember how everything goes back together.
- Organize your parts: Keep all the screws, bolts, and clips organized in separate containers. Label the containers to make reassembly easier.
- Don't force anything: If something isn't coming apart easily, double-check that you've removed all the fasteners. Forcing it could damage the bumper or surrounding body panels.
- Safety first: Always use jack stands when working under a car. Wear safety glasses and work gloves to protect yourself.
- When in doubt, seek professional help: If you're uncomfortable with any part of the process, don't hesitate to consult a professional mechanic. A body shop will be able to handle more complex repairs or installations.
By following these steps and tips, you can successfully replace your 2012 Nissan Altima's front bumper and save money on labor costs. Good luck!