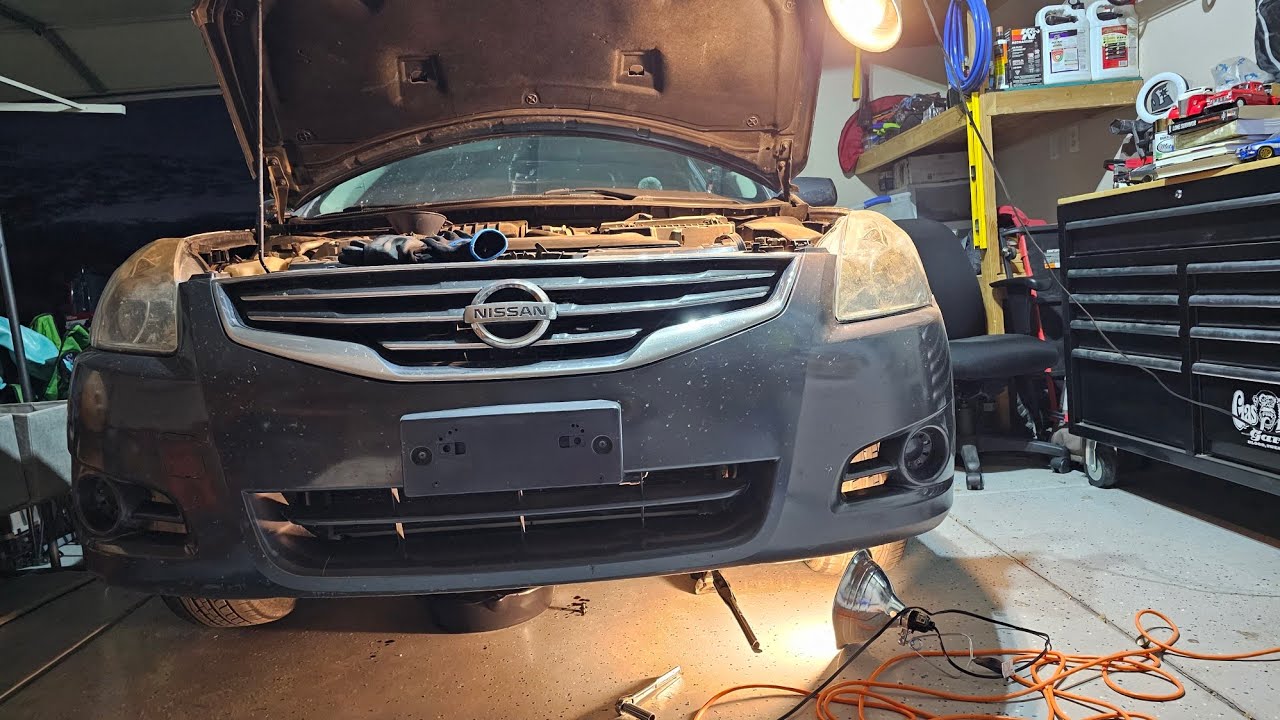
2012 Nissan Altima Oil Change
So, you're looking to change the oil on your 2012 Nissan Altima? That's a great maintenance item to tackle yourself, and it can save you a good chunk of change compared to taking it to a shop. This guide will walk you through the process, highlighting common snags and offering solutions to make sure the job goes smoothly. We'll cover everything from tools you'll need to what type of oil is best for your Altima. Let's get started!
Problem: Gathering the Right Tools and Materials
One of the first hurdles many folks face is simply having all the right equipment. You don't want to start the job and then realize you're missing a crucial wrench or the correct oil filter.
Solution: Comprehensive Tool and Material Checklist
Here's a list to ensure you're fully prepared:
- New Oil Filter: Crucial! Make sure it's the correct one for your 2012 Altima. You can find this information in your owner's manual or at any auto parts store. Expect to pay around $8-$15 for a quality filter. Brands like Purolator, Bosch, and Mobil 1 are good choices.
- New Engine Oil: Again, check your owner's manual for the correct viscosity and specification. Generally, a 5W-30 synthetic blend or full synthetic oil is recommended. A 2.5L engine typically takes around 4.75 quarts (4.5 liters). A 3.5L V6 takes around 5.25 quarts (5 liters). Always double-check your dipstick! Prices vary, but budget around $30-$50 for the necessary amount of oil.
- Wrench for the Oil Drain Plug: A 14mm wrench or socket usually works.
- Oil Filter Wrench: These come in various styles (cap-type, strap-type, etc.). Make sure it fits your specific oil filter. Some filters can be loosened by hand, but it's often easier with a wrench.
- Oil Drain Pan: A must-have to catch the old oil. Choose one large enough to hold the entire oil capacity of your engine (at least 6 quarts).
- Funnel: To pour the new oil into the engine without spilling.
- Gloves: To protect your hands from getting greasy.
- Rags or Shop Towels: For cleaning up spills.
- Jack and Jack Stands (or Ramps): To safely lift the vehicle. Never work under a vehicle supported only by a jack! Jack stands are non-negotiable for safety.
- Wheel Chocks: To prevent the car from rolling.
- Torque Wrench (Optional, but Recommended): To tighten the drain plug to the correct torque specification (check your owner's manual).
By gathering these items beforehand, you'll minimize frustration and ensure a smooth oil change process.
Problem: Difficulty Loosening the Oil Drain Plug
A common issue is encountering a drain plug that's been overtightened by a previous mechanic (or yourself!). This can make it incredibly difficult to remove.
Solution: Leverage and Patience
Here's how to tackle a stubborn drain plug:
- Use the Right Wrench: Ensure you're using the correct size wrench and that it fits snugly on the drain plug. A loose or worn wrench can slip and round off the plug.
- Apply Leverage: Try using a longer wrench or socket wrench handle to increase leverage. You can also slide a pipe over the end of your wrench for even more leverage.
- Tap with a Hammer: Sometimes, a gentle tap with a hammer on the wrench can help break the seal. Be careful not to damage the plug.
- Heat (Use with Caution): If all else fails, you can try applying a small amount of heat to the area around the drain plug using a propane torch. Exercise extreme caution when using heat near flammable materials. Heat expands the metal and can help break the seal.
- Penetrating Oil: Spray some penetrating oil (like PB Blaster or Liquid Wrench) around the drain plug and let it sit for a while before attempting to remove it again.
- Rounded Drain Plug? If the drain plug is already rounded, you might need a special rounded-bolt extractor socket. These are designed to grip damaged bolts. As a last resort, you may need to consult a mechanic for removal. A replacement drain plug is usually inexpensive.
Problem: Stripped Oil Drain Plug Threads
Overtightening the drain plug can damage the threads in the oil pan. This can cause leaks and make future oil changes difficult.
Solution: Repair Options
A stripped drain plug thread is a serious issue, but it's often repairable:
- Oversized Drain Plug: The simplest solution is to use an oversized self-tapping drain plug. These plugs cut new threads into the existing hole. Be very careful when installing an oversized plug to avoid cross-threading it.
- Thread Repair Kit (Heli-Coil or Time-Sert): These kits allow you to install a new threaded insert into the oil pan, effectively restoring the original thread size. These are a more permanent and reliable solution than oversized plugs, but require more skill and effort to install.
- Oil Pan Replacement: In severe cases, the oil pan itself may need to be replaced. This is the most expensive option, but it guarantees a proper seal.
The cost of these repairs can vary depending on the method and whether you do it yourself or have a mechanic do it. An oversized drain plug might cost $10-$20. A thread repair kit can range from $50-$150. Oil pan replacement can cost several hundred dollars, including parts and labor.
Problem: Difficulty Removing the Oil Filter
Oil filters can be notoriously difficult to remove, especially if they've been overtightened or haven't been changed in a while.
Solution: The Right Tool and Technique
Here's how to tackle a stubborn oil filter:
- Use the Correct Oil Filter Wrench: Ensure you have the right type of oil filter wrench for your filter. Cap-type wrenches are generally the most effective, but strap-type wrenches can work in tight spaces.
- Puncture and Twist (Use with Caution): If the wrench is slipping, you can try puncturing the filter with a long screwdriver and using it as a lever to twist the filter off. Be extremely careful not to damage any other components or yourself. This method is messy, so be prepared for oil to spill.
- Heat (Use with Caution): Similar to the drain plug, applying a small amount of heat to the filter housing can help loosen it.
- Penetrating Oil: Spray penetrating oil around the filter's seal and let it sit for a while before attempting to remove it.
Problem: Determining the Correct Oil Type and Amount
Using the wrong oil type or filling the engine with too much or too little oil can damage your engine.
Solution: Consult Your Owner's Manual and Dipstick
- Owner's Manual is Key: Always refer to your 2012 Altima's owner's manual for the recommended oil type and viscosity. Typically, a 5W-30 synthetic blend or full synthetic oil is recommended.
- Check the Dipstick: After adding the recommended amount of oil, check the dipstick to ensure the oil level is within the "MIN" and "MAX" marks. Add more oil if necessary, but avoid overfilling.
- Start the Engine: Run the engine for a few minutes and then recheck the oil level. The oil filter will fill up, so you may need to add a little more oil to reach the correct level.
Problem: Environmental Responsibility - Disposing of Used Oil
Used motor oil is a hazardous waste and needs to be disposed of properly.
Solution: Recycling is the Answer
- Auto Parts Stores: Most auto parts stores (like AutoZone, Advance Auto Parts, and O'Reilly Auto Parts) accept used motor oil for recycling. They often have dedicated collection tanks.
- Recycling Centers: Your local recycling center may also accept used motor oil.
- Never Pour Down the Drain: Never pour used motor oil down the drain, into the sewer, or onto the ground. This can contaminate the water supply and harm the environment.
Problem: Resetting the Oil Change Reminder Light
After changing the oil, you'll need to reset the oil change reminder light in your Altima.
Solution: Reset Procedure
The exact procedure may vary slightly depending on the specific trim level, but here's a general guide:
- Turn the ignition switch to the "ON" position (but don't start the engine).
- Use the trip odometer reset button (usually located on the instrument panel) to cycle through the menu options until you see the "Oil Life" or "Maintenance" option.
- Press and hold the reset button until the oil life percentage resets to 100% or the maintenance reminder is cleared. You might need to press and hold for several seconds.
- Turn the ignition off and then back on to confirm that the reminder has been reset.
If you're unsure about the specific procedure for your Altima, consult your owner's manual.
By addressing these common problems and following these solutions, you can confidently and successfully change the oil on your 2012 Nissan Altima. Remember to always prioritize safety and consult your owner's manual for specific instructions and recommendations. Happy wrenching!