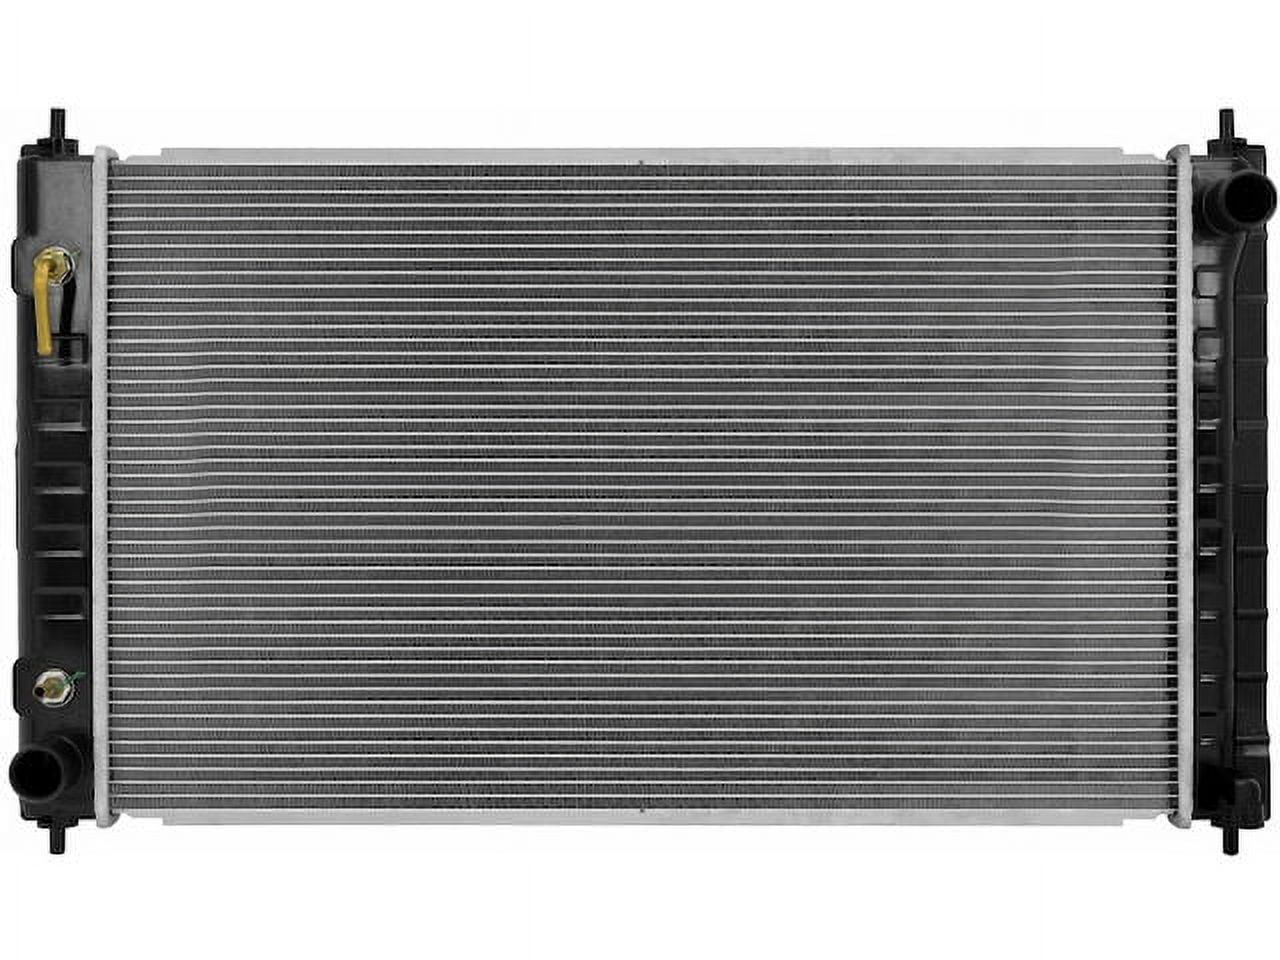
2012 Nissan Altima Radiator Replacement
The 2012 Nissan Altima, a popular mid-size sedan, is known for its reliability. However, like any vehicle, it's susceptible to wear and tear, especially in crucial components like the radiator. A failing radiator can lead to serious engine damage, making timely replacement essential. This article provides a practical guide for car owners and mechanics on diagnosing, troubleshooting, and replacing the radiator in a 2012 Nissan Altima.
Understanding the Radiator's Role and Common Problems
The radiator is a vital part of your Altima's cooling system. It dissipates heat from the coolant that circulates through the engine, preventing overheating. Over time, radiators can develop leaks, become clogged with debris, or suffer internal corrosion, leading to reduced cooling efficiency.
Common Symptoms of a Failing Radiator:
- Overheating Engine: This is the most obvious sign. If your temperature gauge consistently reads high, or you see steam coming from under the hood, your cooling system is likely compromised. Think of it like a fever in your car; it's a serious warning sign.
- Coolant Leaks: Look for puddles of green, orange, or pink fluid under your car, particularly near the front. The color of the coolant depends on the type used (e.g., traditional green, or newer OAT or HOAT formulations).
- Low Coolant Level: Regularly check your coolant reservoir. Consistently low levels, even after topping off, indicate a leak in the system, which could be the radiator.
- Rust and Corrosion: Visually inspect the radiator for signs of rust or corrosion on the fins, hoses, or connections. These weaken the metal and make it prone to leaks.
- Sludge in Coolant: If your coolant appears muddy or oily, it could indicate internal radiator damage or a head gasket issue, contaminating the coolant.
- Decreased Fuel Efficiency: An overheating engine has to work harder, reducing fuel economy. This might be a subtle clue.
Common Causes of Radiator Failure:
- Age and Wear: Over time, the radiator's components naturally degrade due to exposure to heat, pressure, and corrosive fluids.
- Corrosion: Using the wrong type of coolant or neglecting coolant flushes can lead to internal corrosion, weakening the radiator's structure.
- Physical Damage: Road debris, accidents, or even improper handling during maintenance can damage the radiator's fins or core.
- Clogged Radiator: Debris, rust, and scale can accumulate inside the radiator, restricting coolant flow and reducing its cooling efficiency. This is similar to arteries clogging in the human body.
- Faulty Radiator Cap: A malfunctioning radiator cap can't maintain proper system pressure, leading to coolant leaks and overheating.
Troubleshooting and Diagnosis
Before replacing the radiator, it's crucial to confirm that it's indeed the source of the problem. A systematic approach to troubleshooting will save you time and money.
Step-by-Step Troubleshooting:
- Visual Inspection: Carefully examine the radiator for any visible leaks, rust, or damage. Pay close attention to the seams, hoses, and connections. Use a flashlight for better visibility.
- Pressure Test: Use a radiator pressure tester to pressurize the cooling system. This will help you identify leaks that might not be obvious. Attach the tester to the radiator filler neck, pump up the pressure, and observe the gauge for any pressure drops.
- Coolant System Flush and Inspection: Drain the coolant and inspect it for signs of rust, sludge, or oil. A cooling system flush can help remove debris and improve cooling efficiency, but if the radiator is severely clogged or damaged, it won't be enough.
- Check the Radiator Cap: Inspect the radiator cap for damage or wear. A worn or damaged cap won't seal properly, leading to coolant leaks and overheating. You can also use a radiator cap tester to verify its pressure rating.
- Examine the Hoses: Check the radiator hoses for cracks, bulges, or leaks. Squeeze the hoses to feel for any soft spots or areas of deterioration. Replace any damaged hoses.
Example: Imagine a 2012 Nissan Altima owner notices their temperature gauge creeping higher than usual. They initially suspect the thermostat. However, after a visual inspection, they find a small but noticeable coolant leak near the bottom of the radiator. A pressure test confirms the leak is originating from the radiator core. This points definitively to radiator failure.
Radiator Replacement Procedure
Replacing a radiator can be a DIY project for experienced mechanics. However, if you're not comfortable working on your car, it's best to have a professional handle the replacement. Always prioritize safety and disconnect the negative battery terminal before starting any work.
Tools and Materials Needed:
- New Radiator (specific to the 2012 Nissan Altima with the correct engine)
- New Radiator Hoses (upper and lower)
- New Radiator Cap
- Coolant (compatible with your Altima's cooling system; check your owner's manual)
- Distilled Water (for mixing with the coolant)
- Wrenches and Sockets (metric)
- Screwdrivers (various sizes)
- Pliers
- Drain Pan
- Funnel
- Gloves
- Safety Glasses
- Jack and Jack Stands (for safely lifting the vehicle if necessary)
Step-by-Step Replacement Guide:
- Preparation: Allow the engine to cool completely before starting. Disconnect the negative battery terminal.
- Drain the Coolant: Place a drain pan under the radiator draincock (usually located at the bottom of the radiator). Open the draincock to allow the coolant to drain completely. Be mindful of pets; coolant is toxic.
- Remove the Radiator Hoses: Loosen the hose clamps securing the upper and lower radiator hoses to the radiator and engine. Carefully disconnect the hoses. Be prepared for some residual coolant to spill.
- Disconnect Transmission Cooler Lines (if applicable): Some Altima models have transmission cooler lines running to the radiator. Disconnect these lines carefully, using a line wrench to prevent damage. Have plugs ready to prevent fluid loss.
- Remove Any Shrouds or Covers: Remove any shrouds or covers that are blocking access to the radiator.
- Disconnect Electrical Connectors: Disconnect any electrical connectors attached to the radiator or fan assembly.
- Remove the Radiator Mounting Bolts: Locate and remove the bolts or fasteners that secure the radiator to the vehicle's frame.
- Remove the Radiator: Carefully lift the old radiator out of the vehicle. Be mindful of any remaining coolant.
- Install the New Radiator: Carefully lower the new radiator into place, aligning it with the mounting points. Secure it with the mounting bolts.
- Reconnect Transmission Cooler Lines (if applicable): Reconnect the transmission cooler lines, ensuring they are properly secured.
- Reconnect Electrical Connectors: Reconnect any electrical connectors that were disconnected.
- Reattach Radiator Hoses: Attach the upper and lower radiator hoses to the radiator and engine, securing them with the hose clamps.
- Install Shrouds or Covers: Reinstall any shrouds or covers that were removed.
- Fill the Cooling System: Mix the coolant and distilled water according to the manufacturer's recommendations (usually a 50/50 mix). Carefully pour the coolant mixture into the radiator until it reaches the proper level.
- Bleed the Cooling System: Bleeding the cooling system removes air pockets that can cause overheating. Refer to your Altima's service manual for the proper bleeding procedure. This often involves running the engine with the radiator cap off (or a special bleeder valve open) until all air bubbles are purged.
- Check for Leaks: Start the engine and allow it to warm up. Check for any leaks around the radiator hoses, connections, and radiator core.
- Monitor Coolant Level: After driving the vehicle for a few days, check the coolant level regularly and add more coolant if necessary.
Real-World Issue: Mechanics often encounter corroded hose clamps that are difficult to remove. Solution: Use penetrating oil and a hose clamp plier. If the clamp is too damaged, cut it off carefully with side cutters, being careful not to damage the hose.
Real-World Issue: The transmission cooler lines can be difficult to disconnect and prone to leaking after reconnection. Solution: Use new O-rings or sealing washers on the cooler lines. Tighten the connections carefully to avoid over-tightening, which can damage the fittings.
Preventive Maintenance and Long-Term Care
Proper maintenance is key to extending the life of your radiator and preventing costly repairs. A little preventative care goes a long way.
Tips for Keeping Your Radiator in Top Condition:
- Regular Coolant Flushes: Follow the manufacturer's recommended coolant flush intervals (usually every 30,000 to 50,000 miles). This removes contaminants and prevents corrosion.
- Use the Correct Coolant: Always use the type of coolant specified in your Altima's owner's manual. Mixing different types of coolant can lead to corrosion and damage.
- Inspect Hoses Regularly: Check the radiator hoses for cracks, bulges, or leaks during regular maintenance checks. Replace damaged hoses promptly.
- Keep the Radiator Clean: Remove any debris, leaves, or bugs that accumulate on the radiator fins. A garden hose can be used to gently clean the radiator fins, but avoid using high-pressure washers, as they can damage the fins.
- Check the Radiator Cap: Inspect the radiator cap regularly and replace it if it's worn or damaged.
- Monitor Temperature Gauge: Pay attention to your temperature gauge and address any signs of overheating immediately.
Analogy: Think of your car's cooling system as its circulatory system. Just like you need to maintain a healthy diet and exercise to keep your heart healthy, you need to maintain your cooling system to keep your engine running smoothly.
By understanding the radiator's function, recognizing common problems, and following proper maintenance procedures, car owners and mechanics can ensure the longevity and reliability of the cooling system in the 2012 Nissan Altima, and other vehicles like Honda Civics, Toyota Camrys, or Ford Fusions which share similar radiator designs and failure modes.