2012 Nissan Murano Sun Visor Replacement
Is the sun beating down on you even with your sun visor down in your 2012 Nissan Murano? A faulty or broken sun visor can be more than just an annoyance; it can be a safety hazard. Replacing it is a relatively straightforward DIY project that can save you money compared to taking it to a mechanic. This guide provides a comprehensive walkthrough of how to replace the sun visor in your 2012 Nissan Murano, ensuring you get the job done right.
Why Replace Your 2012 Nissan Murano Sun Visor?
Before diving into the how-to, let's understand why a functional sun visor is crucial:
- Safety: Glare from the sun can severely impair your vision while driving, increasing the risk of accidents. A properly functioning visor blocks that glare.
- Comfort: Reduces eye strain and fatigue, making driving more comfortable, especially on long journeys.
- Cosmetics: A sagging or broken visor detracts from the overall appearance of your vehicle's interior.
- Value: Replacing a broken visor can maintain or even slightly increase your car's resale value.
Ignoring a broken visor can lead to eye strain, headaches, and even accidents. Don't underestimate the importance of this small but vital component.
Identifying the Right Replacement Sun Visor
Finding the correct replacement visor for your 2012 Nissan Murano is essential for a successful repair. Here's how to ensure you get the right part:
Part Number Verification
The most reliable way to find the correct visor is by identifying the original part number. This number can sometimes be found on the visor itself, often on a small sticker on the back or side. However, if the sticker is missing or illegible, consult your Nissan Murano's owner's manual or contact a Nissan dealership with your VIN (Vehicle Identification Number). They can look up the correct part number for your specific vehicle.
Left vs. Right (Driver vs. Passenger)
Sun visors are specific to the driver's side (left) or passenger's side (right). Be absolutely certain you are ordering the correct side. Misordering is a common mistake that can be easily avoided.
Color and Material
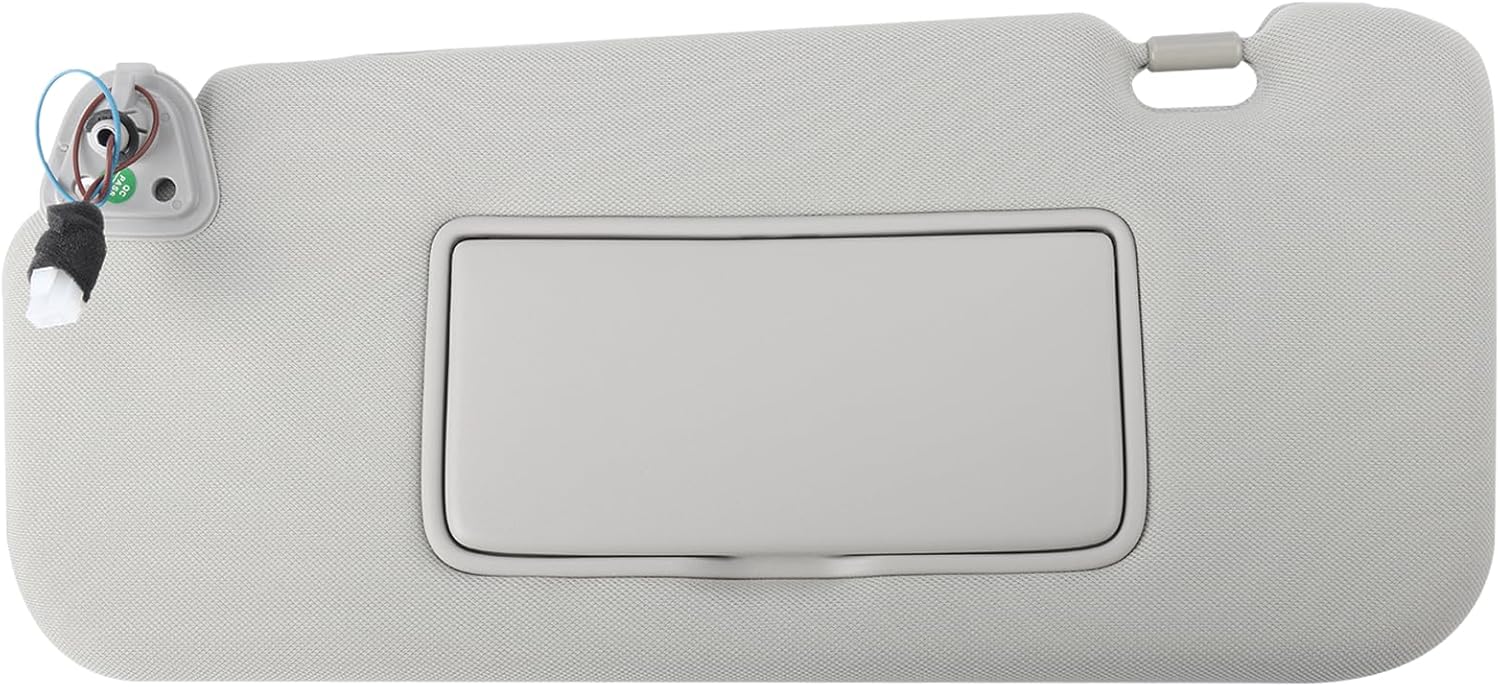
Visors come in different colors and materials to match your vehicle's interior. Ensure the replacement visor's color and material (e.g., gray cloth, beige leather) match your existing interior to maintain a consistent look. Minor color variations may be noticeable if the replacement doesn't match.
Source of Replacement
You have several options when purchasing a replacement sun visor:
- Nissan Dealership: Offers genuine Nissan parts, guaranteeing a perfect fit and quality. This is typically the most expensive option.
- Online Retailers (e.g., Amazon, eBay): Offers a wide range of options, including aftermarket and used visors. Pay close attention to reviews and seller ratings to ensure you're buying from a reputable source.
- Auto Parts Stores (e.g., AutoZone, Advance Auto Parts): Often carry aftermarket visors specifically designed for the 2012 Nissan Murano. You can physically inspect the part before purchasing.
- Salvage Yards: A potentially budget-friendly option, but the condition of the visor may vary significantly. Inspect the visor carefully for damage or wear before purchasing.
Consider your budget and desired quality when choosing a source. A genuine Nissan part from a dealership will likely be the most reliable but also the most expensive.
Tools and Materials Needed
Before you start, gather the necessary tools and materials:
- New Sun Visor: The correct replacement for your 2012 Nissan Murano.
- Phillips Head Screwdriver: For removing and installing the screws holding the visor in place.
- Flathead Screwdriver (Optional): Can be helpful for gently prying off any trim pieces.
- Protective Eyewear: To protect your eyes from dust and debris.
- Work Gloves (Optional): To protect your hands.
- Clean Cloth: To wipe down the area after the replacement.
Having all the tools ready beforehand will make the process smoother and faster.
Step-by-Step Sun Visor Replacement Guide
Now, let's proceed with the actual replacement process. Follow these steps carefully:
Step 1: Preparation
Park your 2012 Nissan Murano in a well-lit area and turn off the ignition. Engage the parking brake for safety. Gather your tools and the new sun visor.
Step 2: Removing the Old Sun Visor
Locate the screws that secure the sun visor to the headliner. Typically, there are two or three Phillips head screws. Using the Phillips head screwdriver, carefully unscrew each screw. Be patient and apply even pressure to avoid stripping the screw heads.
As you remove the last screw, support the visor with your other hand to prevent it from falling and potentially damaging the surrounding area. Gently detach the visor from the headliner.
If your visor has a clip or retaining mechanism besides the screws, carefully disengage it. A flathead screwdriver may be helpful, but be cautious not to damage the headliner.
Step 3: Inspecting the Mounting Area
Once the old visor is removed, inspect the mounting area on the headliner. Look for any damage, such as frayed edges or loose fabric. Clean the area with a clean cloth to remove any dust or debris. This will ensure a clean and secure installation of the new visor.
Step 4: Installing the New Sun Visor
Position the new sun visor in the mounting area, aligning the screw holes with the holes in the headliner. Ensure the visor is oriented correctly (driver's side or passenger's side). Carefully insert the screws into the holes and tighten them with the Phillips head screwdriver. Do not overtighten the screws, as this could damage the headliner or strip the screw threads. Tighten them snugly until the visor is securely in place.
If your visor has a clip or retaining mechanism, engage it after securing the screws. Ensure the visor is firmly attached and moves smoothly through its range of motion.
Step 5: Testing the New Sun Visor
After installing the new visor, test it to ensure it functions correctly. Flip it up and down, and side to side, checking for smooth and unrestricted movement. Make sure it stays in the desired position and provides adequate sun protection.
Step 6: Clean Up
Once you're satisfied with the installation, clean up any tools or materials. Dispose of the old sun visor properly. Wipe down the area around the visor with a clean cloth to remove any fingerprints or smudges.
Troubleshooting
Sometimes, even with the best instructions, things can go wrong. Here are some common issues you might encounter and how to address them:
- Screws Won't Tighten: This could indicate stripped screw threads in the headliner. Try using slightly larger screws or inserting plastic anchors into the holes for a more secure grip.
- Visor Doesn't Stay in Place: Ensure the screws are tightened sufficiently. If the visor is still loose, the retaining mechanism may be faulty. Consider replacing the visor with a new one.
- Difficulty Removing the Old Visor: If the screws are stuck, try applying a small amount of penetrating oil to the threads and let it sit for a few minutes before attempting to remove them again.
- New Visor Doesn't Match Interior Color: Double-check the part number and color code to ensure you ordered the correct replacement. If the color difference is minimal, you might be able to live with it. Otherwise, consider returning the visor and ordering the correct color.
If you're unsure about any step of the process, it's always best to consult a professional mechanic. They have the experience and tools to handle more complex repairs.
Maintenance Tips
To prolong the life of your new sun visor, consider these maintenance tips:
- Avoid Overextending the Visor: Excessive force can damage the visor's internal mechanisms.
- Clean Regularly: Wipe down the visor with a damp cloth to remove dust and dirt.
- Protect from Extreme Temperatures: Parking in direct sunlight for extended periods can cause the visor to fade or crack.
By following these simple tips, you can keep your sun visor in good condition for years to come.
Conclusion
Replacing the sun visor in your 2012 Nissan Murano is a relatively easy and cost-effective DIY project. By following this guide and taking your time, you can restore your vehicle's comfort and safety. Remember to choose the correct replacement visor, gather the necessary tools, and follow the steps carefully. With a little effort, you can enjoy clear vision and a comfortable driving experience once again.
Disclaimer: This guide is for informational purposes only. Always consult your vehicle's owner's manual and follow all safety precautions when performing any automotive repairs. If you are not comfortable performing this repair yourself, consult a qualified mechanic.