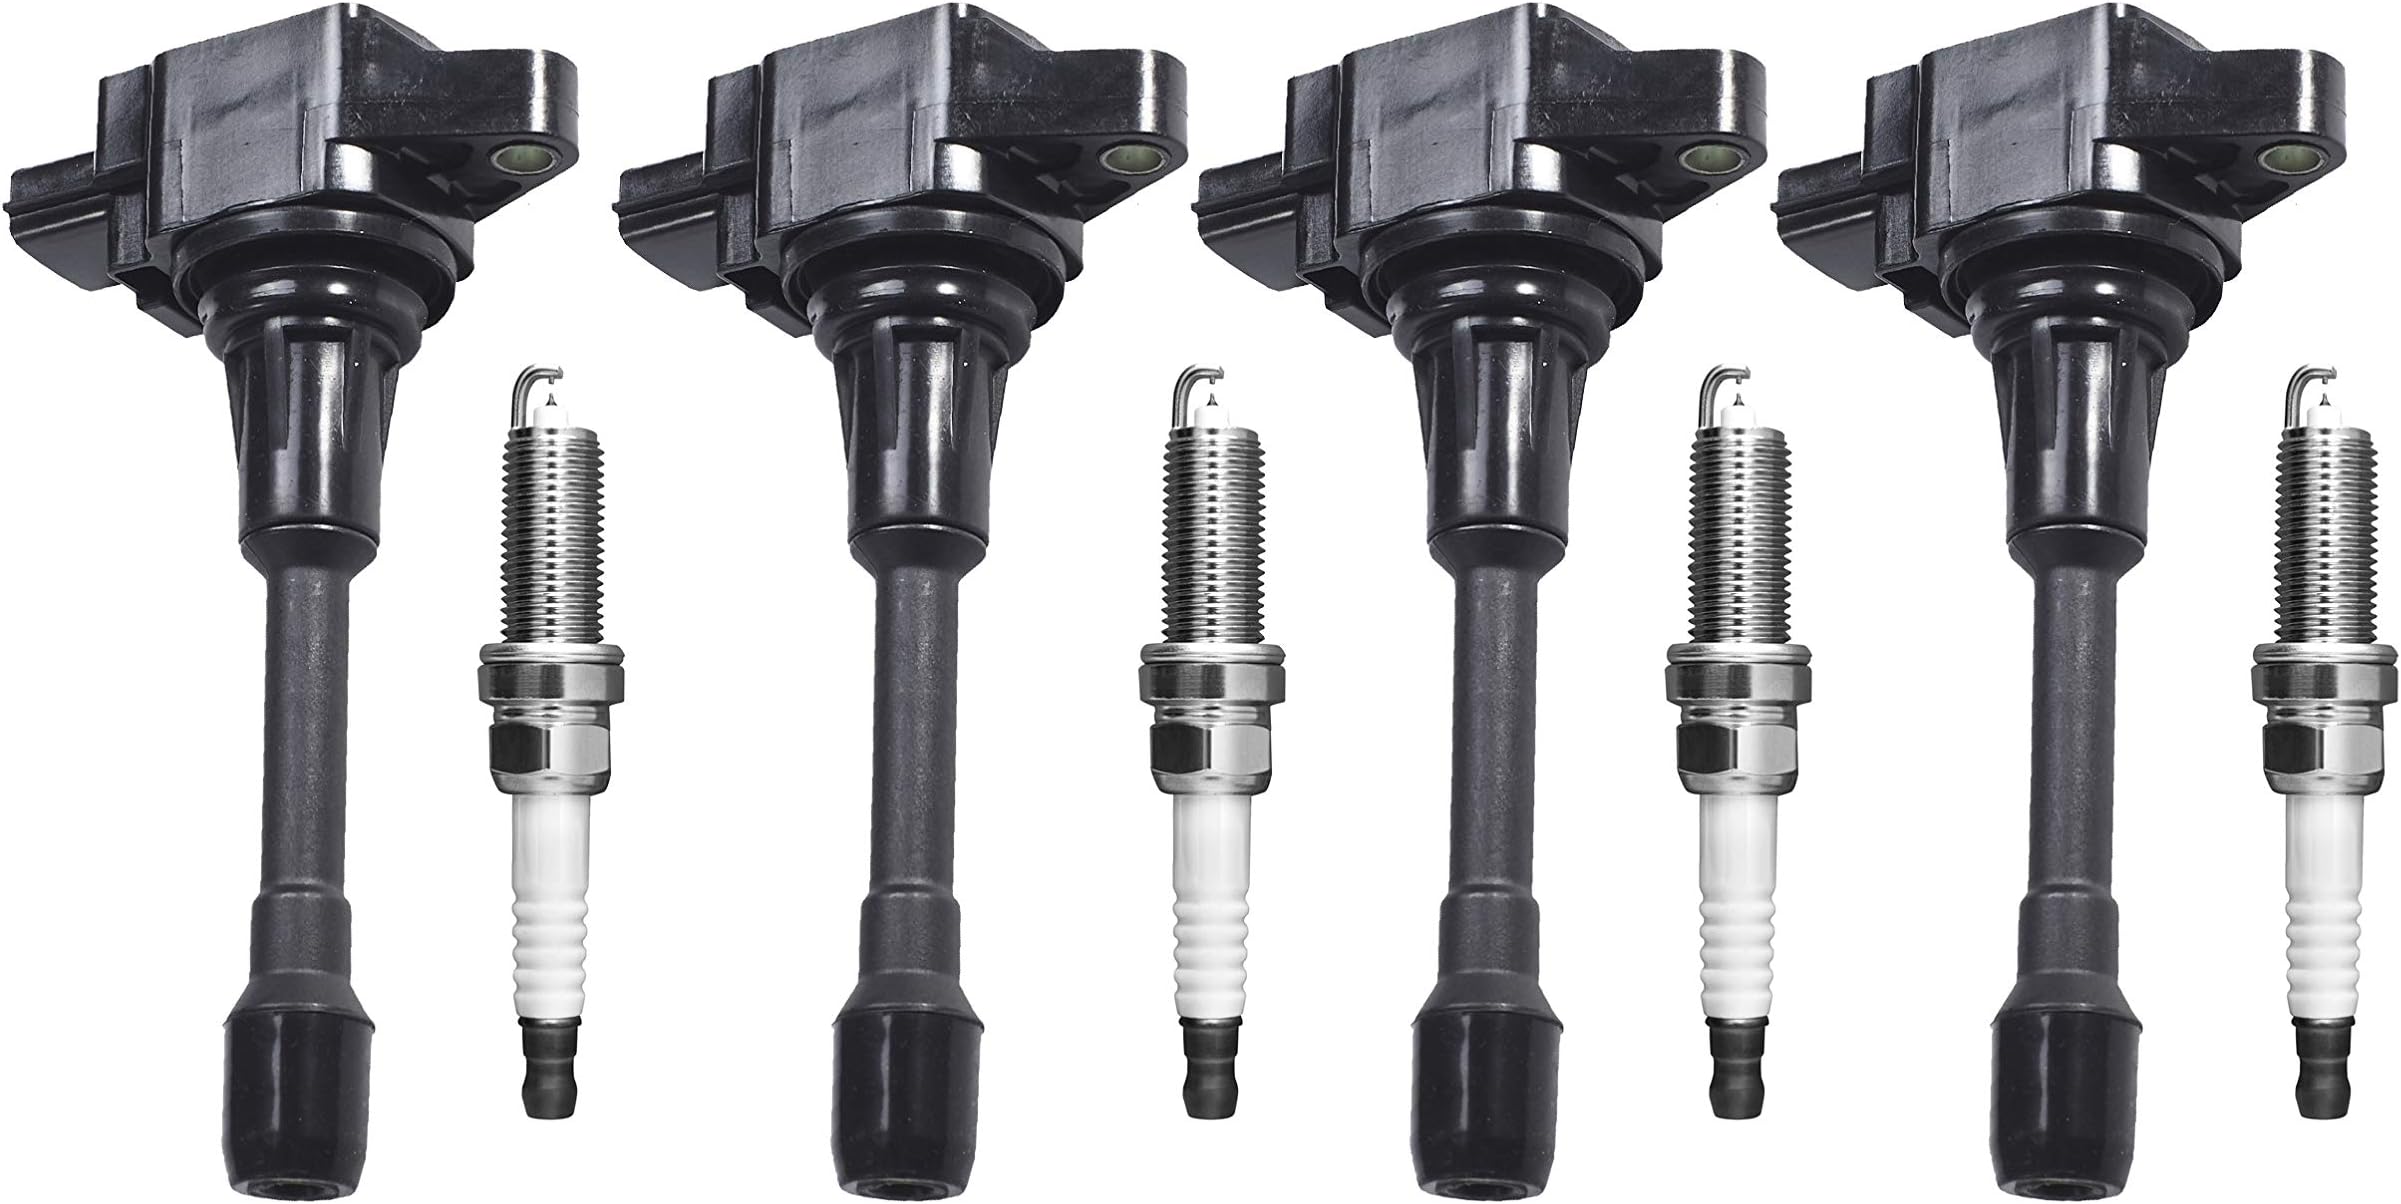
2013 Nissan Altima Coil Pack
Alright, let's dive into the ignition coil packs on the 2013 Nissan Altima. This is a critical component for ensuring a smooth-running engine and efficient combustion. Understanding how they work, common issues, and how to diagnose them will be invaluable for any experienced DIYer. We'll cover the technical aspects, but I'll keep it approachable, like a trusted mechanic would.
Understanding the Ignition Coil Pack System
The 2013 Altima, depending on the engine (either the 2.5L QR25DE inline-4 or the 3.5L VQ35DE V6), uses a coil-on-plug (COP) ignition system. This means each cylinder has its own dedicated ignition coil directly mounted on top of the spark plug. This is a significant improvement over older distributor-based systems, which used a single coil to fire all cylinders sequentially through a distributor.
Here's a breakdown of the components and how they interact:
- Battery: Provides the initial 12V DC power to the system.
- Ignition Switch: Controls the flow of power from the battery to the ignition system.
- Engine Control Module (ECM): The brains of the operation. The ECM receives signals from various sensors (crankshaft position sensor, camshaft position sensor, etc.) and determines the optimal time and duration for each spark plug to fire.
- Ignition Coils: These are essentially step-up transformers. They take the 12V from the battery and convert it into a high-voltage pulse (typically 20,000-40,000 volts) necessary to create a spark across the spark plug gap.
- Spark Plugs: Located within the cylinder head, the spark plugs receive the high-voltage pulse from the ignition coils and ignite the air-fuel mixture within the combustion chamber.
The process goes like this: The ECM sends a signal to the ignition coil, telling it to fire. Inside the coil, the 12V current flows through the primary winding. When the ECM cuts off the current to the primary winding, the magnetic field collapses. This collapsing magnetic field induces a high-voltage current in the secondary winding, which has significantly more turns than the primary winding. This high-voltage current is then discharged to the spark plug, creating the spark.
Technical Jargon Defined:
Primary Winding: The lower voltage, lower number of turns winding in the coil.
Secondary Winding: The high voltage, high number of turns winding in the coil.
Inductive Kick: The voltage spike generated when current flow through an inductor (like a coil) is interrupted. This is what creates the high voltage needed for the spark.
Common Issues with 2013 Altima Coil Packs
Several factors can contribute to coil pack failure on the 2013 Altima. Here are some of the most common:
- Age and Wear: Over time, the insulation within the coil pack can degrade due to heat and vibration, leading to short circuits or reduced voltage output.
- Heat: Excessive engine heat can accelerate the breakdown of the coil pack's internal components.
- Vibration: Constant engine vibration can weaken the coil pack's internal connections and cause them to fail.
- Spark Plug Condition: Worn or fouled spark plugs can increase the load on the ignition coils, causing them to overheat and fail prematurely. A wider spark plug gap requires more voltage to jump, stressing the coil.
- Moisture: Water or other fluids can penetrate the coil pack and cause short circuits or corrosion.
- Electrical Overload: Issues with the charging system or other electrical components can overload the coil packs, leading to failure.
Symptoms of a failing coil pack can include:
- Misfires: This is the most common symptom. The engine will feel rough, and you may experience a loss of power. The check engine light will likely illuminate.
- Rough Idle: The engine may idle unevenly or stall.
- Poor Fuel Economy: A misfiring cylinder reduces combustion efficiency, leading to decreased fuel economy.
- Check Engine Light: The ECM will detect the misfire and trigger the check engine light. The diagnostic trouble code (DTC) will often indicate which cylinder is misfiring.
- Hesitation During Acceleration: The engine may hesitate or stumble when you try to accelerate.
- Vibration: Noticeable vibration in the engine, especially at idle or low speeds.
Diagnosing a Faulty Coil Pack
Alright, so you suspect a coil pack is bad. Here's how to diagnose the issue:
- Read the Diagnostic Trouble Codes (DTCs): Use an OBD-II scanner to retrieve the DTCs from the ECM. Codes such as P0300 (Random Misfire), P0301 (Misfire Cylinder 1), P0302 (Misfire Cylinder 2), etc., will point you in the right direction. Note these codes down - they're your starting point.
- Visual Inspection: Carefully inspect each coil pack for signs of damage, such as cracks, swelling, or corrosion. Look closely at the connector and wiring for any damage or loose connections. Also, check the spark plug wells for oil or coolant intrusion, which can damage the coils.
- Coil Pack Swapping (The Simplest Method): This is a relatively easy way to pinpoint a faulty coil. Swap the suspect coil pack with a known good coil pack from another cylinder. Clear the DTCs using your OBD-II scanner, then start the engine and drive the car to see if the misfire code moves to the cylinder where you moved the suspect coil. If the code moves, the coil pack is likely the culprit. For example, if you had a P0301 (Cylinder 1 misfire) and you swapped the coil from cylinder 1 with the coil from cylinder 2, and then you get a P0302 (Cylinder 2 misfire), then the original coil from cylinder 1 is bad.
- Using a Multimeter: You can use a multimeter to test the resistance of the primary and secondary windings of the coil pack. Consult the service manual for the 2013 Altima to find the specified resistance values. However, this method is not always reliable, as a coil pack can have the correct resistance but still fail under load.
- Disconnect the coil pack connector.
- Set your multimeter to the ohms (Ω) setting.
- Primary Resistance: Measure the resistance between the two terminals on the connector side of the coil pack.
- Secondary Resistance: Remove the coil pack. Carefully insert one multimeter probe into the spark plug boot connector and the other to a clean ground (typically the metal body of the coil pack). Be careful not to damage the internal components.
- Compare your readings to the manufacturer's specifications. Significant deviations from the specified values indicate a faulty coil pack.
- Spark Tester: An inline spark tester can be used to visually verify that the coil pack is producing a spark. Connect the tester between the coil pack and the spark plug. Start the engine and observe the tester. A healthy coil pack will produce a strong, consistent spark. A weak or intermittent spark indicates a problem with the coil pack.
Replacing the Coil Pack
Once you've identified a faulty coil pack, replacing it is a straightforward process:
- Disconnect the Negative Battery Terminal: This is a crucial safety precaution to prevent electrical shock and damage to the electrical system.
- Locate the Faulty Coil Pack: Refer to the DTCs and your diagnosis to identify the correct coil pack.
- Disconnect the Electrical Connector: Carefully disconnect the electrical connector from the coil pack. You may need to use a small screwdriver or pick to release the locking tab.
- Remove the Mounting Bolt: Remove the bolt that secures the coil pack to the engine.
- Remove the Coil Pack: Gently pull the coil pack straight up to remove it from the spark plug well.
- Inspect the Spark Plug: While the coil pack is removed, inspect the spark plug for wear, damage, or fouling. Replace the spark plug if necessary. This is good preventative maintenance while you're already in there.
- Install the New Coil Pack: Apply a small amount of dielectric grease to the spark plug boot of the new coil pack. This will help to prevent moisture and corrosion and ensure a good electrical connection.
- Reinstall the Mounting Bolt: Reinstall the mounting bolt and torque it to the specified value (refer to the service manual). Overtightening can damage the coil pack.
- Reconnect the Electrical Connector: Reconnect the electrical connector to the coil pack, ensuring that it is securely latched.
- Repeat for Other Cylinders if Necessary: If you are replacing multiple coil packs, repeat the process for each cylinder.
- Reconnect the Negative Battery Terminal: Reconnect the negative battery terminal.
- Clear the DTCs: Use your OBD-II scanner to clear the DTCs from the ECM.
- Start the Engine and Test: Start the engine and let it idle for a few minutes. Verify that the engine is running smoothly and that there are no misfires. Take the car for a test drive to ensure that the problem is resolved.
Choosing a Replacement Coil Pack
When choosing a replacement coil pack for your 2013 Altima, you have a few options:
- OEM (Original Equipment Manufacturer): These are the same coil packs that were installed on the car at the factory. They are typically the most reliable option, but they are also the most expensive. Consider brands like Hitachi, which is a common OEM supplier for Nissan.
- Aftermarket: Aftermarket coil packs are manufactured by companies other than the OEM. They can be a more affordable option, but the quality can vary significantly. Read reviews and choose a reputable brand. Brands like Denso, NGK, and Delphi are generally considered reliable aftermarket options.
- Performance: Performance coil packs are designed to provide a stronger spark, which can improve engine performance. However, they are typically more expensive and may not be necessary for a stock engine. These are more for modders looking for a slight edge in performance.
Important Tip: When replacing coil packs, it's generally a good idea to replace all of them at the same time, especially if they are all the same age. This will help to ensure consistent performance and prevent future failures. At the very least, replacing the coil pack on the cylinder adjacent to the failing one is good practice.
By following these steps, you can effectively diagnose and replace the coil packs on your 2013 Nissan Altima, ensuring a smooth-running and reliable engine.