2013 Nissan Altima Drive Belt
Alright folks, let's talk about a common issue we see here in the shop with 2013 Nissan Altimas: the drive belt, sometimes called the serpentine belt. This unassuming rubber belt plays a crucial role in keeping your Altima running smoothly. It powers essential components like your alternator (which charges the battery), power steering pump, and air conditioning compressor. When it fails, you'll definitely notice!
The Problem: Recognizing Drive Belt Issues
So, how do you know if your 2013 Altima's drive belt is giving you trouble? Here are the most common symptoms:
- Squealing or Chirping Noise: This is the most frequent indicator. The noise usually gets louder when you first start the car, especially in cold or damp weather. It can also change in pitch or intensity as you accelerate or turn the steering wheel. This sound happens when the belt is slipping.
- Battery Problems: A worn or broken drive belt can prevent the alternator from properly charging the battery. This might manifest as a dead battery, dim headlights, or warning lights on your dashboard. You might see a battery light.
- Power Steering Problems: If the belt is slipping or broken, the power steering pump won't function correctly. You'll notice it becomes much harder to turn the steering wheel, especially at low speeds.
- Air Conditioning Issues: A malfunctioning drive belt can prevent the AC compressor from working, resulting in warm air blowing from your vents, even when the AC is turned on.
- Visible Damage to the Belt: A visual inspection can often reveal the problem. Look for cracks, fraying, missing chunks, or excessive wear on the belt. If it looks glazed or shiny, that's another sign it needs replacement.
- Overheating: In some cases, the drive belt also runs the water pump. If it fails, your engine can overheat quickly. This is less common on the 2013 Altima compared to some other vehicles where the timing belt also handles this task, but it's still a possibility if the belt severely degrades and impacts the water pump pulley.
Ignoring these symptoms can lead to more serious problems and more expensive repairs down the road. A completely broken drive belt can leave you stranded and potentially damage other components.
The Solution: Replacing the Drive Belt
Replacing the drive belt on a 2013 Nissan Altima is a relatively straightforward repair that many experienced DIYers can tackle. However, if you're not comfortable working on cars, it's always best to take it to a trusted mechanic.
Tools You'll Need:
- New Drive Belt: Make sure you get the correct belt for your 2013 Altima. Check your owner's manual or a reputable auto parts store for the correct part number.
- Socket Set and Ratchet: You'll need these to loosen and tighten the tensioner pulley bolt. Metric sizes are your friend here.
- Wrench Set: In case the socket won't work, you might need a wrench.
- Serpentine Belt Tool (Optional but Recommended): This specialized tool makes releasing the tension on the belt much easier and safer. It’s a worthwhile investment if you plan on doing this job yourself.
- Pry Bar (Optional): Can assist in maneuvering the belt.
- Gloves: To protect your hands.
- Safety Glasses: Always protect your eyes.
- Pen and Paper/Phone Camera: To document the belt routing before removal (very important!).
Step-by-Step Replacement Procedure:
- Safety First: Disconnect the negative terminal of your battery to prevent any electrical accidents. Engage the parking brake.
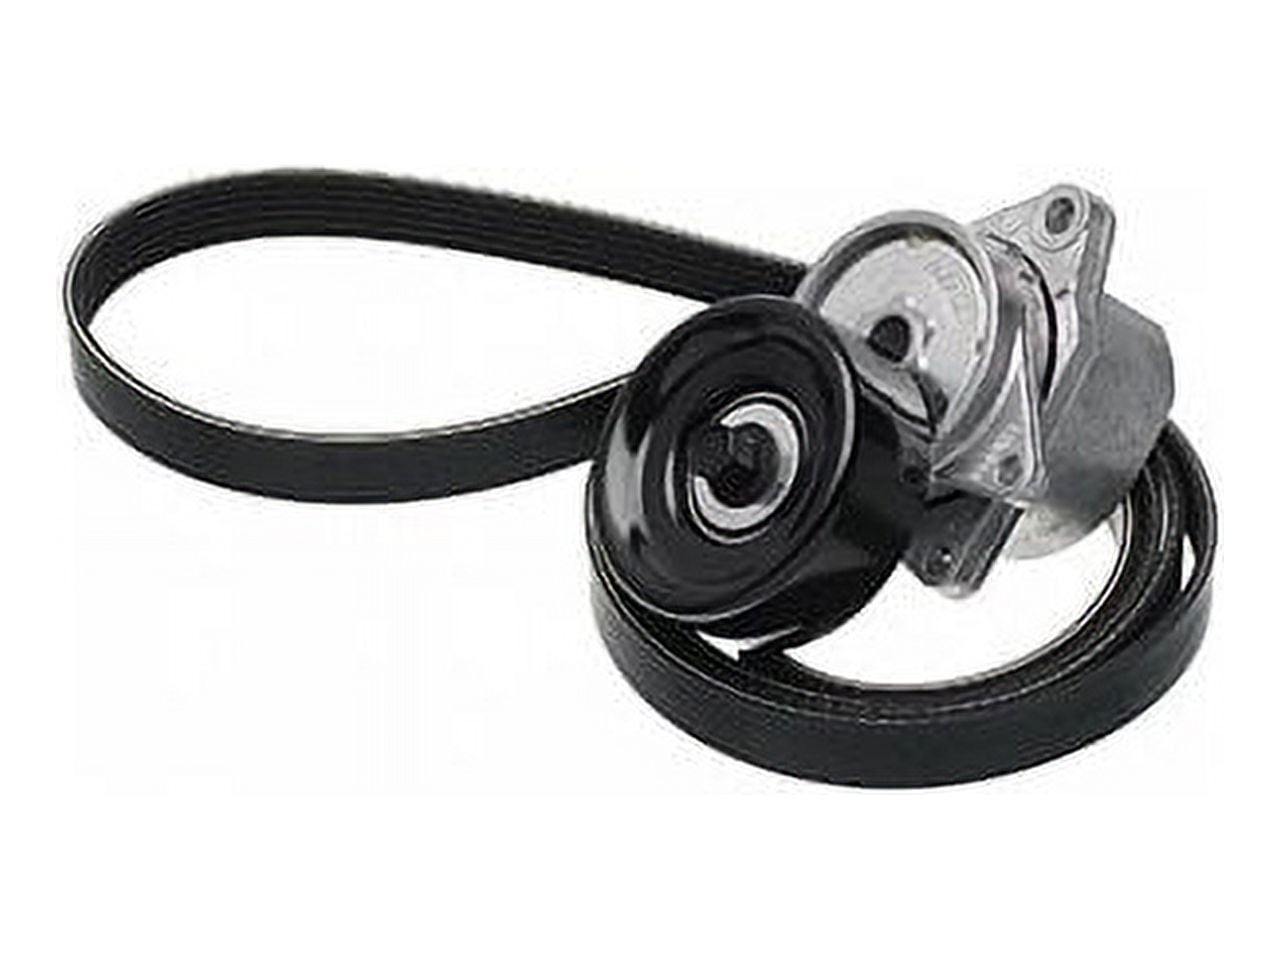
- Locate the Drive Belt and Tensioner Pulley: The drive belt is usually easily visible at the front of the engine. The tensioner pulley is a spring-loaded pulley that keeps the belt tight.
- Document the Belt Routing: Before you remove the old belt, carefully note how it's routed around all the pulleys. Draw a diagram or take clear pictures with your phone. This is crucial for installing the new belt correctly. If you get the routing wrong, you could damage the belt or other components.
- Release the Tension: Use your socket, wrench, or serpentine belt tool to rotate the tensioner pulley. This will relieve the tension on the belt, allowing you to slip it off the pulleys. The tensioner pulley typically rotates clockwise or counter-clockwise to release tension. The Serpentine Belt Tool greatly simplifies this step.
- Remove the Old Belt: Once the tension is released, carefully remove the old belt from all the pulleys.
- Inspect the Pulleys: While the belt is off, inspect all the pulleys for any signs of damage, wear, or misalignment. Spin each pulley by hand to check for smooth rotation. If any pulley feels rough or makes noise, it may need to be replaced.
- Install the New Belt: Following the diagram or photos you took earlier, carefully route the new belt around all the pulleys, making sure it's seated properly in the grooves of each pulley.
- Re-tension the Belt: Use your socket, wrench, or serpentine belt tool to rotate the tensioner pulley again, creating slack so you can slip the new belt over the final pulley. Carefully release the tensioner pulley, allowing it to tighten the belt.
- Double-Check the Routing: Thoroughly inspect the belt routing to ensure it's correct. Make sure the belt is properly seated in all the pulley grooves.
- Reconnect the Battery: Reconnect the negative terminal of your battery.
- Start the Engine and Listen: Start the engine and listen for any unusual noises. Check that all the accessories (alternator, power steering, AC) are working properly.
- Visual Inspection After Starting: With the engine running, carefully observe the drive belt to ensure it's running smoothly and not slipping or wobbling.
Important Considerations:
- Belt Tension: Proper belt tension is critical for optimal performance and longevity. If the belt is too loose, it will slip and wear out quickly. If it's too tight, it can put excessive strain on the pulleys and bearings. The tensioner pulley is designed to automatically maintain the correct tension, but it's still a good idea to double-check it.
- Pulley Alignment: Misaligned pulleys can cause the belt to wear unevenly and prematurely fail. If you suspect pulley misalignment, it's best to have it checked by a professional.
- Belt Quality: Using a high-quality replacement belt is important. Cheaper belts may not last as long or perform as well. Stick with reputable brands.
- Accessory Inspection: A failing accessory (like a seized alternator or AC compressor) can damage or break the drive belt. If you've had repeated drive belt failures, have the accessories inspected.
Estimated Repair Costs
The cost of replacing a drive belt on a 2013 Nissan Altima can vary depending on whether you do it yourself or take it to a mechanic.
- DIY: If you replace the belt yourself, the cost will be primarily the cost of the belt itself. A good quality drive belt typically costs between $20 and $50. Add in the cost of tools if you don't already have them, particularly the serpentine belt tool (around $20-$40). So, a DIY replacement could range from $20 to $90, depending on your existing tools.
- Professional Repair: If you take your Altima to a mechanic, the total cost will include the cost of the belt, labor charges, and potentially a shop fee. Labor costs can vary depending on the shop's hourly rate and the complexity of the job, but generally, replacing a drive belt is a relatively quick and easy job. Expect to pay between $100 and $250 for a professional drive belt replacement, including parts and labor. This price range includes the diagnostic and any applicable shop fees.
Always get a quote from a few different mechanics before authorizing any repairs. Ask for a detailed breakdown of the costs, including parts and labor.
Preventative Maintenance
To help prevent drive belt problems, it's important to perform regular maintenance. Here are a few tips:
- Inspect the Belt Regularly: Visually inspect the drive belt for any signs of wear, cracks, or damage. A good time to do this is during oil changes or other routine maintenance.
- Follow the Recommended Replacement Interval: Check your owner's manual for the recommended replacement interval for the drive belt. It's usually recommended to replace the belt every 60,000 to 100,000 miles, or every 5 to 7 years, whichever comes first.
- Address Noises Promptly: Don't ignore any squealing or chirping noises coming from the engine. These noises are often an early warning sign of drive belt problems.
By being proactive and addressing drive belt issues early, you can help keep your 2013 Nissan Altima running smoothly and avoid more costly repairs down the road. If you are not comfortable doing these repairs yourself, always consult a qualified mechanic!