2013 Nissan Rogue Sun Visor Replacement
So, your 2013 Nissan Rogue's sun visor is hanging low, cracked, or just plain broken? It's a common issue, and thankfully, replacing it is a relatively straightforward DIY project. This article will walk you through the process step-by-step, providing the knowledge you need to tackle this repair with confidence. We'll cover everything from identifying the correct replacement part to the actual installation process, including potential pitfalls and how to avoid them.
Tools and Materials You'll Need
Before diving in, gather the necessary tools and materials. Having everything ready will streamline the process and prevent frustration.
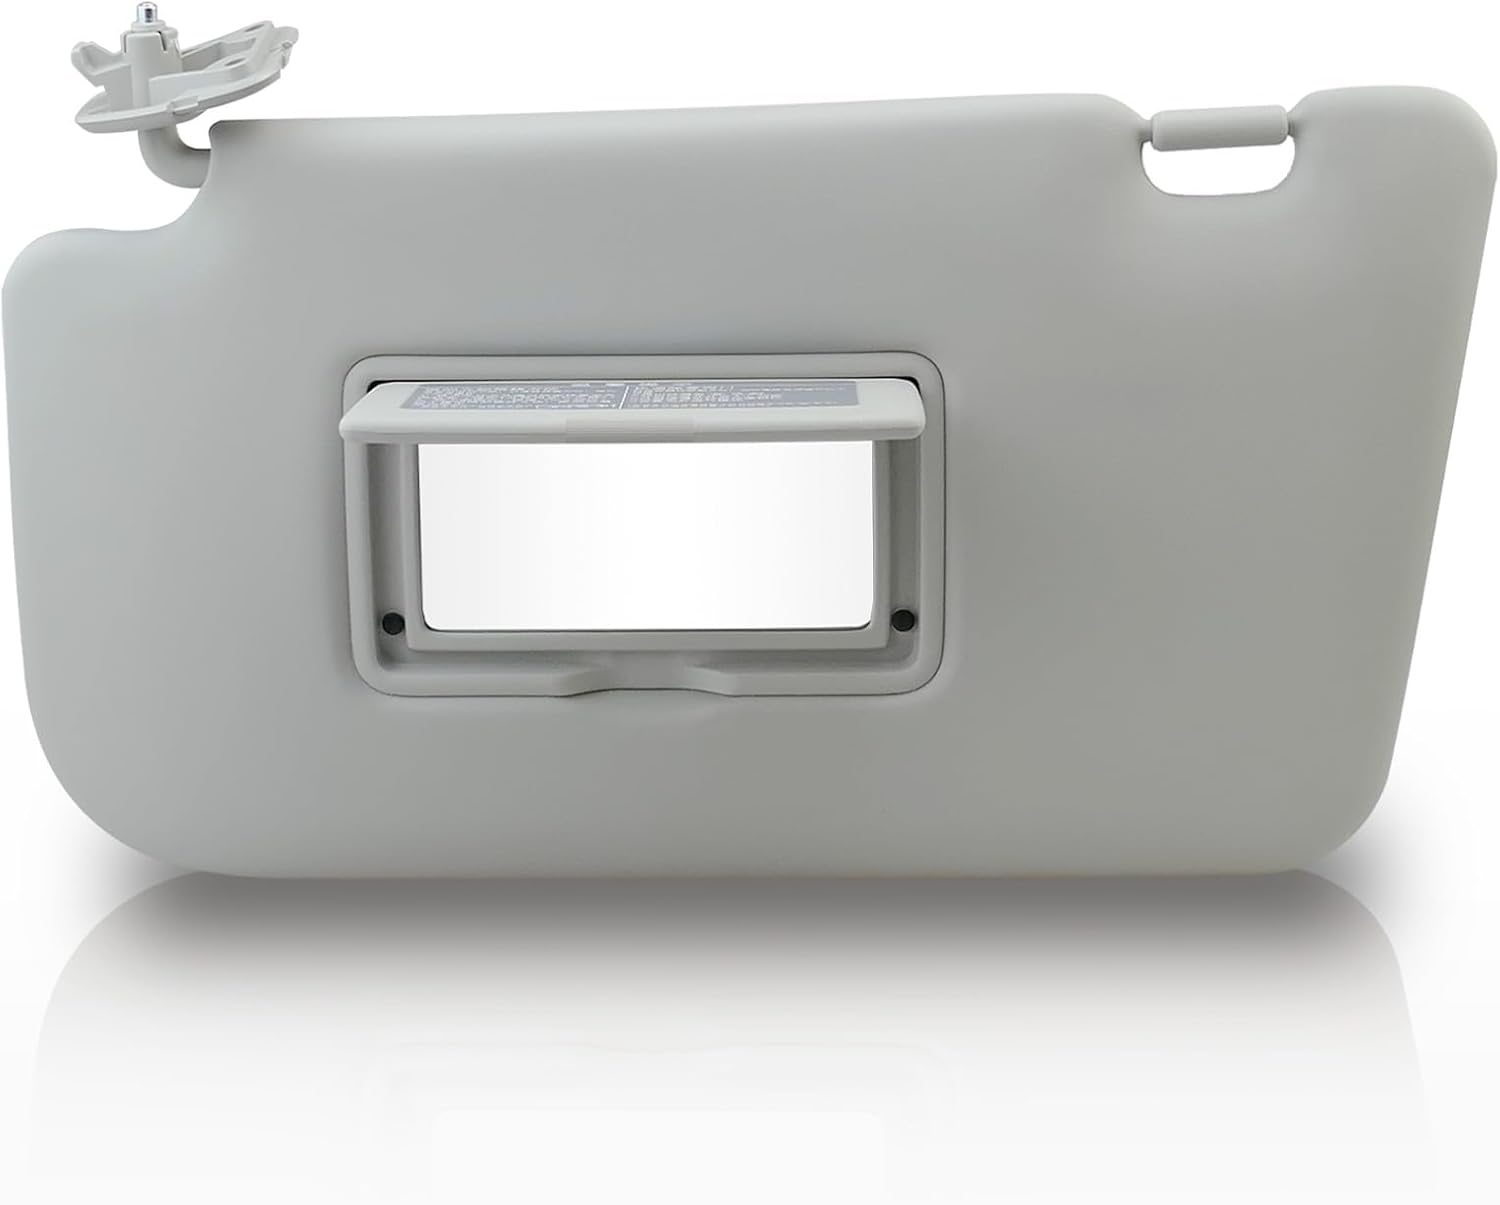
- New Sun Visor: This is the most crucial part. Ensure you purchase the correct visor for your 2013 Nissan Rogue, specifying the driver or passenger side and the interior color (e.g., gray, beige). Check the part number to ensure compatibility. You can find these online at auto parts retailers or your local Nissan dealership. Double-check the return policy in case it's the wrong one.
- Phillips Head Screwdriver: A standard Phillips head screwdriver is typically all you need. A magnetic tip will be a huge help in preventing screws from dropping into hard-to-reach places.
- Flathead Screwdriver (Small): This is primarily used for prying gently to release clips, if any. Be careful not to damage the surrounding headliner.
- Panel Removal Tool (Optional but Recommended): A plastic panel removal tool is much gentler on the interior trim than a metal screwdriver. It will help prevent scratches and damage.
- Gloves (Optional): If you prefer to keep your hands clean, wear gloves.
- Safety Glasses: Recommended to protect your eyes from debris.
Step-by-Step Sun Visor Replacement
1. Prepare the Vehicle
Before starting any work, ensure the vehicle is parked on a level surface and the ignition is turned off. Engage the parking brake for added safety. Clearing the area around the sun visor will make your job easier. This might involve moving the seats back or removing any items hanging from the rearview mirror.
2. Remove the Old Sun Visor
This is where the fun begins. The method of attachment for the sun visor can vary slightly, but generally, it involves a few screws and potentially some retaining clips.
a. Locate the Fasteners: Examine the base of the sun visor where it attaches to the headliner. You should see either screw heads or plastic covers concealing screws. Some models might just have a snap-in type design with no visible screws.
b. Remove Screw Covers (If Applicable): If there are plastic covers concealing the screws, carefully pry them off using the small flathead screwdriver or panel removal tool. Insert the tool into the edge of the cover and gently pry upwards. Be careful not to scratch or damage the surrounding headliner. Often, these covers are made of brittle plastic and can break easily, so take your time.
c. Remove the Screws: Once the screws are exposed, use the Phillips head screwdriver to carefully unscrew them. Keep a firm grip on the screws as you loosen them to prevent them from falling. A magnetic screwdriver is invaluable here. Place the screws in a safe place so you don't lose them; a small container or magnetic tray works well.
d. Disconnect Electrical Connector (If Applicable): Some sun visors, particularly those with illuminated vanity mirrors, will have an electrical connector. Once the screws are removed and the visor is loose, gently pull down the visor to expose the connector. Depress the locking tab on the connector and carefully disconnect it. Do not yank on the wires, as this could damage the connector or wiring harness.
e. Remove the Visor: With the screws removed and the electrical connector (if any) disconnected, the sun visor should now be free. Gently pull it down and out of the mounting location. If it seems stuck, double-check for any remaining screws or retaining clips.
3. Install the New Sun Visor
Installing the new sun visor is essentially the reverse of the removal process.
a. Connect Electrical Connector (If Applicable): If your new sun visor has an electrical connector, plug it in securely. Ensure the connector clicks into place, indicating a proper connection. Gently tug on the connector to confirm it is locked.
b. Align the New Visor: Position the new sun visor in the mounting location, aligning the screw holes with the corresponding holes in the headliner. Make sure the visor is oriented correctly (driver's side or passenger's side) and that it folds and swivels freely.
c. Install the Screws: Carefully insert the screws through the mounting holes in the visor and tighten them with the Phillips head screwdriver. Do not overtighten the screws, as this could strip the threads in the headliner or damage the visor. Tighten them snugly, but not excessively.
d. Replace Screw Covers (If Applicable): If you removed screw covers earlier, snap them back into place, ensuring they are securely attached. Align the cover with the mounting hole and gently press until it clicks into place.
4. Test the New Sun Visor
Once the new sun visor is installed, test it to ensure it functions properly. Check the following:
- Movement: The visor should fold down and swivel smoothly.
- Security: The visor should be securely mounted and not wobble or sag.
- Electrical Function (If Applicable): If the visor has an illuminated vanity mirror, check that the light turns on and off when the mirror cover is opened and closed.
Troubleshooting and Tips
Even with careful planning, you might encounter some challenges during the sun visor replacement process. Here are some common issues and how to address them:
- Stripped Screw Threads: If the screw threads in the headliner are stripped, you can try using a slightly larger screw or a self-tapping screw. Alternatively, you can use a threaded insert (also known as a Heli-Coil) to repair the stripped threads. This involves drilling out the old threads and inserting a new, stronger threaded insert.
- Broken Retaining Clips: If you break any retaining clips while removing the old sun visor, you can usually purchase replacements at an auto parts store or online. Make sure to get the correct type of clip for your vehicle.
- Difficulty Disconnecting Electrical Connector: If you are having trouble disconnecting the electrical connector, try using a small pick or dental tool to gently depress the locking tab. Be patient and avoid using excessive force.
- Incorrect Replacement Part: Always double-check the part number and compatibility before purchasing a new sun visor. If you are unsure, consult with your local Nissan dealership or an auto parts specialist.
- Headliner Damage: Be extremely careful when working around the headliner, as it is easily damaged. Use plastic panel removal tools whenever possible and avoid using excessive force.
Important Note: When working with electrical components, always disconnect the negative battery terminal to prevent electrical shock or damage to the vehicle's electrical system. While a sun visor might seem minor, it's a good practice to follow with any electrical work on a vehicle.
Conclusion
Replacing your 2013 Nissan Rogue's sun visor is a manageable task for the average DIYer. By following these steps and taking your time, you can save money and gain valuable experience working on your vehicle. Remember to always prioritize safety and consult a professional if you are unsure about any part of the process. With a little patience and the right tools, you'll be enjoying the shade of your new sun visor in no time!