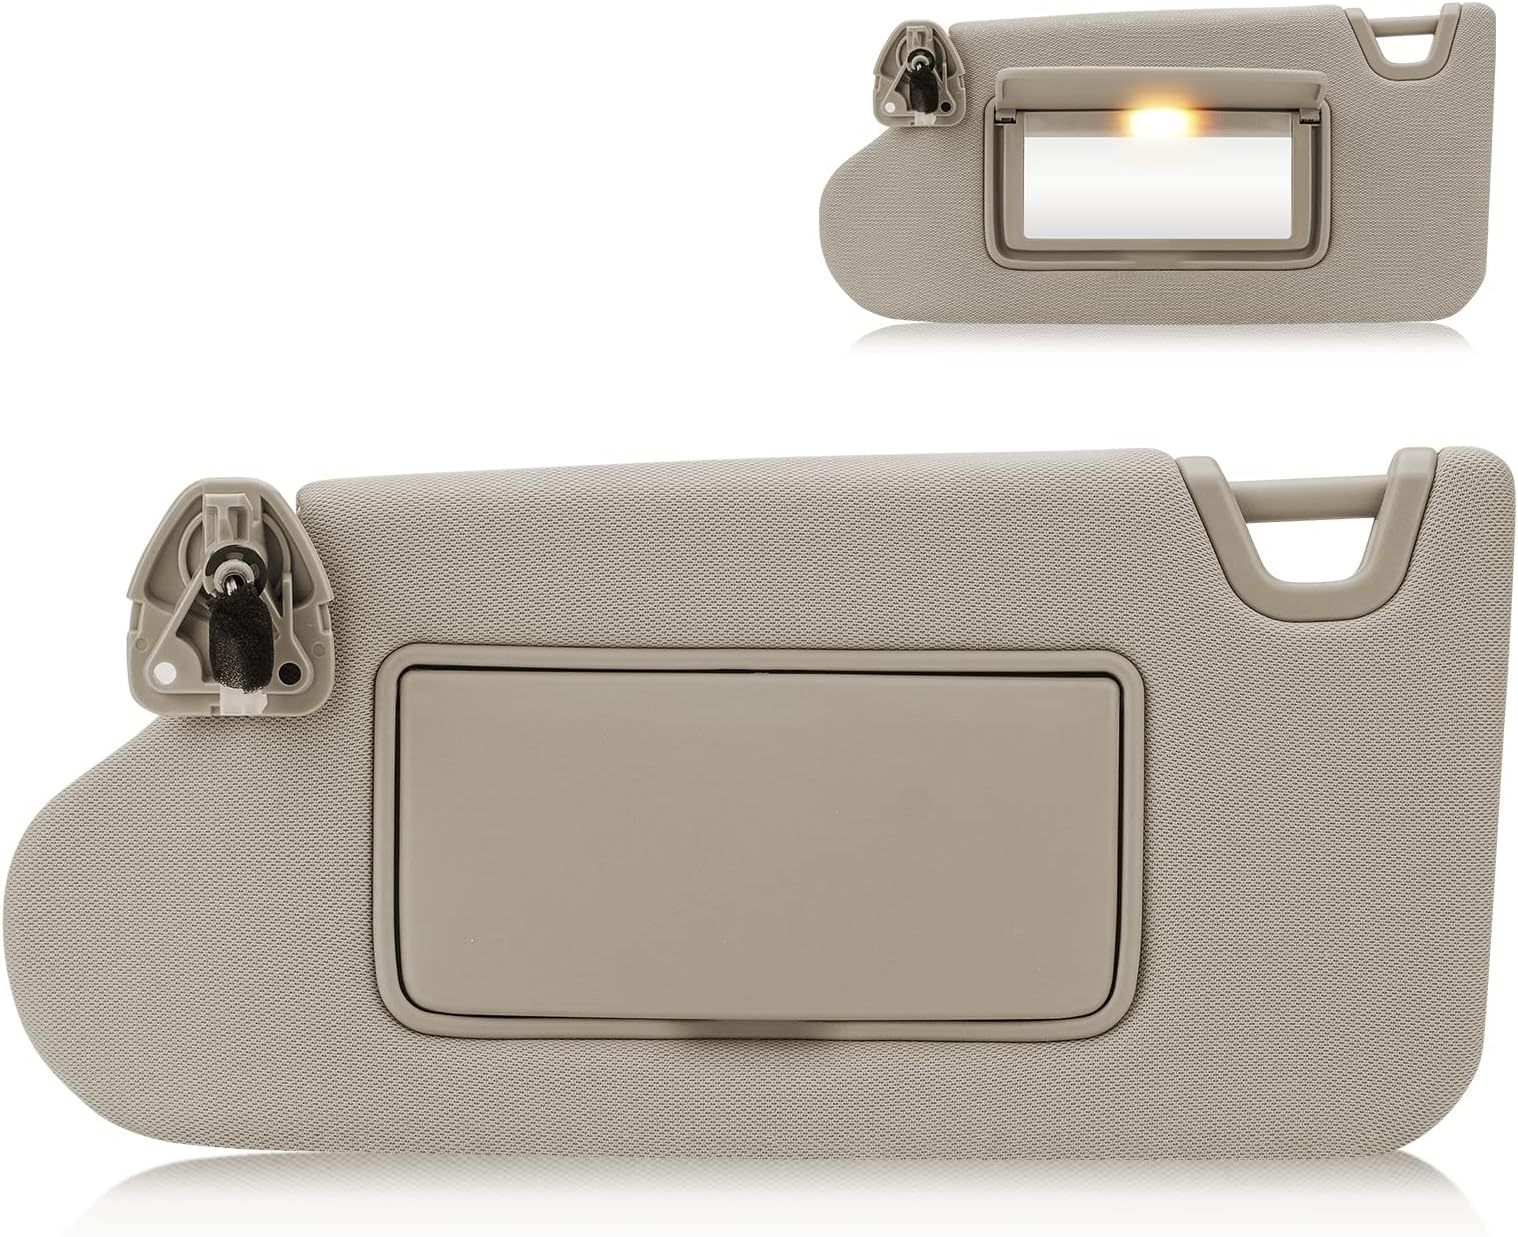
2015 Nissan Altima Driver Side Sun Visor
Hello Altima owner! Dealing with a drooping, broken, or otherwise frustrating driver's side sun visor on your 2015 Nissan Altima? You're not alone. It's a common issue we see here, and thankfully, it's often a problem you can tackle yourself with a little know-how and the right tools. Let's break down the typical issues, potential solutions, and even explore whether a DIY fix or a professional repair makes more sense for you.
Understanding the Problem: Why Your Visor Might Be Misbehaving
First, let's identify the root cause. Here are the most frequent culprits behind a malfunctioning driver's side sun visor in a 2015 Altima:
- Worn-Out Pivot Joint: This is the most common issue. Over time, the plastic components in the visor's pivot point, which allows it to swivel, can wear down. This causes the visor to droop constantly, failing to stay in the up position. You might notice it requires repeated pushing to stay up, or it falls down on its own.
- Broken Mounting Clip: The clip that secures the visor to the headliner can break or become detached. This will result in the visor hanging loosely or completely detaching.
- Internal Damage: Less frequently, there can be internal damage to the visor itself, such as a broken frame or a separation of the visor material from the internal support. This is often the result of a significant impact or repeated excessive force.
- Electrical Issues (If Equipped with Illumination): Some 2015 Altimas have illuminated vanity mirrors in the sun visors. If the wiring is damaged or a connector has come loose, the light might not work, or worse, it could cause a short circuit. Though less common than mechanical failures, it's worth considering if your visor has this feature.
Diagnosis: Determining the Severity of the Problem
Before you start ordering parts or scheduling repairs, take a close look at your visor. Here’s what to check:
- Visual Inspection: Examine the visor for any obvious signs of damage, such as cracks, breaks, or loose components. Pay close attention to the pivot joint and the mounting clip.
- Movement Test: Gently move the visor through its range of motion. Does it move smoothly, or does it feel loose and wobbly? Does it stay in the desired position, or does it droop downwards?
- Clip Check: Try to gently wiggle the mounting clip where the visor attaches to the headliner. Does it feel secure, or does it move excessively? Is it visibly broken or detached?
- Illumination Check (If Applicable): Open the vanity mirror and check if the light turns on. If not, inspect the wiring and connectors for any signs of damage or loose connections.
Based on your observations, you can determine the best course of action. A simple drooping visor often points to a worn pivot joint. A completely detached visor usually means a broken mounting clip. More significant damage may necessitate a complete visor replacement.
Solutions: DIY Fixes and Professional Repairs
Now that you've identified the problem, let's explore the available solutions:
DIY Fixes: For the Handyman (or Handywoman!)
If you're comfortable with basic automotive repairs, a DIY fix might be the way to go. Here are a couple of common approaches:
1. Pivot Joint Tightening (Temporary Fix):
This is a temporary solution and may not last long. It's best for delaying a replacement.
Tools Needed:
- Small flathead screwdriver
- Possibly a small Torx screwdriver (check your visor)
- (Optional) Loctite Threadlocker (blue)
Procedure:
- Carefully examine the pivot joint. You might find a small screw or a snap-fit cover.
- If there's a screw, try tightening it carefully. Avoid overtightening, as you could strip the threads or break the plastic.
- If there's a snap-fit cover, carefully pry it open with the small flathead screwdriver. You might find a nut or screw underneath that you can tighten.
- If you find a loose nut or screw, apply a small amount of Loctite Threadlocker (blue) to the threads before tightening. This will help prevent it from loosening again.
- Reassemble the pivot joint.
2. Mounting Clip Replacement:
This is a straightforward fix if only the clip is broken.
Tools Needed:
- New Mounting Clip (ensure it's the correct part for your 2015 Altima)
- Small flathead screwdriver or trim removal tool
Procedure:
- Carefully remove the broken mounting clip from the headliner. You might need to use the flathead screwdriver or trim removal tool to gently pry it out.
- Install the new mounting clip into the headliner. Make sure it's securely attached.
- Reattach the sun visor to the new mounting clip.
Professional Repair/Replacement: When to Call in the Experts
If the DIY fixes don't work, or if you're uncomfortable working on your car yourself, it's best to seek professional help. Here's when a professional repair or replacement is recommended:
- Extensive Damage: If the visor is severely damaged, such as a broken frame or torn fabric, it's best to replace it.
- Electrical Issues: If you're experiencing electrical problems with the visor's illumination, it's best to have a qualified technician diagnose and repair the issue. Electrical problems can be complex and potentially dangerous if not handled correctly.
- Lack of Confidence: If you're not comfortable performing the repairs yourself, don't hesitate to seek professional assistance. It's better to pay for a professional repair than to risk damaging your car or injuring yourself.
Cost Considerations: DIY vs. Professional
Let's talk about money. Here's a rough estimate of the costs involved in each approach:
DIY Fixes:
- Mounting Clip: $5 - $15
- Loctite Threadlocker: $5 - $10
- Total: $10 - $25 (plus the cost of any tools you might need)
Professional Repair/Replacement:
- Sun Visor Replacement (Part + Labor): $100 - $300 (depending on the part and the labor rate of the shop)
- Electrical Diagnosis and Repair: $80 - $150 (or more, depending on the complexity of the problem)
As you can see, DIY fixes are significantly cheaper. However, they require your time and effort, and they may not be a permanent solution. Professional repairs are more expensive, but they offer convenience and peace of mind, knowing that the job is done correctly.
Finding a Replacement Visor
If you determine that you need to replace the entire visor, you have a few options:
- Nissan Dealership: This is the most reliable source for a genuine Nissan replacement visor. However, it's also likely to be the most expensive option.
- Online Retailers (Amazon, eBay, etc.): You can often find aftermarket replacement visors online for a lower price. Be sure to read reviews carefully and ensure that the visor is compatible with your 2015 Altima.
- Auto Parts Stores (e.g., AutoZone, Advance Auto Parts): These stores often carry replacement visors, either in stock or available by special order.
- Used Parts (Salvage Yards): If you're on a tight budget, you might consider sourcing a used visor from a salvage yard. However, be aware that the visor might have some wear and tear.
When ordering a replacement visor, double-check the color code to ensure it matches your Altima's interior. The color code is usually located on a sticker inside the driver's side door jamb or in the owner's manual. You also need to specify which side of the car the visor is for.
Final Thoughts
A drooping or broken sun visor can be a nuisance, but it's usually a problem that can be resolved relatively easily. By understanding the common causes, diagnosing the specific issue with your visor, and considering the available solutions, you can make an informed decision about whether to tackle the repair yourself or seek professional assistance. Good luck, and happy driving!