2015 Nissan Altima Fog Light Replacement
So, your 2015 Nissan Altima's fog lights are giving you trouble? Whether they're cracked, burned out, or simply not performing like they used to, replacing them is a relatively straightforward job that most intermediate DIYers can tackle. This guide will walk you through the process step-by-step, covering everything from the tools you'll need to the specific procedures involved. We'll assume you have a decent understanding of basic automotive repair and safety precautions. If you're unsure about any step, it's always best to consult a professional mechanic. Safety first!
Understanding the Components
Before we dive in, let's quickly review the components we'll be dealing with:
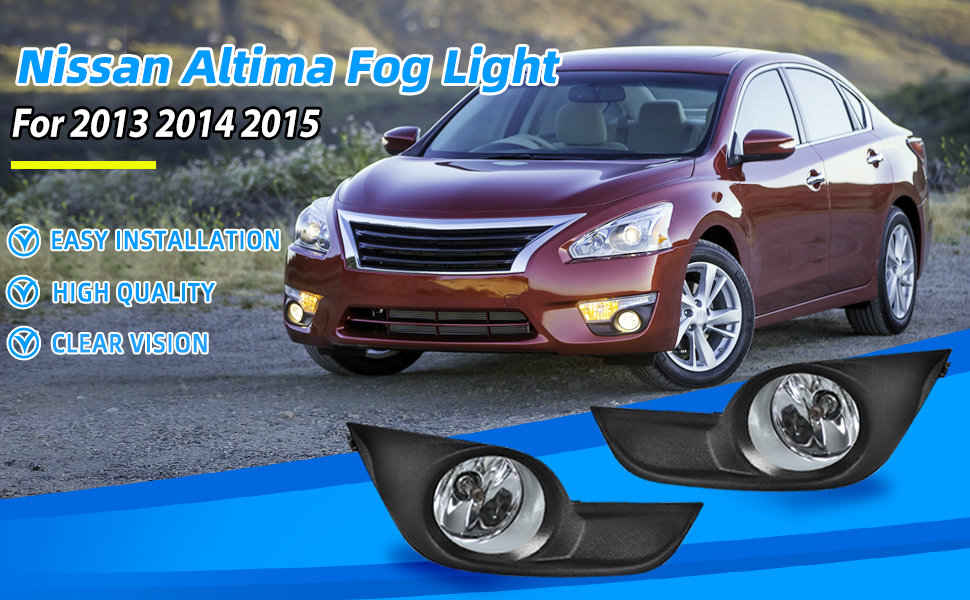
- Fog Lights: These are auxiliary lights, typically mounted low on the front of the vehicle. They are designed to provide improved visibility in foggy or misty conditions by projecting a wide, low beam that illuminates the road surface below the fog.
- Bulb Socket: This is the housing that holds the fog light bulb. It connects electrically to the vehicle's wiring harness.
- Wiring Harness Connector: This connector plugs into the bulb socket and provides power to the fog light bulb. It's crucial to disconnect this before removing the bulb socket.
- Retaining Clips/Screws: These are what hold the fog light assembly securely in place within the bumper. The exact type can vary, so pay close attention during removal.
- Bumper Fascia: This is the front bumper cover, often made of plastic. We may need to partially remove or access it to reach the fog light assembly.
Tools and Materials Required
Having the right tools will make the job much easier and prevent damage to your vehicle. Here's what you'll need:
- New Fog Light Assemblies (Left & Right): Make sure you get the correct part number for your 2015 Altima. Double-check compatibility before you begin.
- Socket Set: A standard socket set, including metric sizes, will be necessary for removing any screws or bolts.
- Screwdriver Set: Both Phillips head and flathead screwdrivers will be useful for various tasks, including prying and removing clips.
- Trim Removal Tool (Optional but Recommended): These plastic tools help you remove trim pieces and clips without damaging them. They are inexpensive and worth the investment.
- Pliers: Needle-nose pliers can be helpful for manipulating small parts and connectors.
- Work Gloves: To protect your hands from dirt, grease, and sharp edges.
- Safety Glasses: Essential for protecting your eyes from debris.
- Jack and Jack Stands (Potentially): Depending on how much access you need, you might need to jack up the car for easier access to the fog lights. Always use jack stands for safety.
- Wheel Chocks: If jacking the car, use wheel chocks to prevent rolling.
- Penetrating Oil (Optional): If any screws or bolts are corroded, penetrating oil can help loosen them.
- Shop Rags: For cleaning your hands and wiping up any spills.
- Torque Wrench: To properly tighten any bolts you removed. Refer to the service manual for the correct torque specifications.
Step-by-Step Replacement Procedure
Now let's get to the meat of the process. Follow these steps carefully:
1. Preparation and Safety
First and foremost, ensure the car is parked on a level surface and the parking brake is engaged. Disconnect the negative terminal of the battery to prevent any electrical shorts. This is a crucial safety step. If you're jacking up the car, use the jack in the designated jacking points and always support the car with jack stands before working underneath. Never rely solely on the jack.
2. Accessing the Fog Light Assembly
This is often the trickiest part. The fog lights on a 2015 Altima are typically accessed by removing the lower splash shield or partially removing the bumper fascia. There are typically screws and/or plastic clips holding the splash shield or fascia in place. Use your socket set or screwdriver to remove these. Use the trim removal tool to carefully pry off any plastic clips. Don't force anything! If something isn't coming loose easily, check for hidden fasteners.
Option A: Splash Shield Removal: In some cases, you might only need to remove a section of the splash shield underneath the bumper. This will provide enough access to reach behind the bumper and access the fog light assembly. Look for access panels or sections that are specifically designed to be removed for servicing components.
Option B: Partial Bumper Fascia Removal: If the splash shield doesn't provide enough access, you'll need to partially remove the bumper fascia. This usually involves removing screws and clips along the bottom and sides of the bumper, as well as those connecting it to the fender wells. Be extremely careful not to scratch the paint or damage the fascia. Take pictures before and during the removal process; this will help you remember where everything goes when you reassemble it.
3. Disconnecting the Old Fog Light
Once you have access to the fog light assembly, locate the wiring harness connector plugged into the back of the bulb socket. Gently press the release tab on the connector and pull it straight out. Do not pull on the wires themselves! Next, locate the retaining clips or screws that hold the fog light assembly in place. These can vary in design, so observe carefully how they are secured. Remove the clips or screws. You may need to use a small screwdriver or pliers to manipulate the clips.
4. Removing the Old Fog Light Assembly
With the wiring disconnected and the retaining clips/screws removed, you should now be able to carefully remove the old fog light assembly from the bumper. It might be held in place by some friction, so gently wiggle it until it comes loose. Inspect the old assembly for any damage that might have caused the failure.
5. Installing the New Fog Light Assembly
Take your new fog light assembly and carefully align it with the opening in the bumper. Secure it in place using the retaining clips or screws you removed earlier. Make sure it is firmly seated and properly aligned. Don't overtighten the screws – just snug them up. You can consult a service manual for the proper torque spec, but generally just tighten it until it is snug and will not move.
6. Connecting the Wiring Harness
Connect the wiring harness connector to the back of the bulb socket on the new fog light assembly. Make sure the connector clicks into place, indicating a secure connection. Give it a gentle tug to ensure it's properly seated.
7. Testing the New Fog Light
Before reassembling everything, it's a good idea to test the new fog light. Reconnect the negative terminal of the battery and turn on the fog lights. Verify that the new fog light illuminates properly. If it doesn't, double-check the wiring connection and the bulb itself. Also, verify that the fuse associated with the fog lights is intact.
8. Reassembly
Now that you've confirmed the new fog light is working, it's time to reassemble everything. If you removed the splash shield, reinstall it using the screws and clips you removed earlier. If you partially removed the bumper fascia, carefully realign it and reattach it to the fender wells and the rest of the bumper, making sure all screws and clips are properly secured. Refer to the pictures you took earlier to ensure you remember the location of each fastener.
9. Final Check
Once everything is reassembled, give the area a final check to make sure all screws and clips are in place and that the bumper fascia is properly aligned. Double-check the fog light operation again to ensure everything is working correctly.
Important Considerations and Tips
- Bulb Type: Be sure to use the correct bulb type for your 2015 Altima's fog lights. Refer to your owner's manual or a parts catalog to determine the correct bulb specification.
- Alignment: After installing the new fog lights, you may want to have them professionally aligned to ensure they are projecting the light beam in the correct direction. Misaligned fog lights can reduce visibility and even create glare for other drivers.
- Corrosion: If you encounter any corroded screws or bolts, use penetrating oil to help loosen them. You may also need to use a wire brush to clean off any rust.
- Broken Clips: Plastic clips can become brittle and break over time. If you break any clips during the removal process, replace them with new ones before reassembling everything.
- Service Manual: Consult a service manual for your 2015 Nissan Altima for detailed diagrams and instructions specific to your vehicle. This can be invaluable for identifying the location of fasteners and the correct procedures for removing and installing components.
Replacing the fog lights on your 2015 Nissan Altima is a manageable task for an experienced DIYer. By following these steps carefully and taking your time, you can save money and gain a better understanding of your vehicle. Remember, if you're ever unsure about any step, don't hesitate to consult a professional mechanic. Good luck!